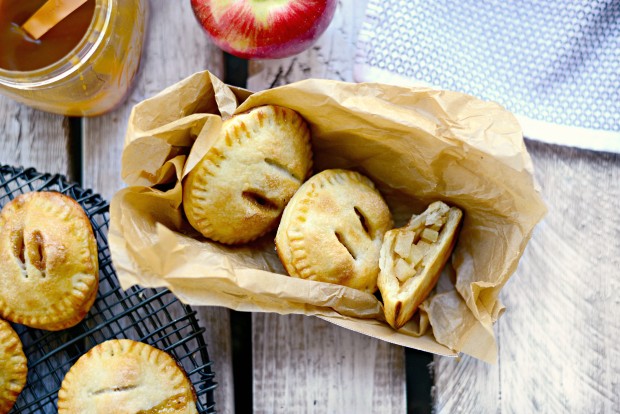
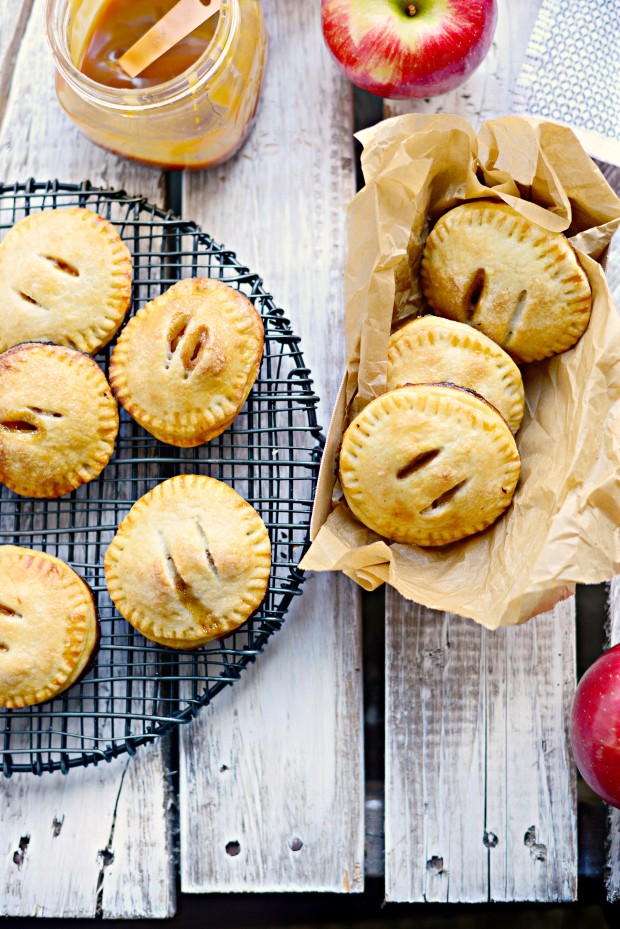
I have a thing for apple hand pies. Little portable personal pies that requires no forks and only your fingers.
I think it stems from when my mom would take us to the bread outlet store when I was little. This place may have been my favorite store to go to as a kid because a.) it smelled of bread. HELLO!? And b.) the store sold these AMAZING Hostess mini hand pies. Now if you know anything about my childhood, you know that my mom didn’t buy these sort of things. Heck, I had my first twinkie EVER sometime in my late twenties and in my pre-teens I was a grape kool-aid lush when I’d spend the week at my cousins. But every once and a while my mom would treat us to one of these Hostess pies and I was in heaven. I’d choose apple every. single. time. and I ate it ever so slowly, savoring each gooey, flaky and store-bought bite.
These cutie hand pies take me back to those days. They take a smidgen more time then a regular pie but totally worth it when you see these little things come out of the oven and you taste your first bite.
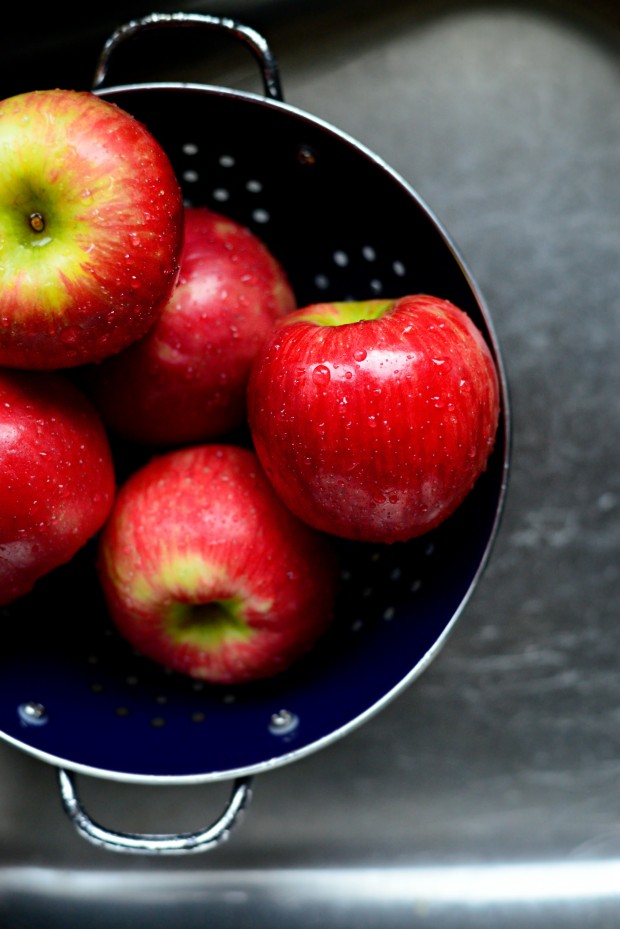
I’m using honeycrisp, shocker I know- but I really like them baked in pies, crisps and as a snack with almond butter. But for this recipe you only need two smallish ones you won’t need to take out a loan to buy a bunch of honeycrisps. You think I’m kidding…
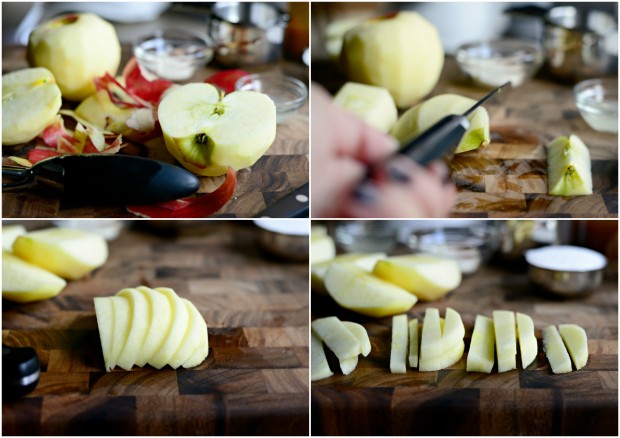
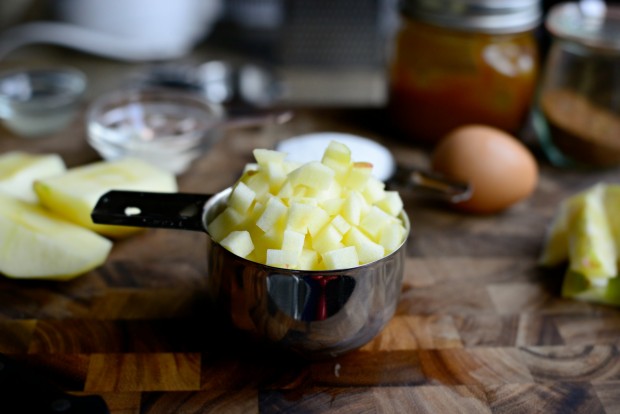
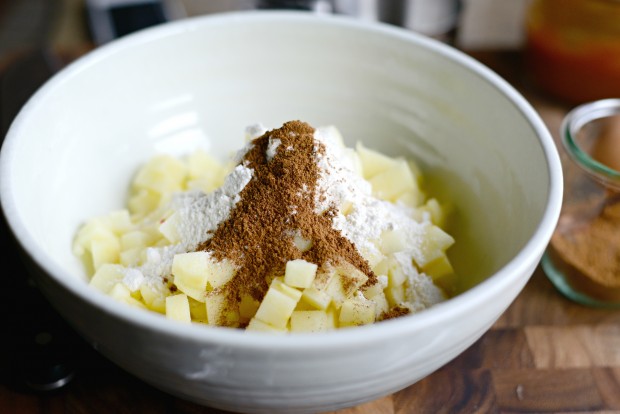
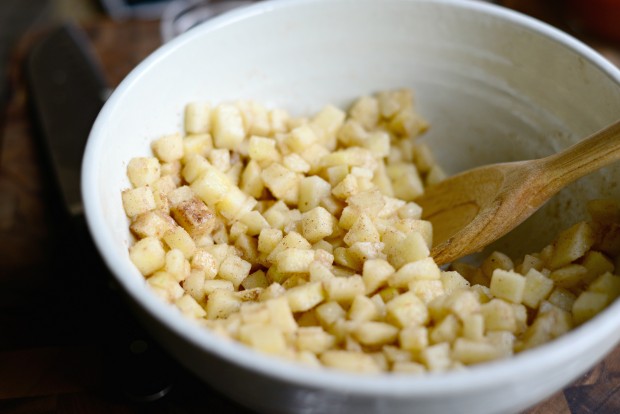
First things first: peel, core, slice and dice the apples into small pea-size pieces. Keep in mind, for the apples to cook in the short amount time, they need to be small.
You need a heaping cup.
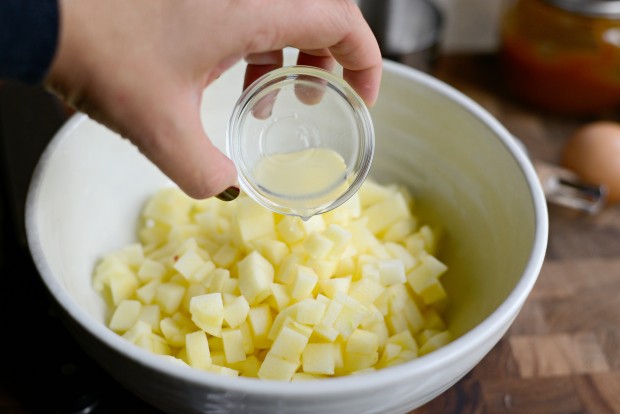
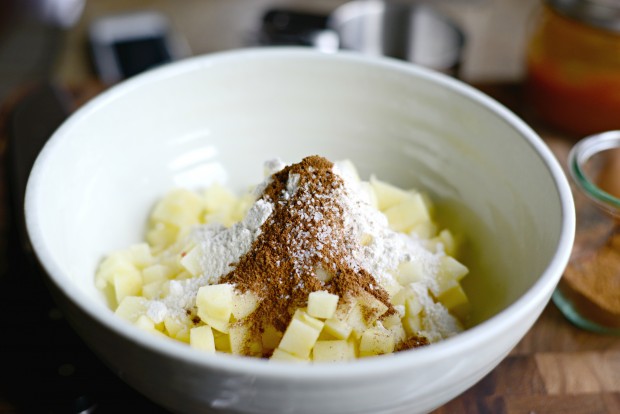
Add the apples to a medium bowl with 2 teaspoons of lemon juice. Orrrr lime juice if that’s all you have on hand.
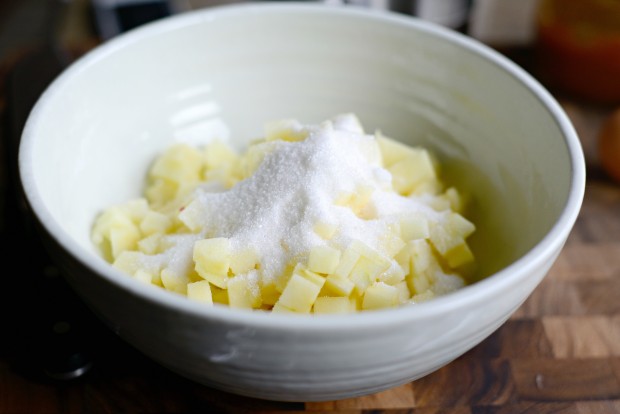
Add in 3 tablespoons of sugar…
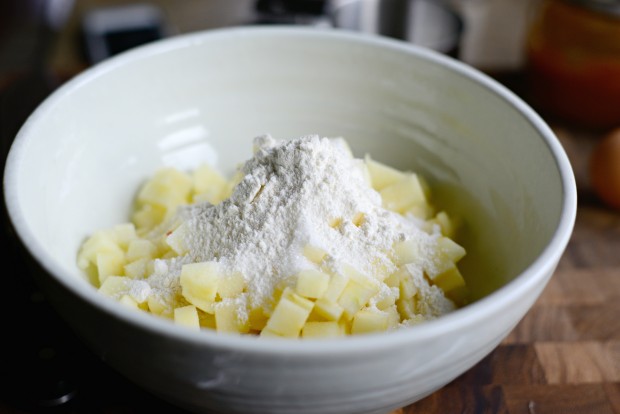
1 tablespoon all purpose flour…
1/2 teaspoon homemade apple pie spice…
…and a pinch of salt.
Toss and stir all of those together and scoot off to the side.
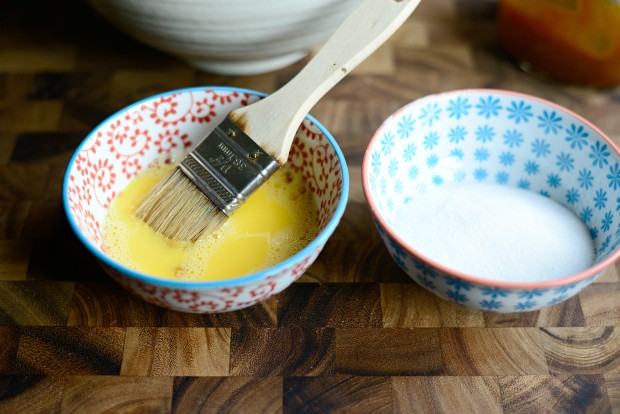
Before you roll out the dough, crack and egg into a small bowl with a tablespoon of water and beat together with a fork. Stick a pastry brush in it and grab another dish for adding a little ultra fine sugar into it (regular or turbinado sugars are fine to use too!) and set those off to the side for a moment.
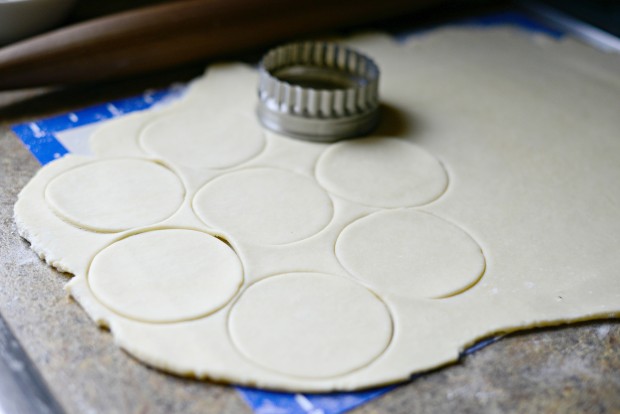
Roll out the pie dough and stamp out, using a 3-inch bisquit or cookie cutter, an even amount of rounds. I get around 16 or so the first time around.
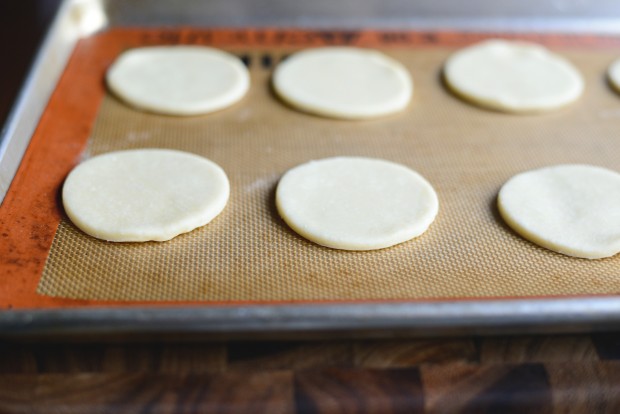
Place half of them on a lined baking sheet…
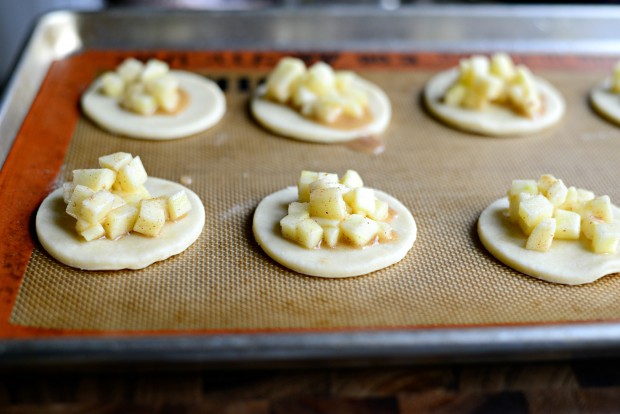
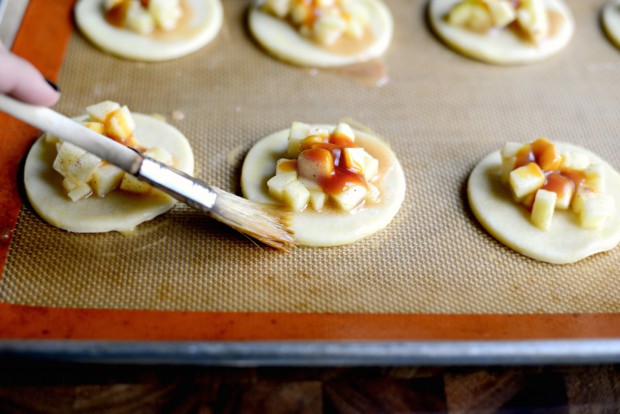
Scoop out a heaping tablespoon of the apples and place it in the center of the rounds-o-pie dough.
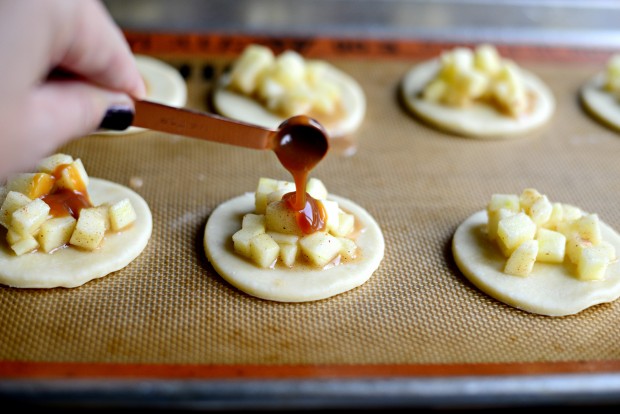
Drizzle a 1/4 to 1/2 teaspoon homemade caramel sauce, cold or room temp but not warm as it will be too thin.
Brush the edges of the pie dough with the egg wash
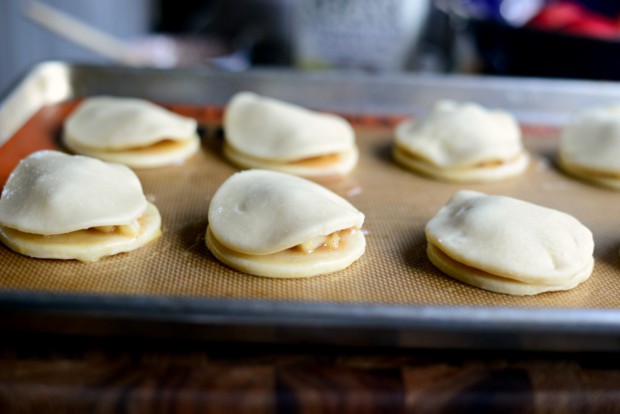
Ever so gently stretch the top pie dough rounds and drape them over the filling.
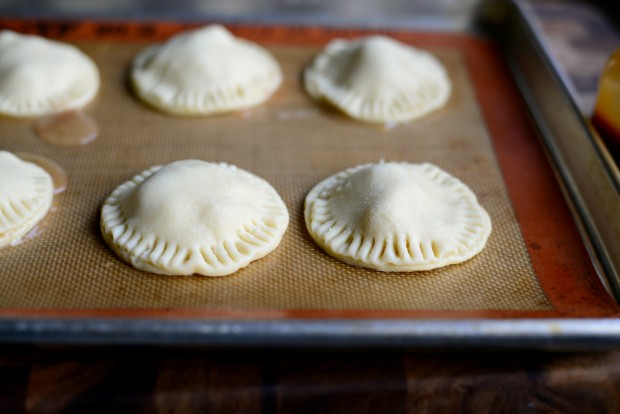
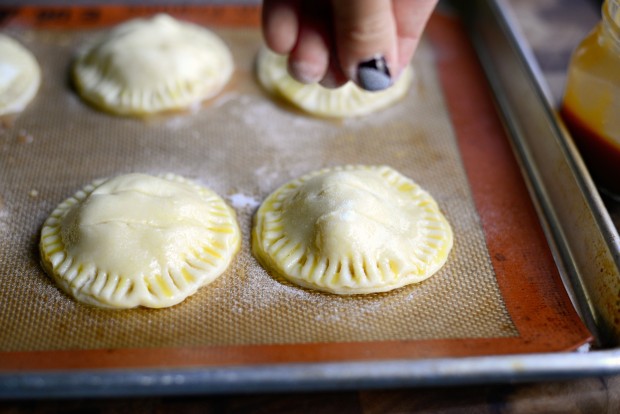
Use a fork to crimp the edges…
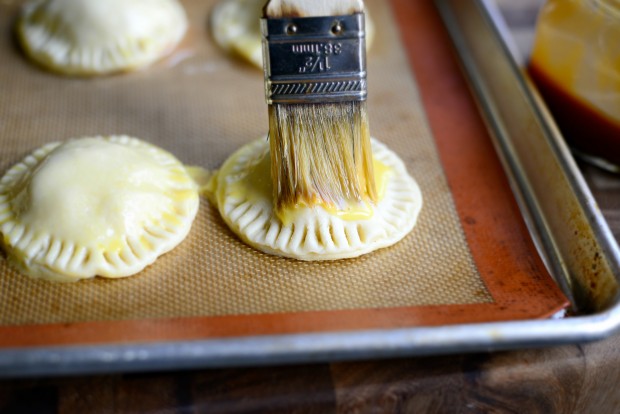
Brush the tops and sides with more egg wash…
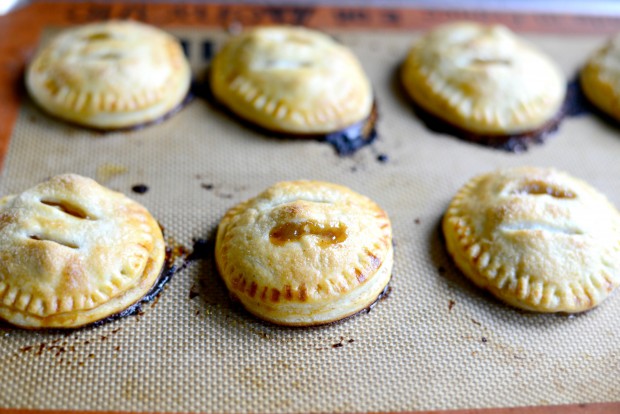
…use a sharp knife and make two slips on the top and then sprinkle with a good amount of sugar over top. Then slide into your preheated 425 degree oven and bake for 15 to 17 minutes or until golden (rotating the pan halfway through baking) and you can see the filling bubbling through the air slits.
Like so…
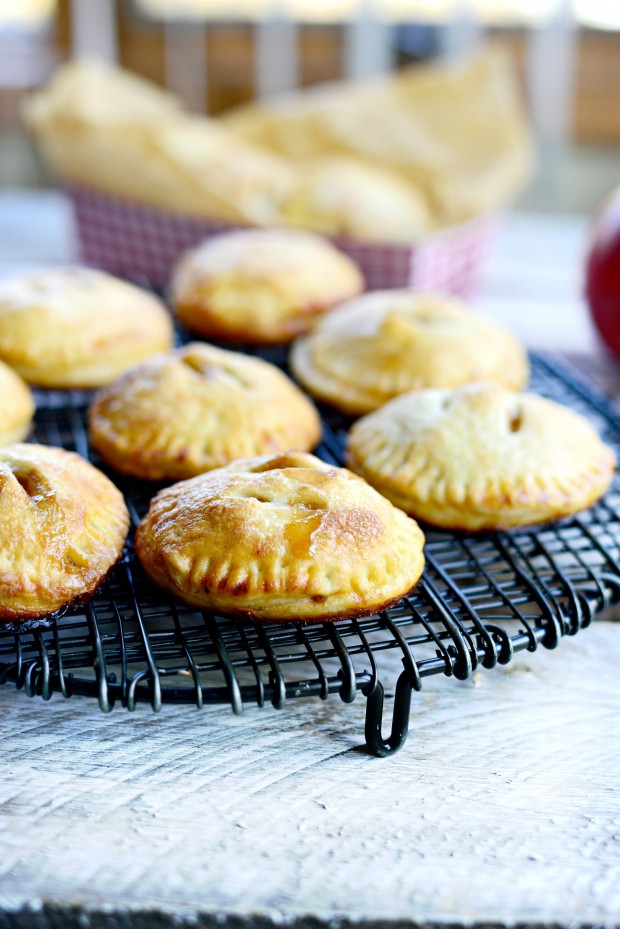
Transfer those steamy pockets of apple caramel bliss to a wire rack to cool a smidge. Because let’s face it, I will not be waiting long to sink my teeth into these flaky, gooey, apple-y pies.
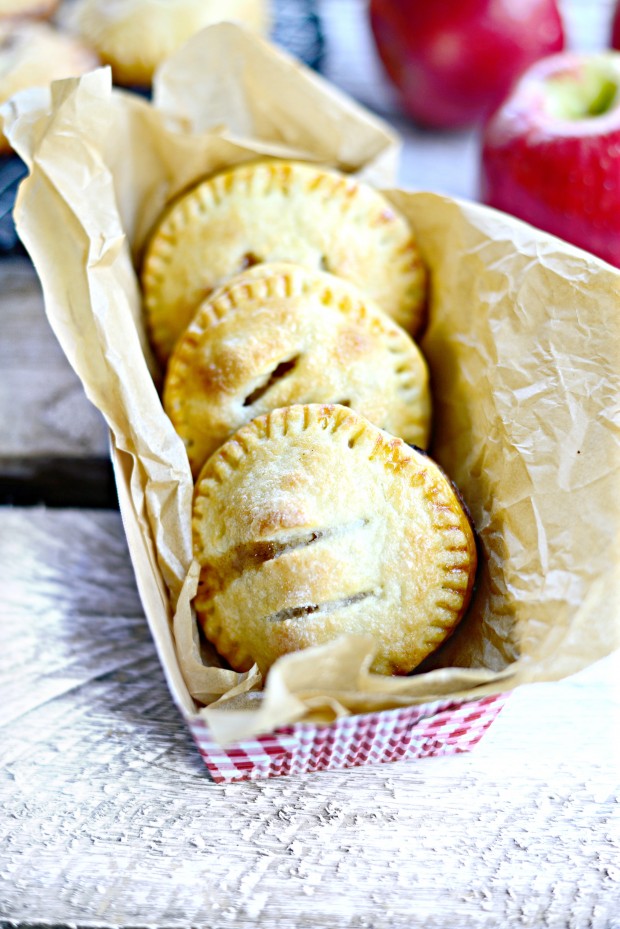
And besides all those things I just listed, I love that these can be placed into cute containers and packed into lunches.
Enjoy!
Caramel Apple Hand Pies
Ingredients
Filling:
- 1½ to 2 cups peeled and diced small apples, golden delicious, granny smith or honeycrisp
- 2 teaspoons lemon juice
- 3 tablespoons sugar
- 1 tablespoon unbleached all-purpose flour
- 1/2 teaspoon apple pie spice
- 1 pinch kosher salt
- 1 homemade pie crust
- Caramel Sauce
- 1 large egg , beaten with 1 tablespoon water for egg wash
Instructions
- Preheat your oven to 425 degrees and line two baking sheets with parchment paper or a silpat.
- In a medium bowl combine the apples, lemon juice, sugar, flour, apple pie spice and a pinch of kosher salt.
- Roll the pie dough out into a large rectangle about 1/8 of an inch thick. I eyeball it. Using a 3-inch biscuit or cookie cutter, stamp out an even amount of dough rounds. For me it is about 14 to 16. Gather the extra dough scraps into a ball, wrap in plastic wrap and place back into the fridge.
- Place half of the rounds on one of the prepared baking sheets, spoon a heaping tablespoon of the pie filling onto the center of each. Leaving any liquids from the apples in the bowl. Measure 1/4 to 1/2 teaspoon of homemade caramel sauce onto the apples before brushing the edges of the of the pie dough with the egg wash.
- Drape the remaining dough rounds over the filling and crimp the edges with a fork. Brush egg wash over the entire tops and sides of each pie. Use a sharp knife to make two air vents in the top of each pie before sprinkling with sugar.
- Bake the pies for 15 to 17 minutes.
- Repeat with the remaining dough and filling, making up to 6 or 8 more pies.
Buy the Cookbook: Simply Scratch : 120 Wholesome Homemade Recipes Made Easy Now available on Amazon »
THANK YOU in advance for your support!


These hand pies look so great! Apple and caramel is great combination!
I have loved all the recipes I have tried of yours, thank you! I can’t wait to get your book… About these hand pies… which crust recipe did you use? Thanks!
Ah! I’m so glad!! Thank you Jenny!! Oops- I totally forgot to insert the links!! Here’s my go-to pie crust: http://www.simplyscratch.com/2010/11/how-to-a-perfect-pie-crust.html
(Sorry for all the !!!’s )
Enjoy!
OH SNAP !!!! Going to have to make these soon ! They look delish.
I’m always afraid to dig in and make hand pies bc they look so complicated. Your step by step photos make it very hard to screw up. Thanks!
I made these yesterday! Goodness they’re delicious! Can’t wait for your book!!!
These look perfect! 🙂
These were so very delicious! I used your pie crust recipe (also delicious). Thank you for the awesome recipe!
Making these tomorrow. Look so great
Hi! I made your hand pies for the 4th of July along with your Carmel sauce and it was absolutely delicious and beautiful! The pies are delicious and with the Carmel Sauce it takes it to another level. I’ve tried making Carmel in the past and was never successful BUT with your instructions and pictures I got it on the 3rd try. The Carmel is smooth, addicting, and lick the spoon delicious! Thanks a million!
TMcD