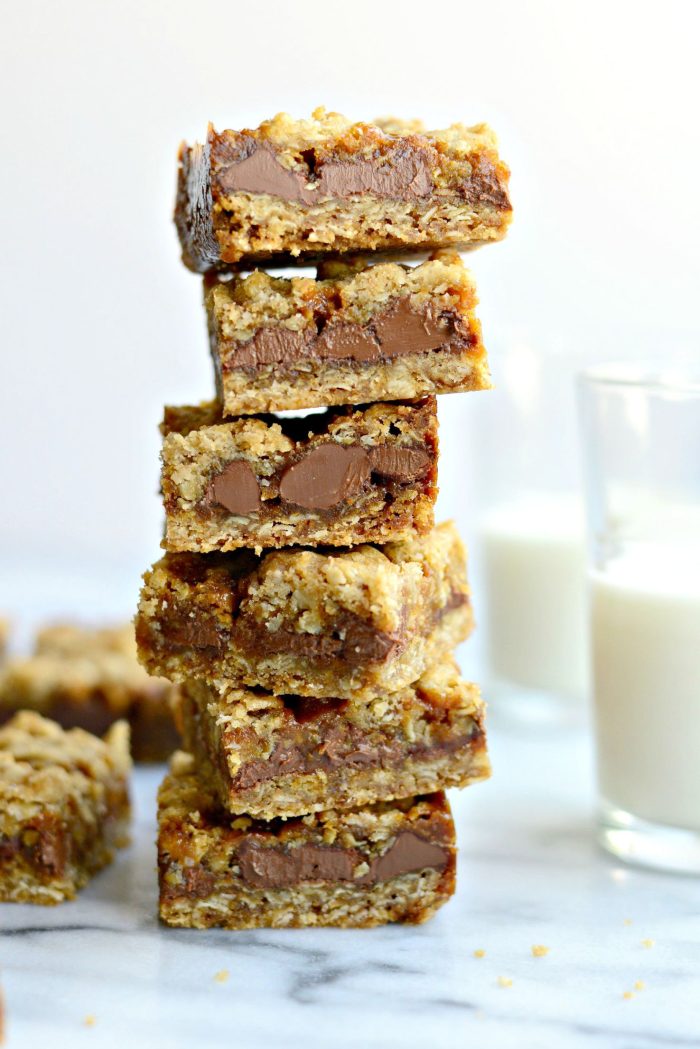
Carmelitas have milk chocolate chips and homemade caramel sandwiched in a chewy oatmeal cookie-like bar!
Calling all my fellow sweet tooth friends!
Whether you’re in charge of bringing the dessert to a party or you and a friend need to eat your feelings… carmelitas are just the thing. Not only are they fairly easy to whip up (having a jar of caramel in the fridge helps) but the crisp-crunchy exterior with a gooey middle is absolutely to die for.
The bar breakdown is this: milk chocolate and homemade caramel sandwiched between an oatmeal cookie base. It’s that simple. They are the perfect cross between cookie and bar and are most definitely one of my all time favorite desserts.
If you recall I made homemade caramel from scratch the other day?! Then I made you believe it was for dipping apples or for drizzling over scoops of ice cream, when in all actuality I made caramel for the sole purpose of making these carmelita bars. Ta-da! Taking the extra step to making your very own caramel bumps these classic bars up to a whole new level. Fake caramel just doesn’t cut it in my book… and when you sink your teeth into one of these lovelies you’ll know exactly what I mean.
Let’s do this.
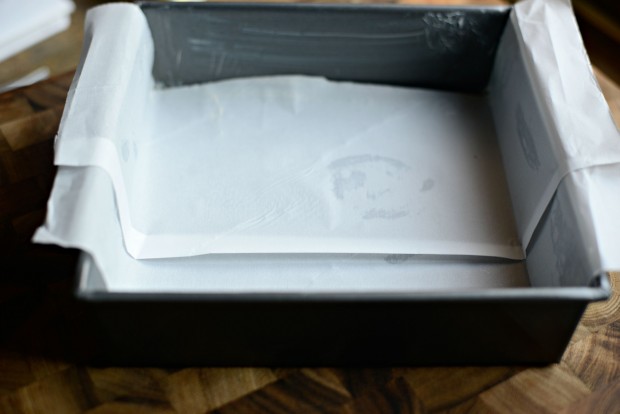
Grease and line an 8×8 baking pan and line with parchment, leave a little bit of an overhang- this comes in handy later on when removing them form the pan.
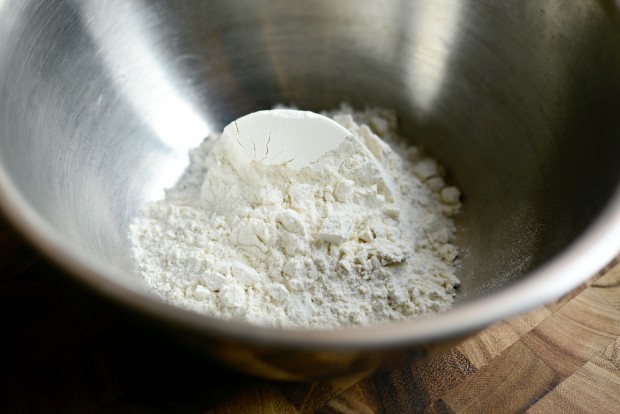
Into a large bowl, measure and add in a cup of all purpose flour…
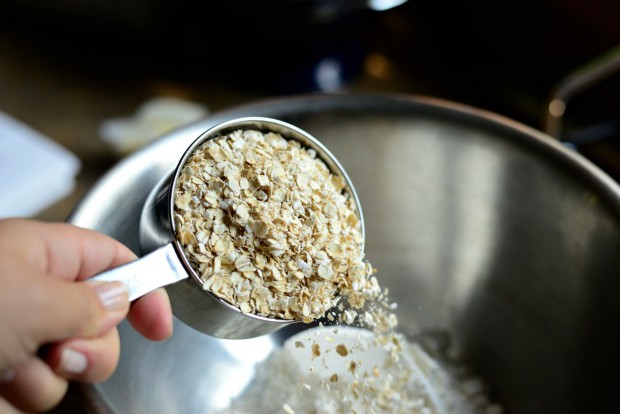
… 1 cup of quick cooking oats…
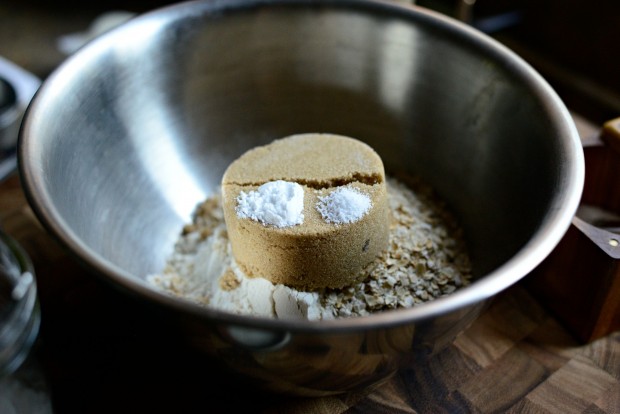
…and then 3/4 cup of lightly packed light brown sugar, 1/2 teaspoon of baking soda and 1/4 teaspoon kosher salt.
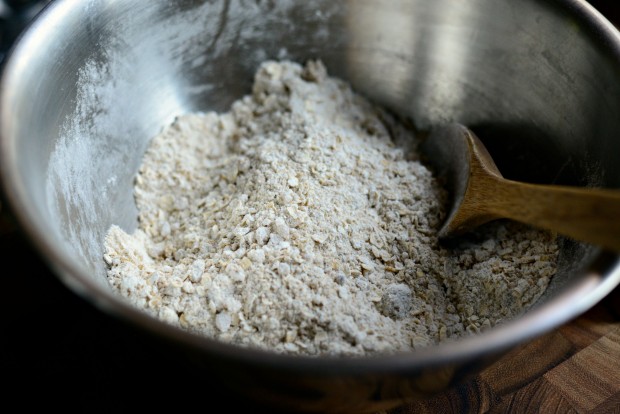
With a wooden spoon, mix until combined.
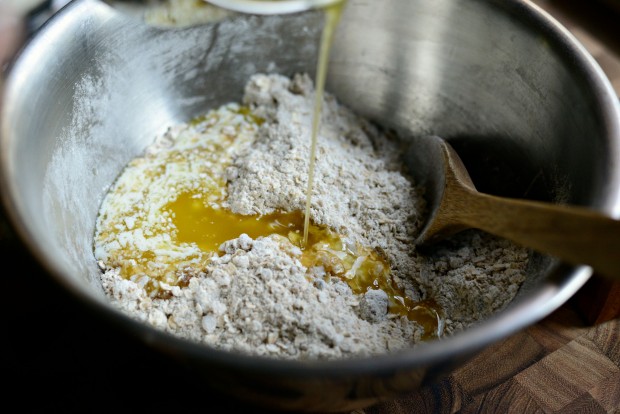
While I was measuring and mixing I was also melting 3/4 cup of unsalted butter. Mmmm butter.
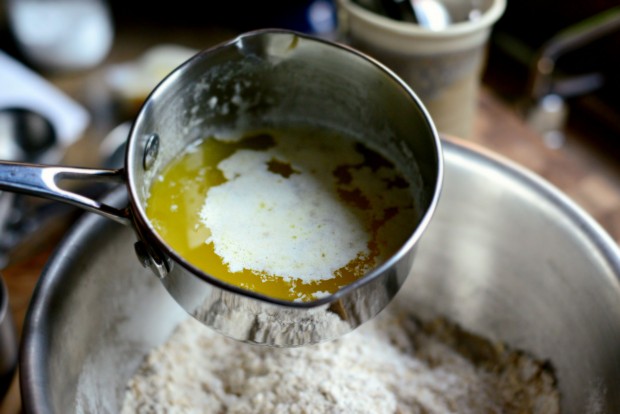
Pour the melted butter into the bowl…
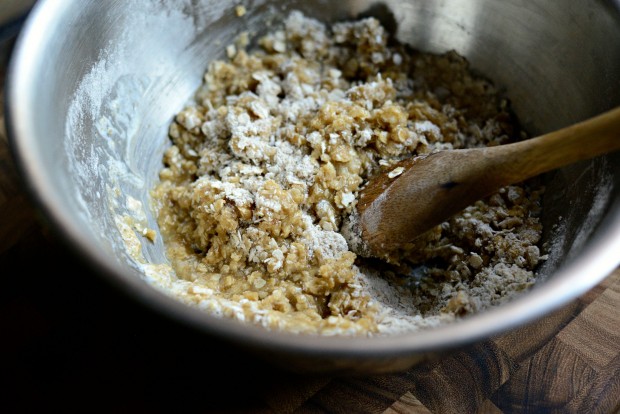
…and stir…
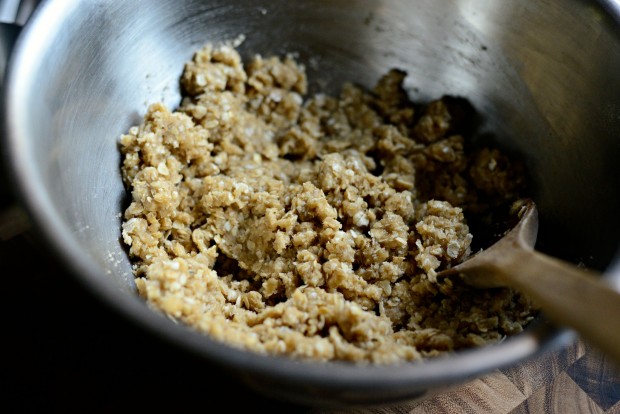
…until the butter is completely absorbed into the dry ingredients.
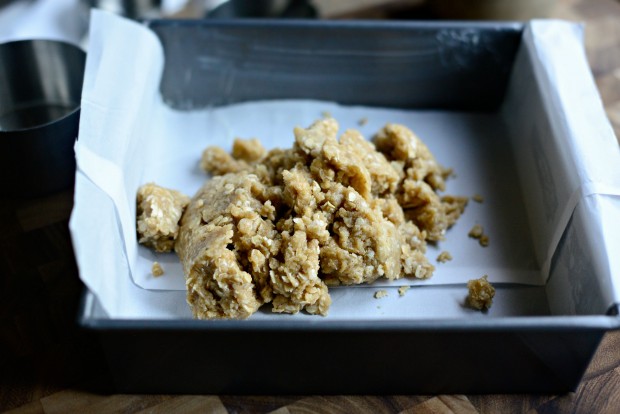
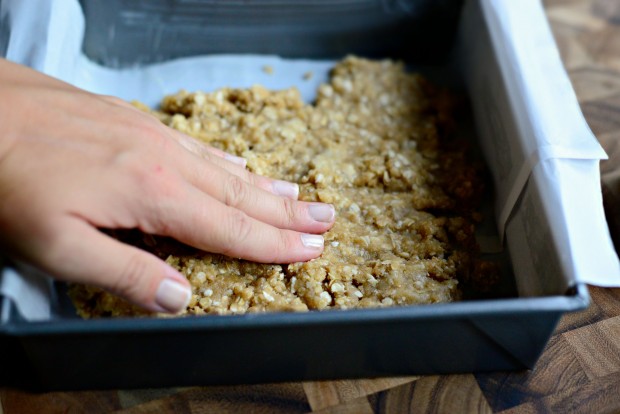
Place half of the oatmeal mixture into the pan…
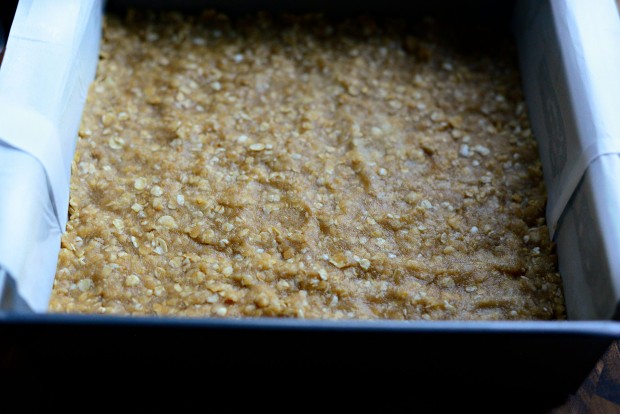
…and use your fingers to press it down evenly into the pan.
Like this ^. Slide the pan into a preheated 350 degree oven and bake for 8 to 10 minutes.
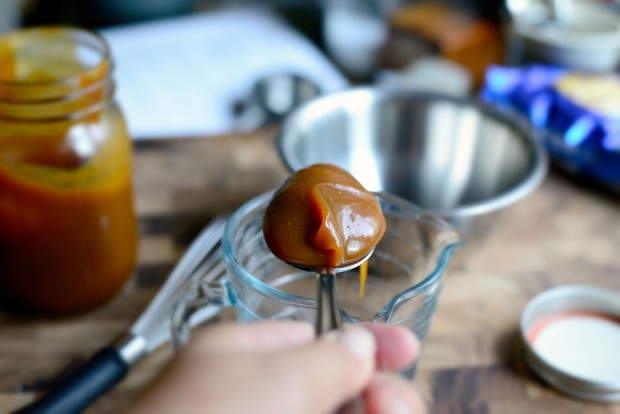
Meanwhile measure out 1/2 cup of homemade caramel sauce.
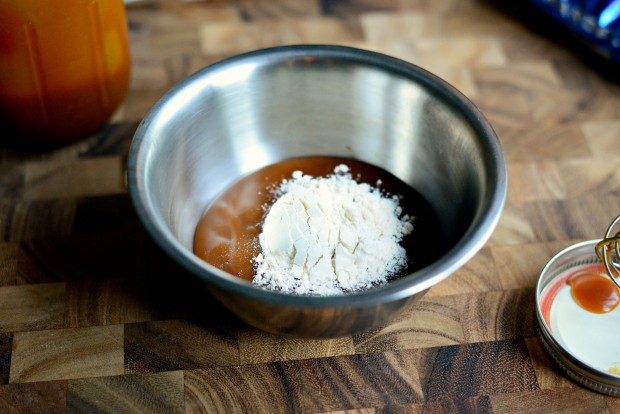
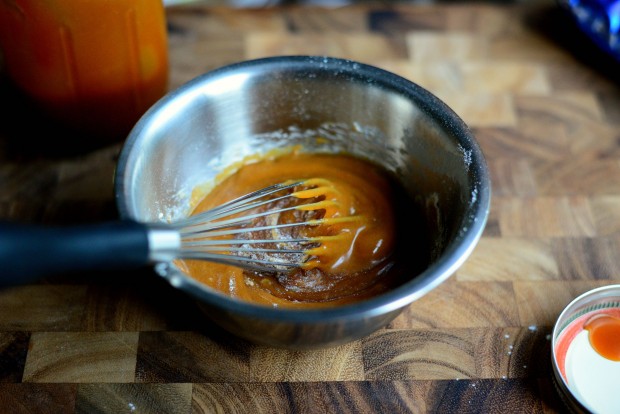
Pour that into a separate, smaller bowl along with 1 tablespoon of flour.
Whisk those until the flour is incorporated into the caramel.
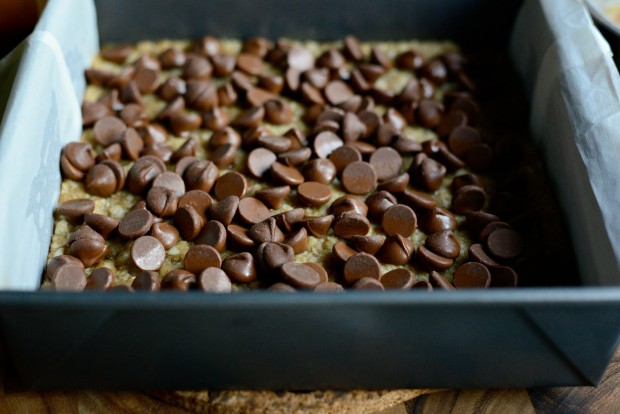
Once the oatmeal cookie base has finished par-baking, sprinkle with 1 cup of milk chocolate chips…
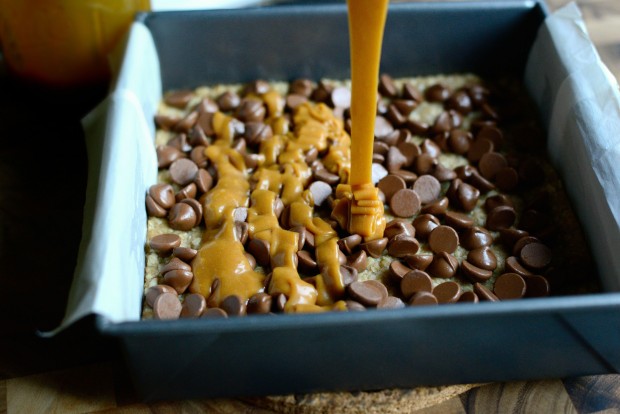
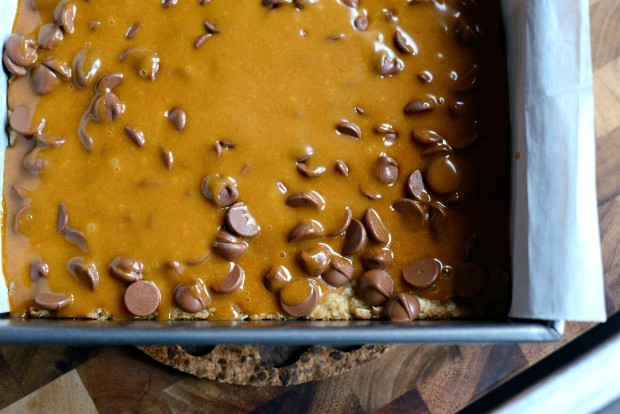
Pour the caramel over the chocolate chips. I had to fight the urge to stick my face in the middle of that ribbon of caramel. Truth.
Oh dear me.
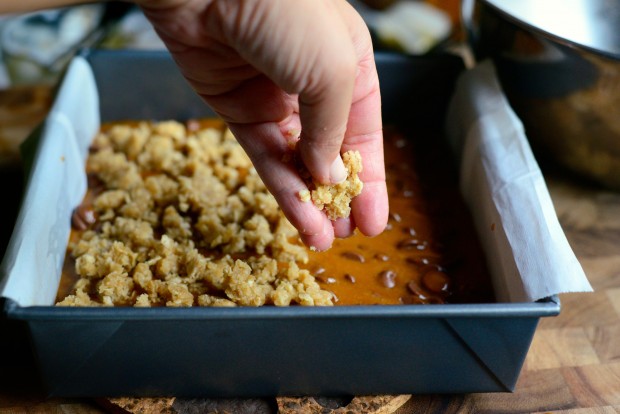
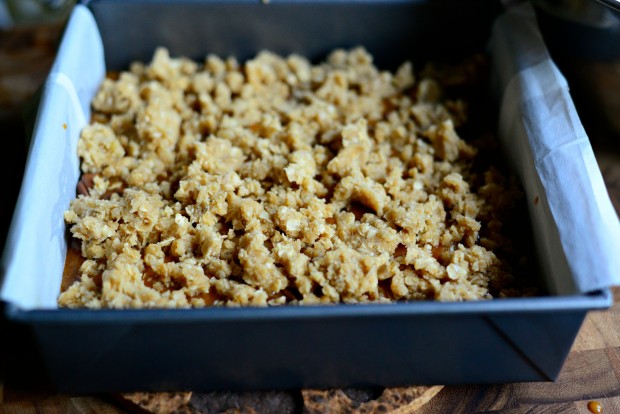
Take the remaining half of the oatmeal mixture, pinch and drop small pieces overtop of the caramel and chocolate chips.
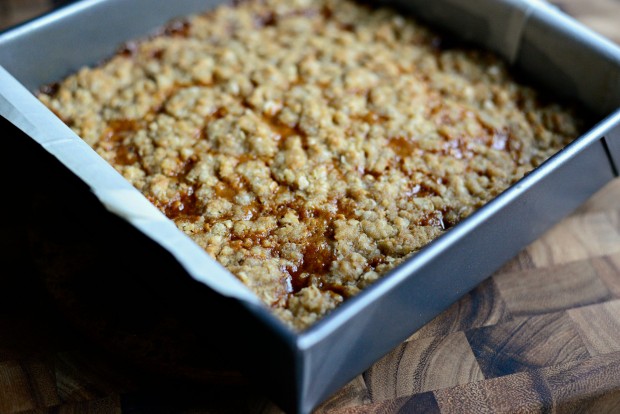
Now all that is left for you to do is slip this pan back into the oven for an additional 18 to 20 minutes.
These smell so dang good! I even burned my forearm on the oven rack by leaning in to close to smell them while baking. Totally worth it.
Ps. I call dibs on that corner.
I let the bars cool for 30 to 45 minutes before sliding the pan into my fridge to cool for another hour or two.
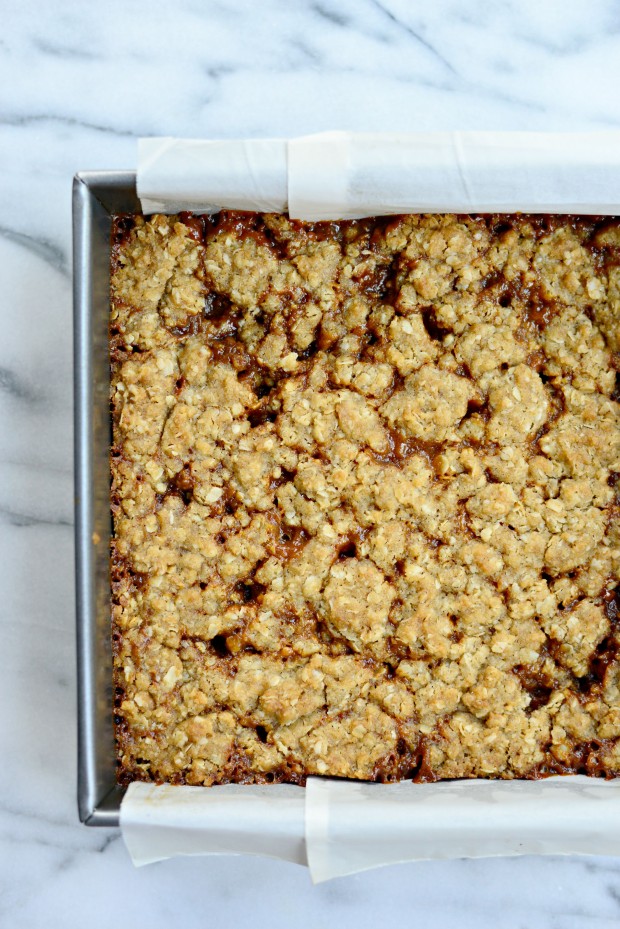
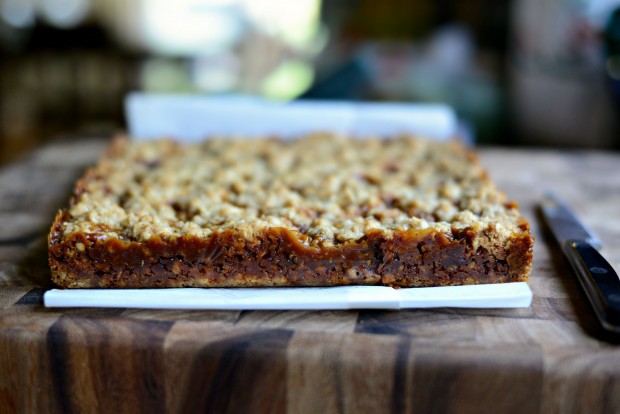
When it’s finally time to unveil the Carmelita bars… I first run a knife along the edge of the bars that’s touching the pan and then use the parchment paper handles to lift the whole thing out of the pan. This should not be done if the bars are still warm.
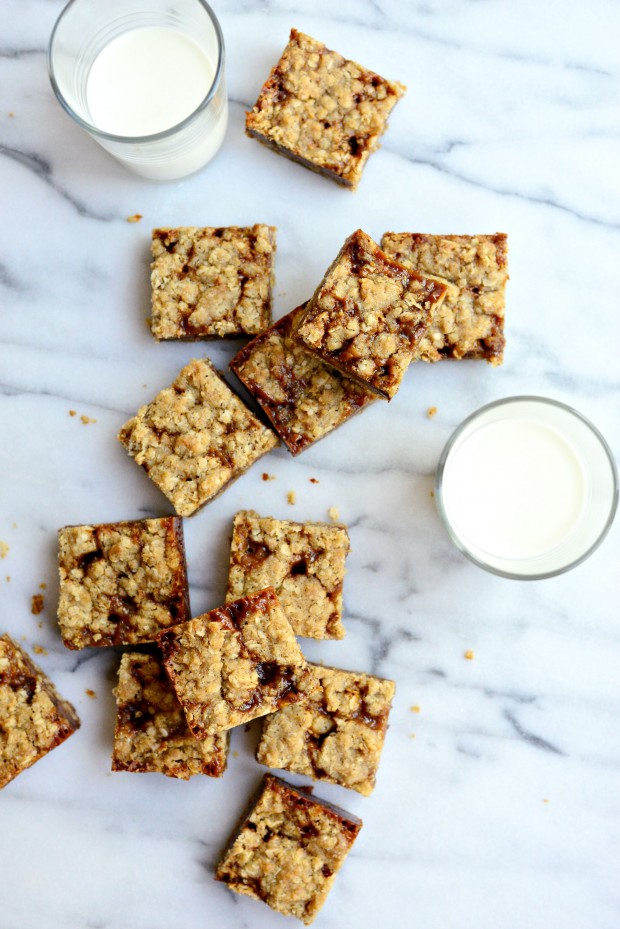
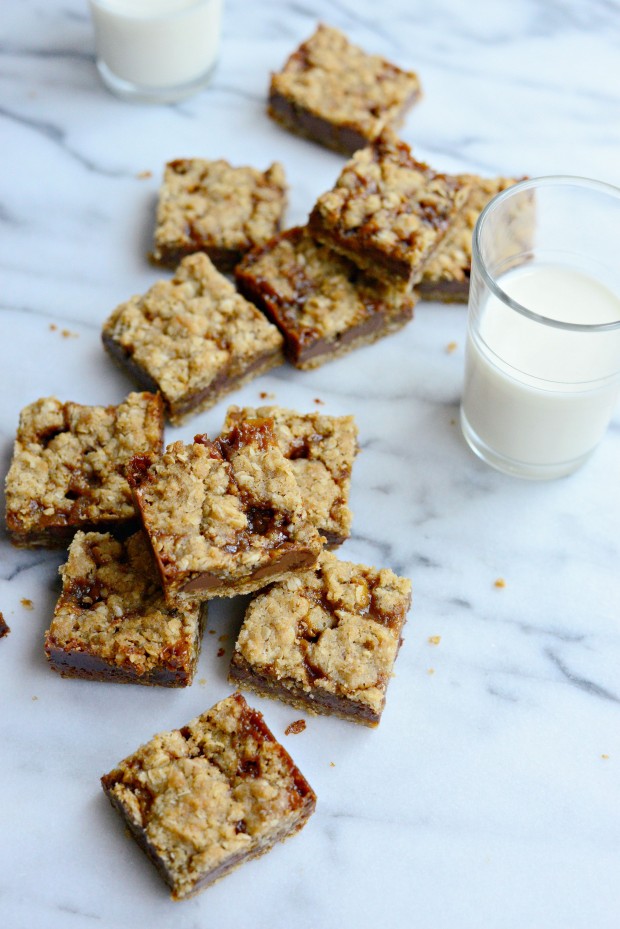
Cut into 16 squares… or 4 depending. And savor the chocolate-caramel-oatmeal goodness.
Reasons why I heart these:
1. these are basically fabulously gooey cookies in bar form.
2. ah-hello?! CHOCOLATE.
3. the edges of crispy caramel are all mineminemine. sign. me. up.
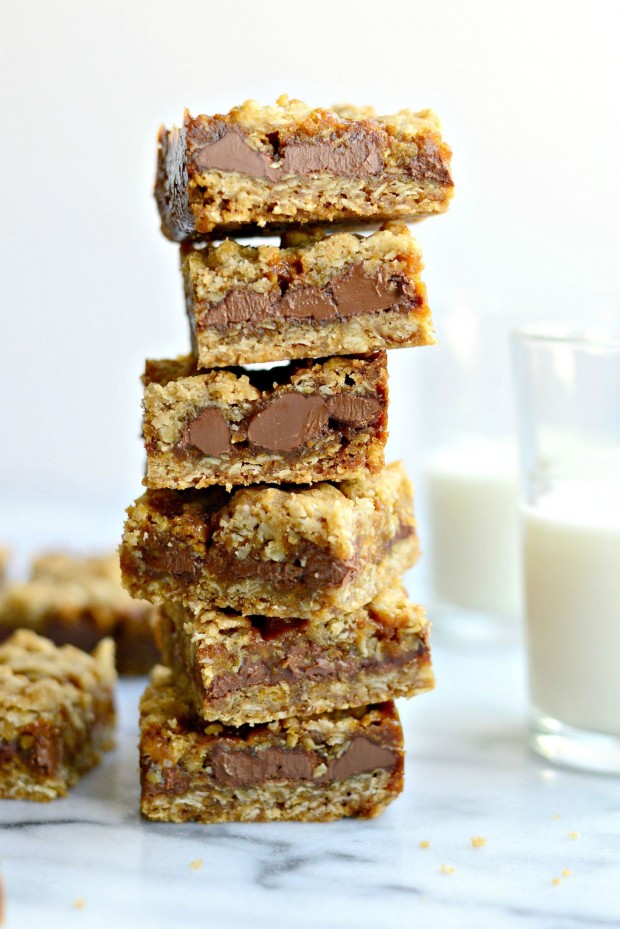
and 4. the caramel basically fossilizes the chocolate chips so most of them keep their shape. Cross-sectioned chocolate chips… you’re my favorite.
Serve the carmelitas with a glass of milk, merlot or a small bowl of vanilla ice cream. Eat with a fork, a spoon or your fingers.
Just be sure to lick the caramel and melted chocolate off afterwards <——-best part ever.
Enjoy! And if you give this recipe a try, let me know! Snap a photo and tag me on twitter or instagram!
Carmelitas
Ingredients
- nonstick baking spray, or butter, for greasing pan
FOR THE CRUST:
- 1 cup unbleached all-purpose flour
- 1 cup quick cooking oats
- 3/4 cup lightly packed light brown sugar
- 1/2 teaspoon baking soda
- 1/4 teaspoon kosher salt
- 3/4 cup unsalted butter, melted
FILLING:
- 1/2 cup homemade caramel sauce
- 1 tablespoon unbleached all-purpose flour
- 1 cup milk chocolate chips, like Ghirardelli
Instructions
- Preheat your oven to 350° and line an 8x8 baking pan with parchment and lightly grease the expose sides of the pan with butter.
- In a medium bowl combine the flour, oats, sugar, baking soda and salt and mixt to combine. Pour in the melted butter and mix thoroughly.
- Divide the mixture in half. Press half of the oat mixture into the prepared pan with your finger tips. Bake in preheated oven for 10 minutes.
- Meanwhile in a small bowl, whisk together the caramel sauce and flour.
- Immediately scatter the chocolate chips over the warm crust and drizzle the caramel mixture over top. Pinch pieces of the remaining crust and scatter over top of the caramel and chocolate chips.
- Bake for an additional 18-20 minutes. Allow the bars to cool for 30 to 45 minute before placing in the fridge for 1 to 2 hours or until set.
- Run a knife along the sides of the pan and release the bars using the parchment paper as handles. Cut the bars into 16 pieces and serve.
[this post contains affiliate links.]
Buy the Cookbook: Simply Scratch : 120 Wholesome Homemade Recipes Made Easy Now available on Amazon »
THANK YOU in advance for your support!

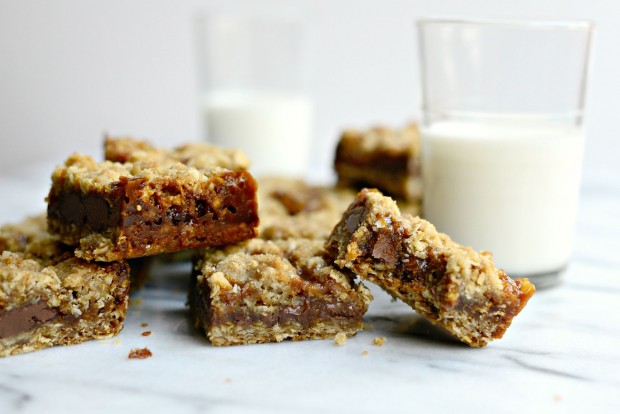
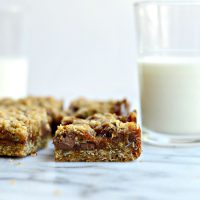


As if oatmeal cookies aren’t already awesome, this sandwiching action happens and I don’t even have the words.
These look absolutely delicious! Can’t wait to make them!!
Well, I’m definitely not a sweet tooth but have all the ingredients laid out to make these today, just because they look so good! You really have a talent, Laurie! Fingers crossed I refrain from stirring that caramel sauce:))
They are sooooo good! Very simple and easy to make. To them to a BBQ yesterday and they were a hit!!!! Thanks for the awesome recipe!
I’m so glad Stacey! Thank YOU! ❤️
Made these last night (and your homemade caramel recipe)—both were delicious! I wanted so badly to eat a square warm straight out of the pan!
Hi Laurie! I’m making these tonight for my husband’s work party tomorrow and just wanted to let you know that the actual recipe at the bottom doesn’t include the baking temperature (or at least I don’t see it!) – I found the 350 in the body of the post, but at first I was looking on my phone so then I’m just usually scrolling to the bottom to get to the steps. I think you usually include that kind of stuff in the recipe so people can print it out so just wanted to let you know!
Also, I actually made your caramel sauce earlier this week to make another recipe (Two Peas and their Pod’s Twix Caramel Cookie Bars) and I loved it! Your instructions were so detailed and perfect to follow – plus the other ones I’ve tried don’t use water and require stirring the sugar the whole time and my arm gets tired 🙂 Thanks for a new go to caramel recipe!
Thank you for pointing that out Allison! That’s kind of important info to have missing from the printable instructions ;).
P.S. I’m SO happy you love the caramel sauce! I’ve been putting it in and on EVERYTHING! Enjoy the carmelitas!
HELP. i have made these three times already since you posted this recipe only 20 days ago. i’m addicted.
Best.Comment.Ever. ❤️
Wow! These look amazing!
I’ve made the caramel sauce, it’s cooling! But I’ve realized I don’t have any parchment paper. Could I use aluminum foil instead?
Thanks!
Hi Jeannette! I don’t see why not. Enjoy and Happy New Year! ❤️
I made these today to take to a picnic because I just knew I didn’t need the whole pan to myself. I did double the recipe and they turned out delicious. I had several people ask me for the recipe.
That’s great! I’m so glad, Molly!
I just took these out of the oven. I doubled the recipe because of the number of people I must serve. That may have been a mistake. The amount of butter seemed excessive and after 10 minutes the base was almost soupy when I shook the pan. So I baked the base for longer. I also baked the finished bars longer because of the same soupyness (SP). The homemade caramel however is fabulous. First time I have ever done It and will always do It now! Yum. I hope these will set up as they cool. There was not any indication in the instructions that that may be the case. Here’s hoping. :))
Hello again, they did firm up as they cooled!!!! YAY!!!! They look gorgeous! Hope they taste as good.
Kathleen Gonsalves
Oh I’m so glad! Enjoy!
If I make these on a Friday, would they still be good on Sunday? What’s the best way to store them?
I would think so! I’d keep them in the fridge just to be safe.
My husband loved them!
And I’m not a caramel fan, but, I’ll make an exception for these. And too too easy to make!