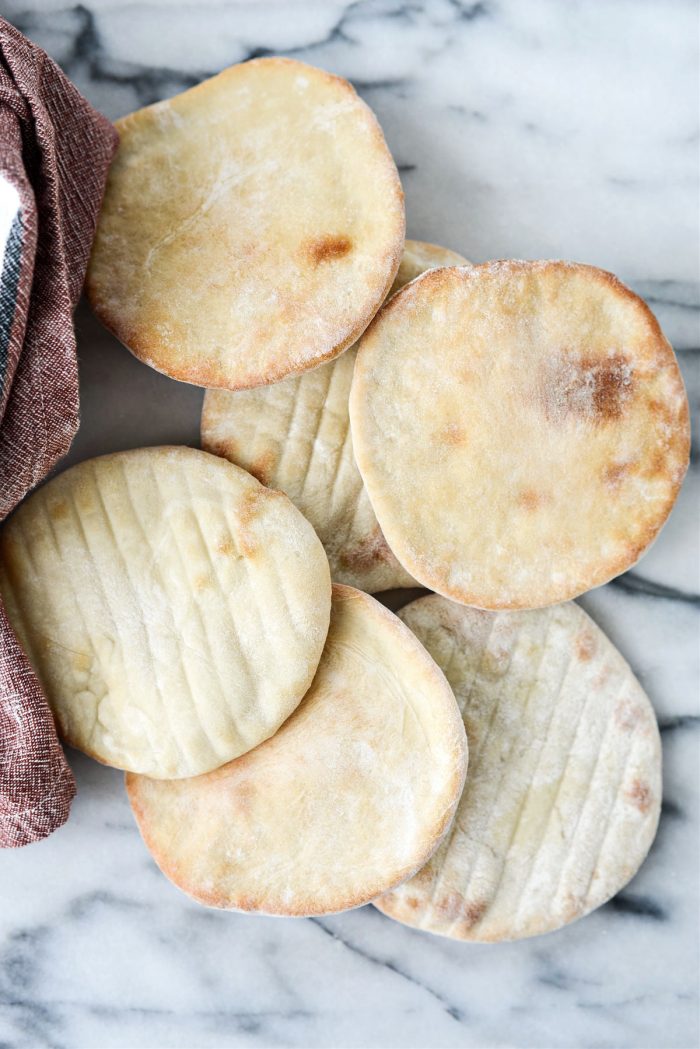
Making homemade Mini Pita Bread is fun and easy! A simple dough is rolled and baked in a hot oven where it puffs up creating the signature pocket for filling. This recipe makes 16 small or mini pita bread loaves.
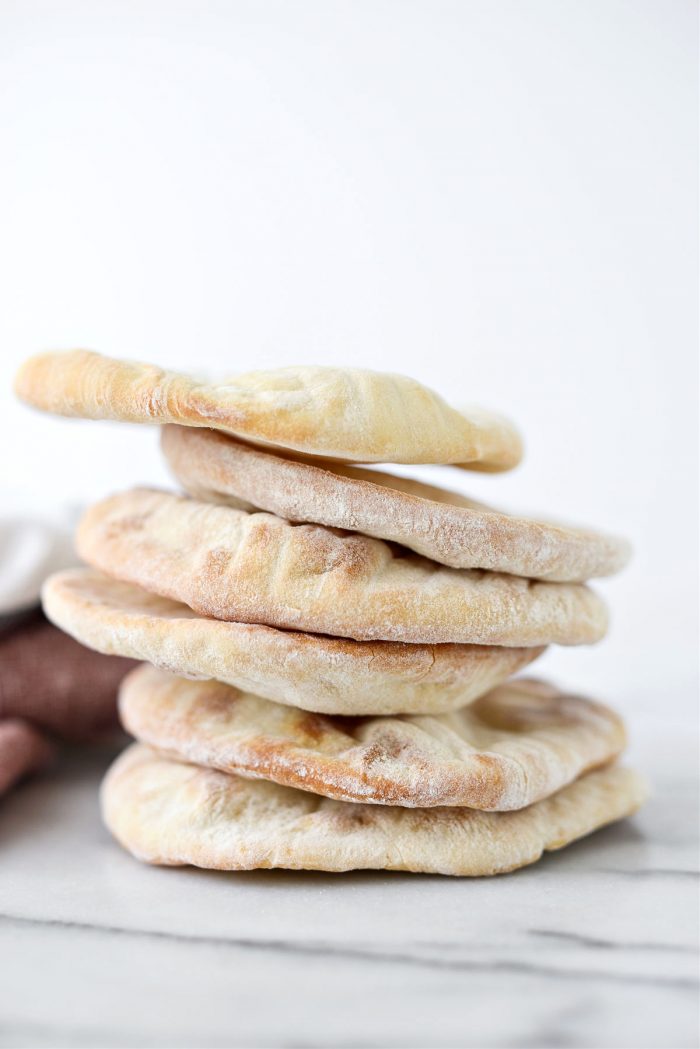
Pita bread is one of the easiest breads to make.
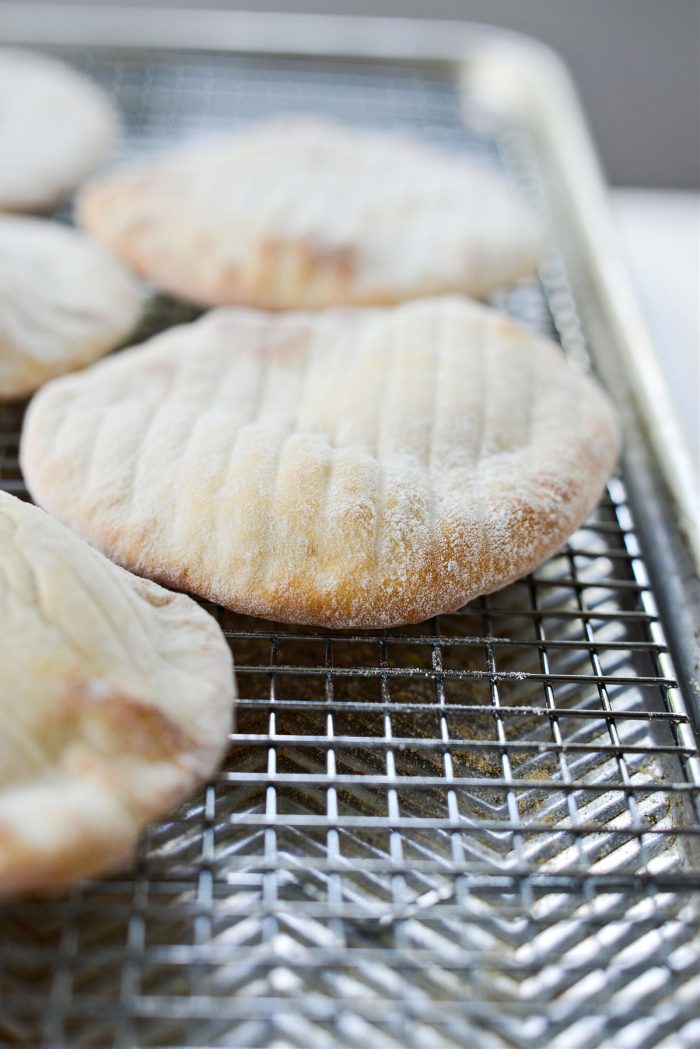
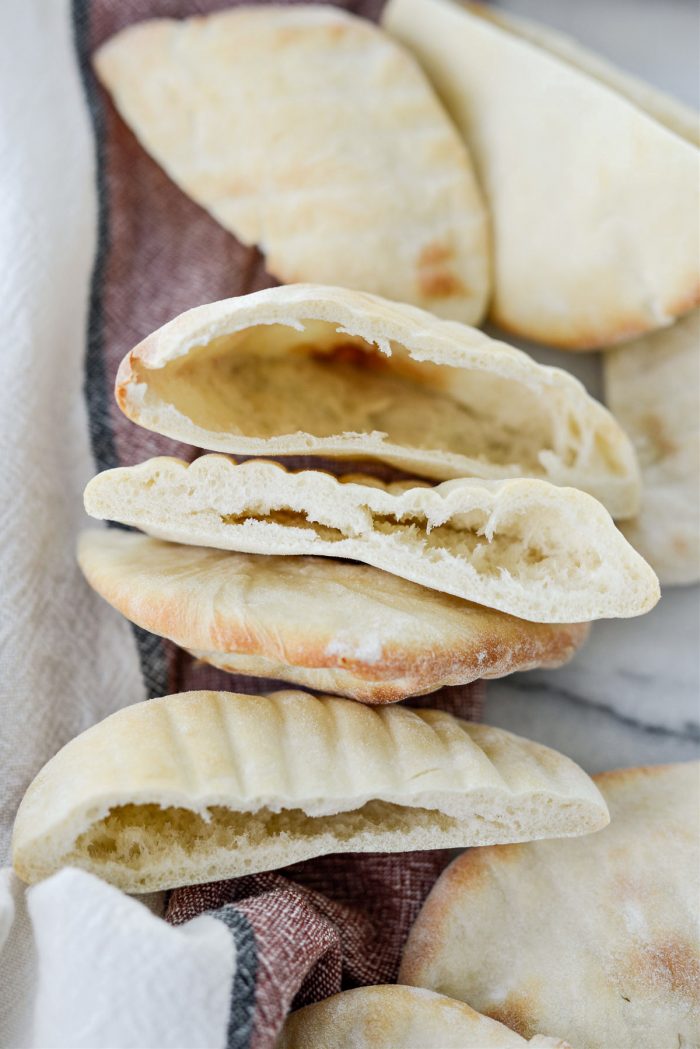
Not to mention fun, delicious and so much better than store-bought. This recipe call for simple ingredients, like; yeast, sugar, bread flour and salt, however, the real magic happens in the oven. The heat of the oven will puff the center of bread which ends up being the pita pocket. So cool.
However you don’t have to stuff these mini pitas if you don’t want too. Recently, I made these and served them torn with hummus and tabbouleh. INCREDIBLE! The exterior is slightly crisp and yet the interior is deliciously soft. This recipe may ruin you for all future pitas – I’m just saying.
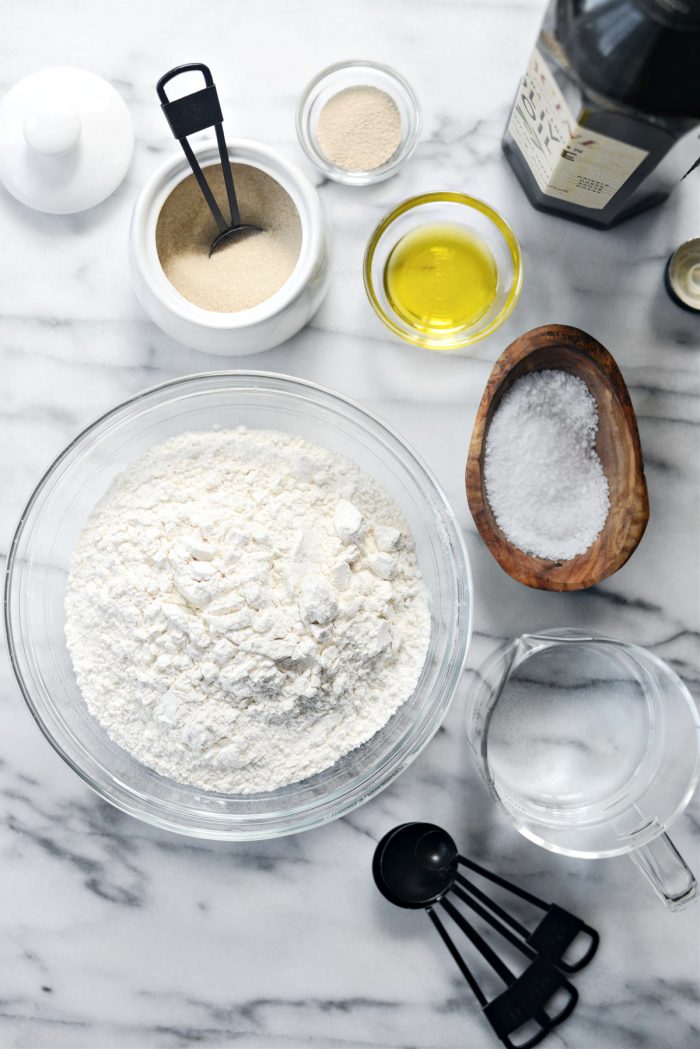
To Make These Mini Pita Bread You Will Need:
- sugar
- water
- yeast
- unbleached bread flour
- olive oil
- kosher salt
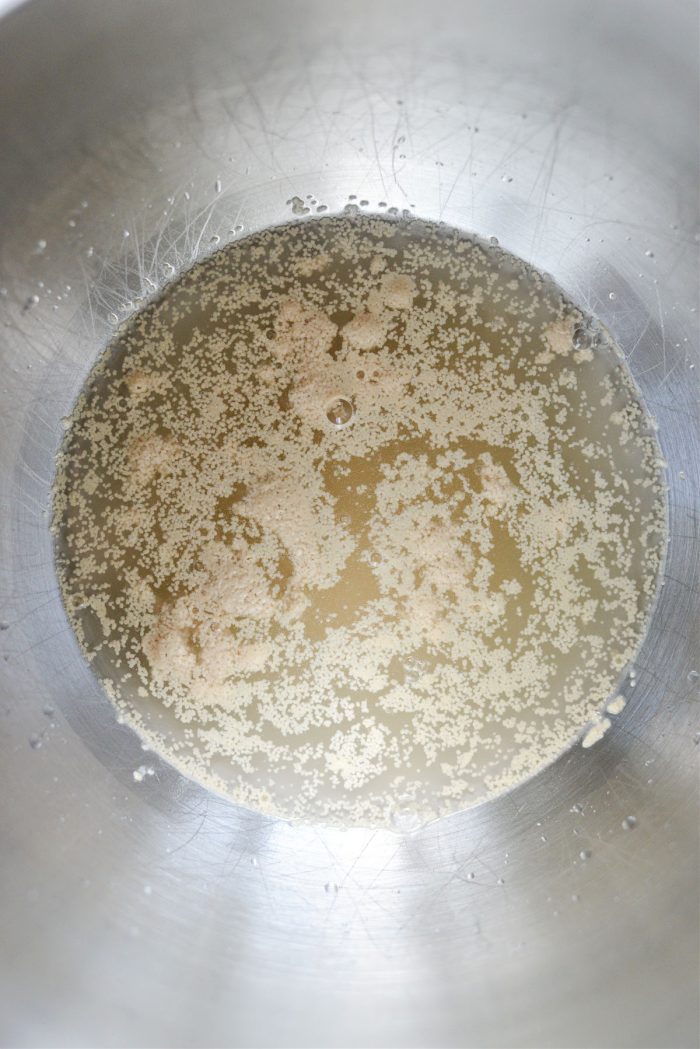
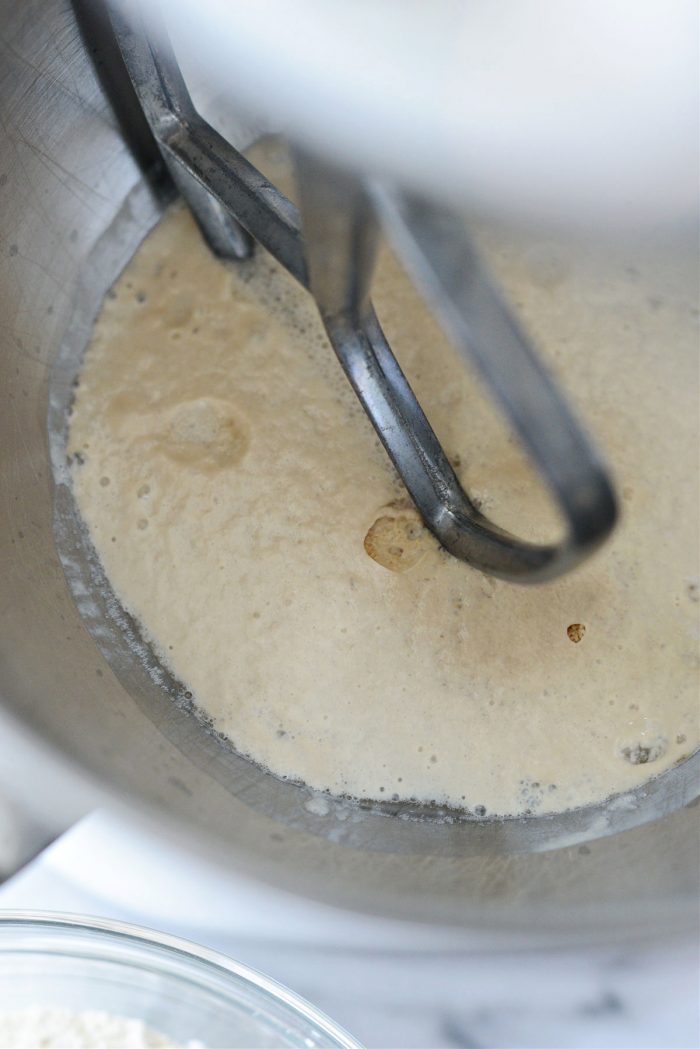
Dissolve 1 and 1/2 teaspoons sugar in 1 cup plus 2 tablespoons warm (not too hot) water. Sprinkle in 1 and 1/2 teaspoons active dry yeast and set aside for 5 to 8 minutes to activate the yeast.
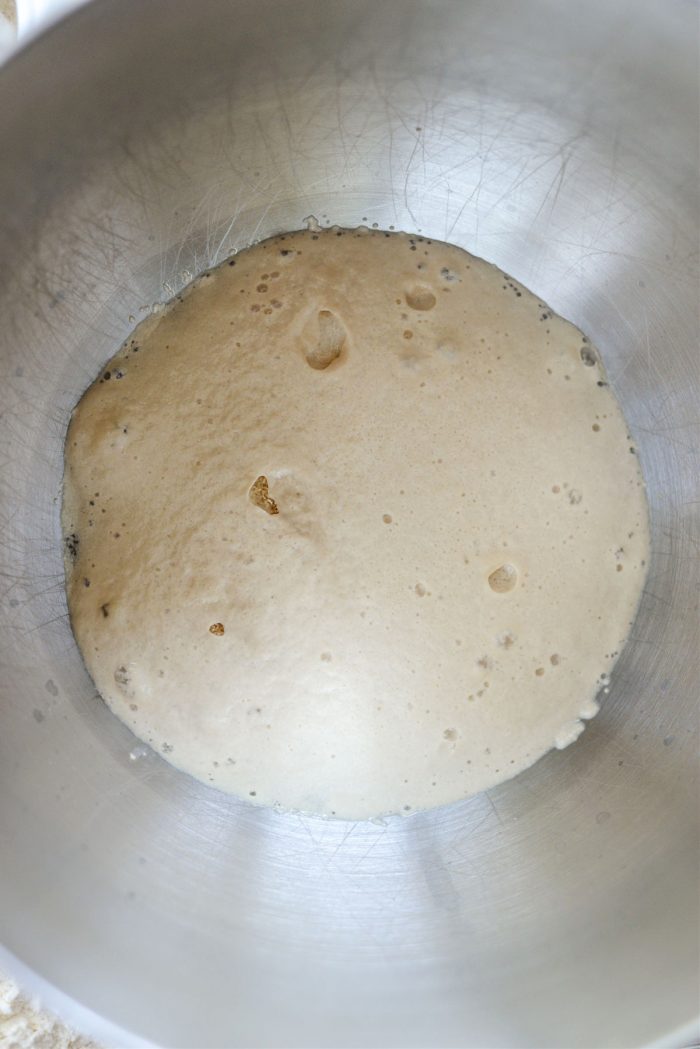
After the 5 to 8 minutes, the mixture should be foamy.
Attach the bowl to your stand mixer, fitted with the paddle attachment.
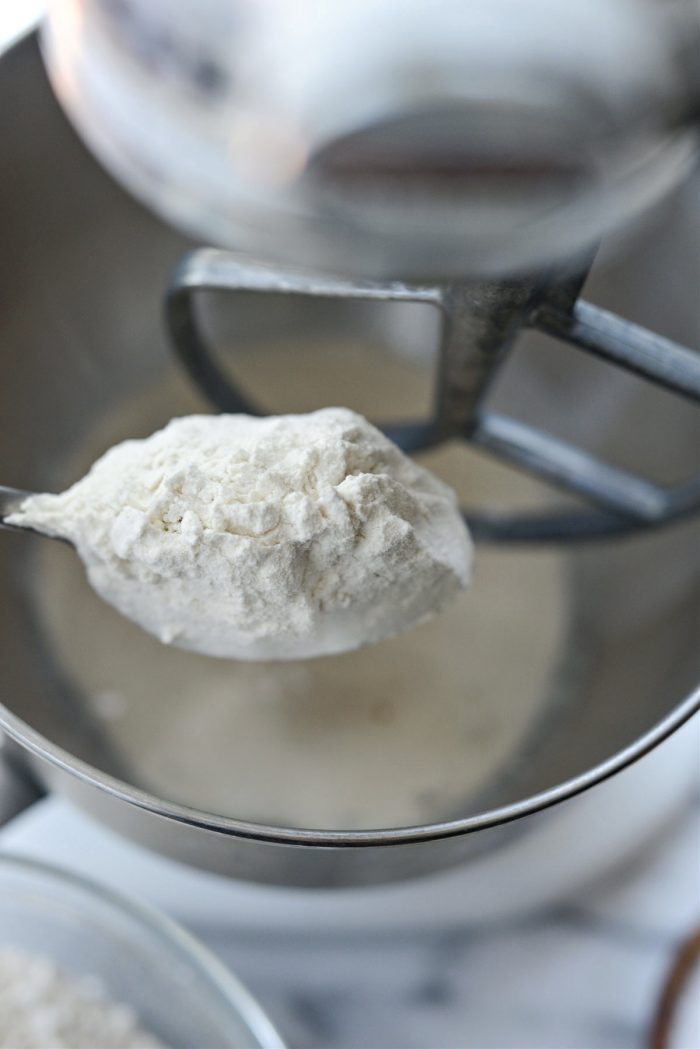
With the mixer on low, gradually add in 3 cups bread flour.
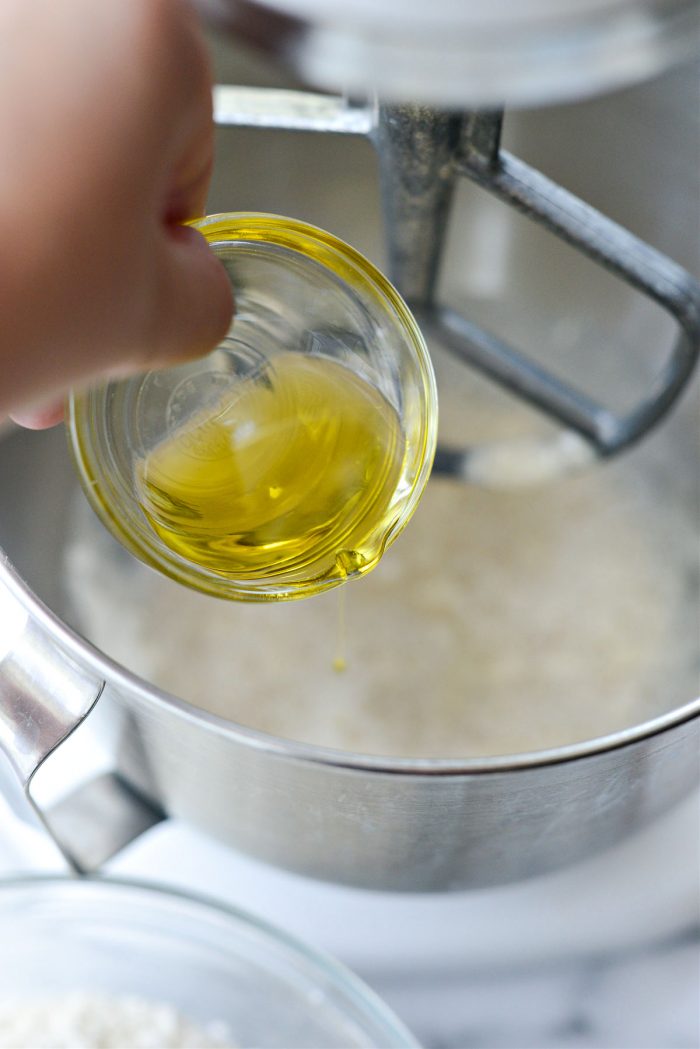
1 tablespoon olive oil.
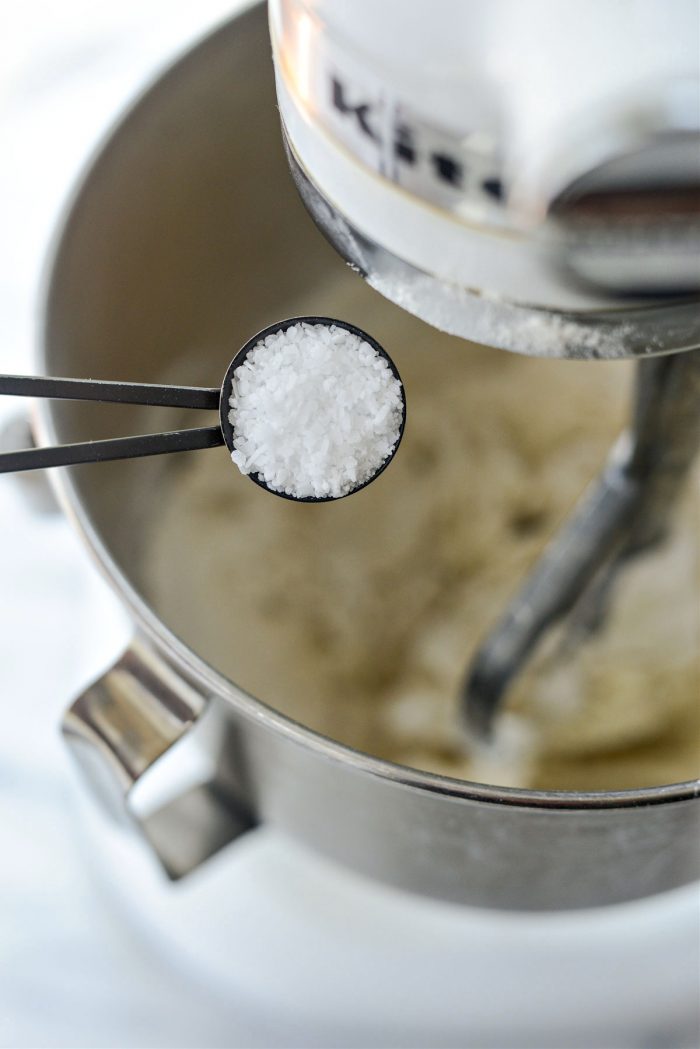
And 1 teaspoon kosher salt.
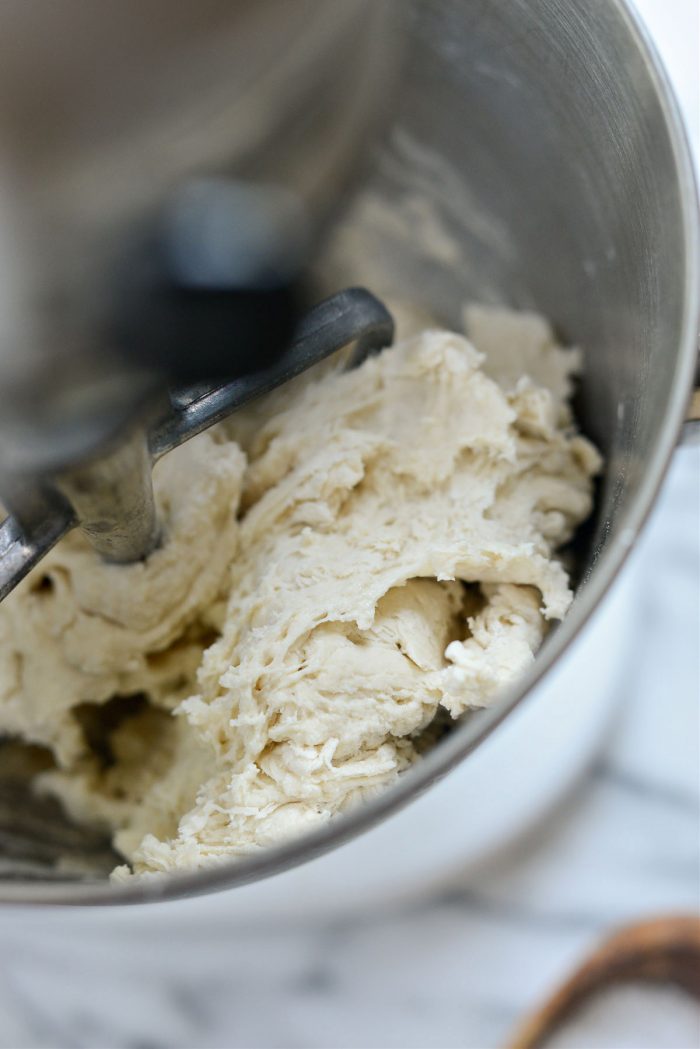
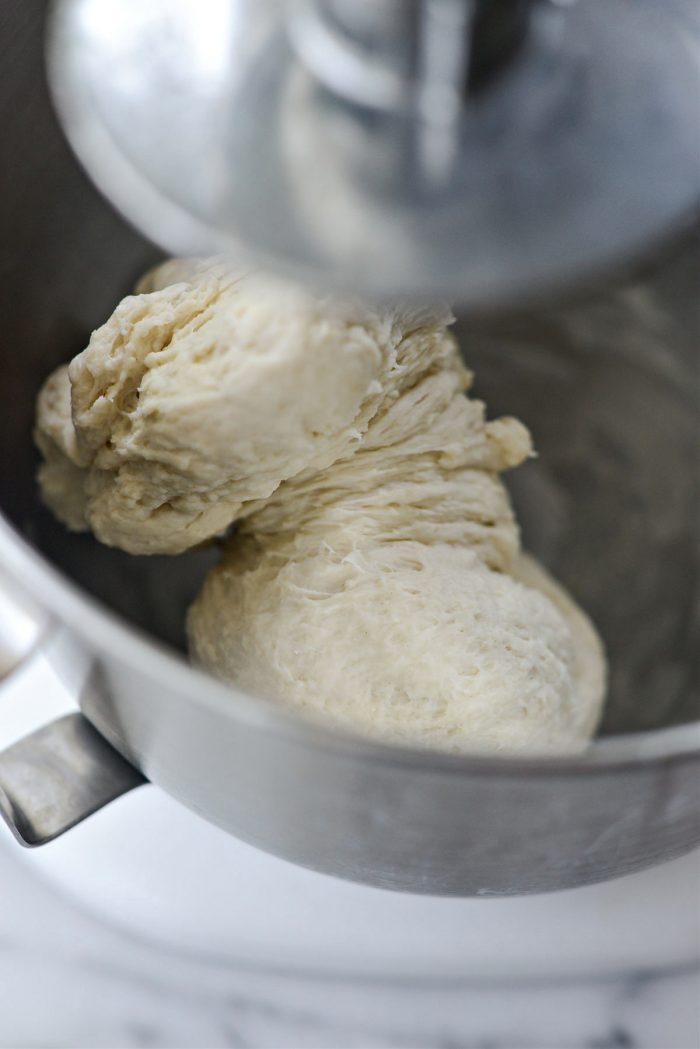
Once the dough is just about combined, swap the paddle attachment for the dough hook.
With your mixer on low, “knead” the dough for 6 minutes.
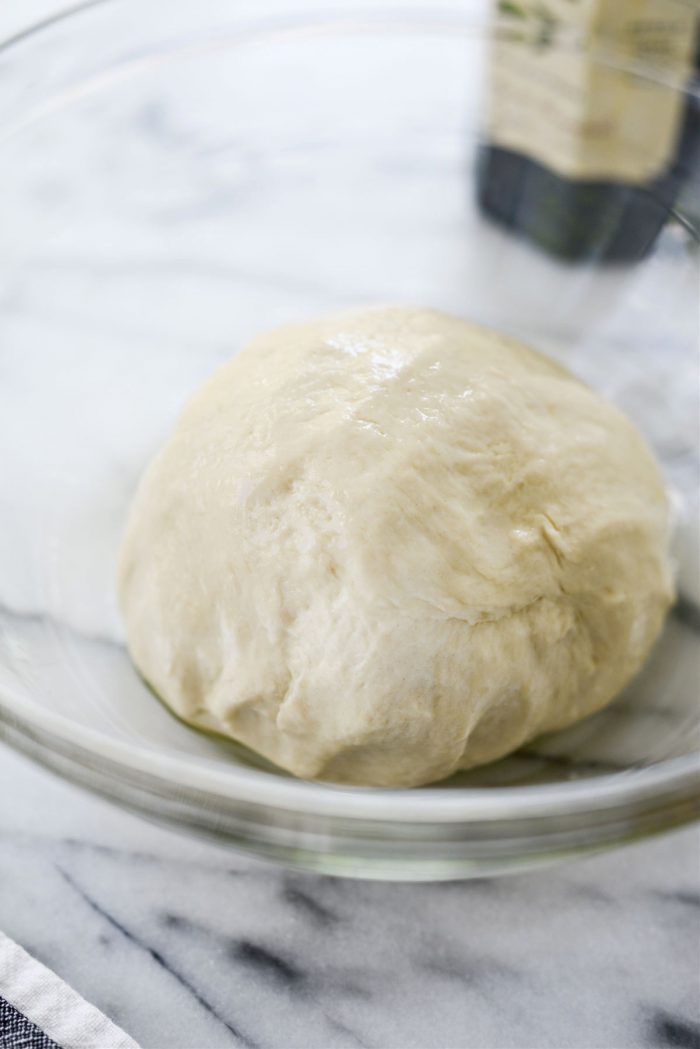
After the dough has been kneaded, add a splash of olive oil into a large bowl. Shape the dough into a ball and transfer to the bowl with the oil. Coat the dough in the oil and use it to grease the sides of the bowl.
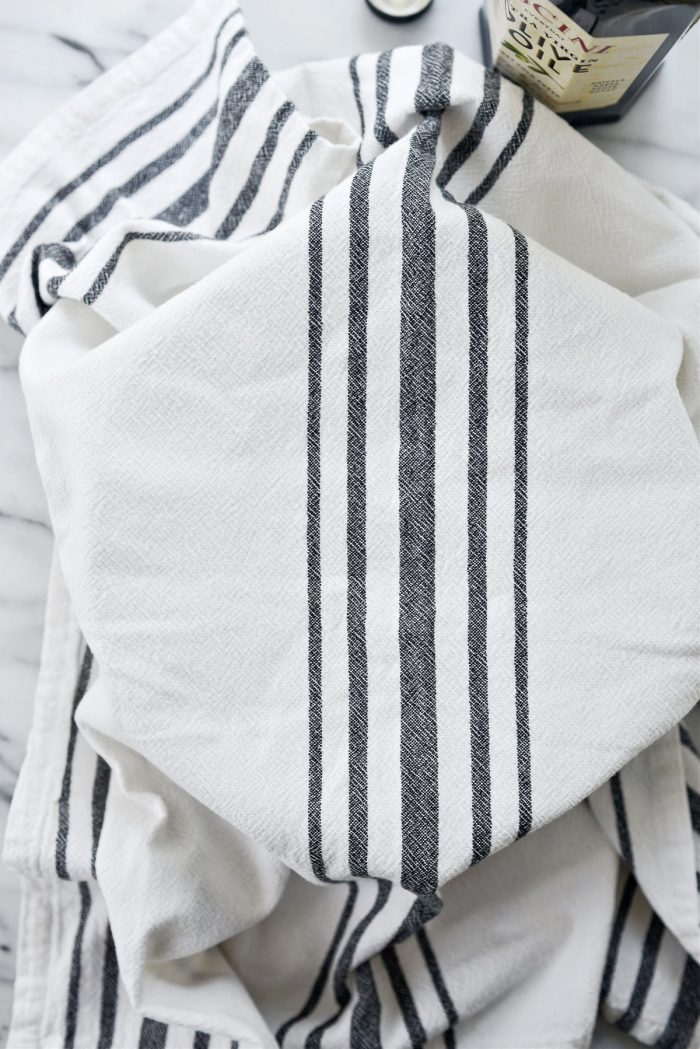
Cover with a clean towel and let rise for 1 hour or until doubled in size.
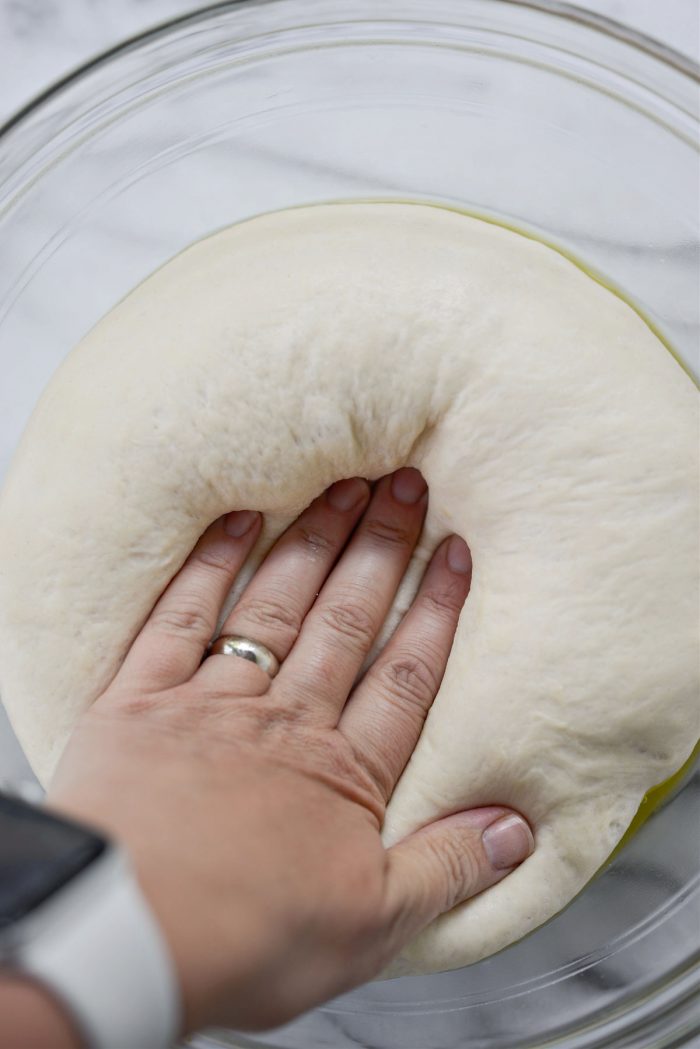
When the dough has risen, use your clean hands to press the air out of the dough.
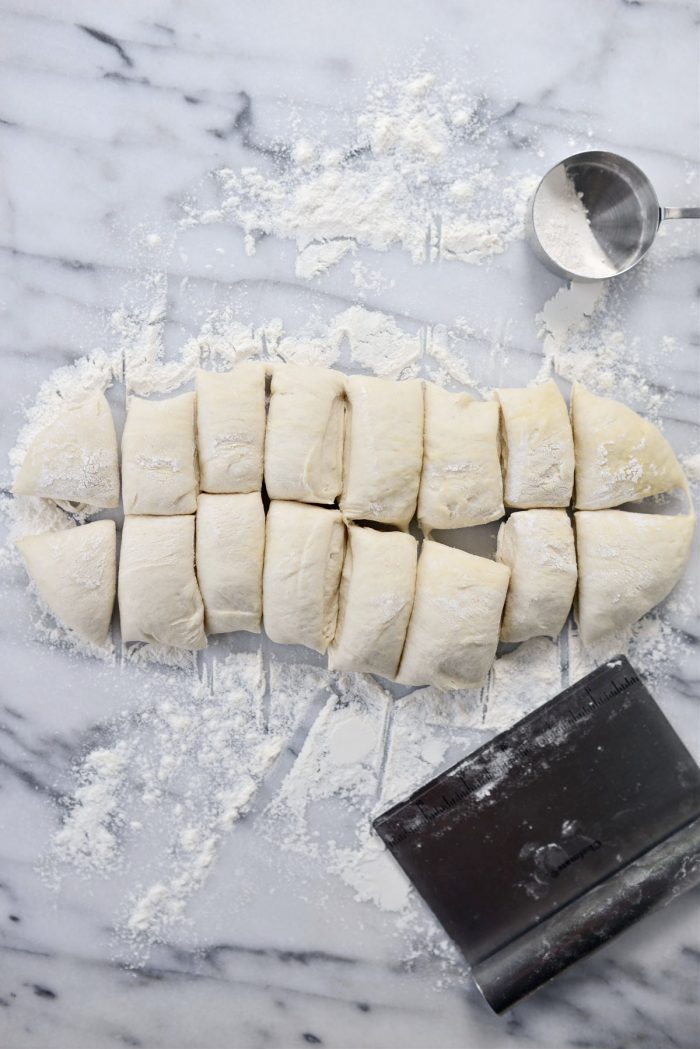
Turn the dough out onto a lightly floured surface. Shape into a uniform log and cut in half lengthwise. Then divide both strips in half, and then in half again, repeating until you have 16 pieces.
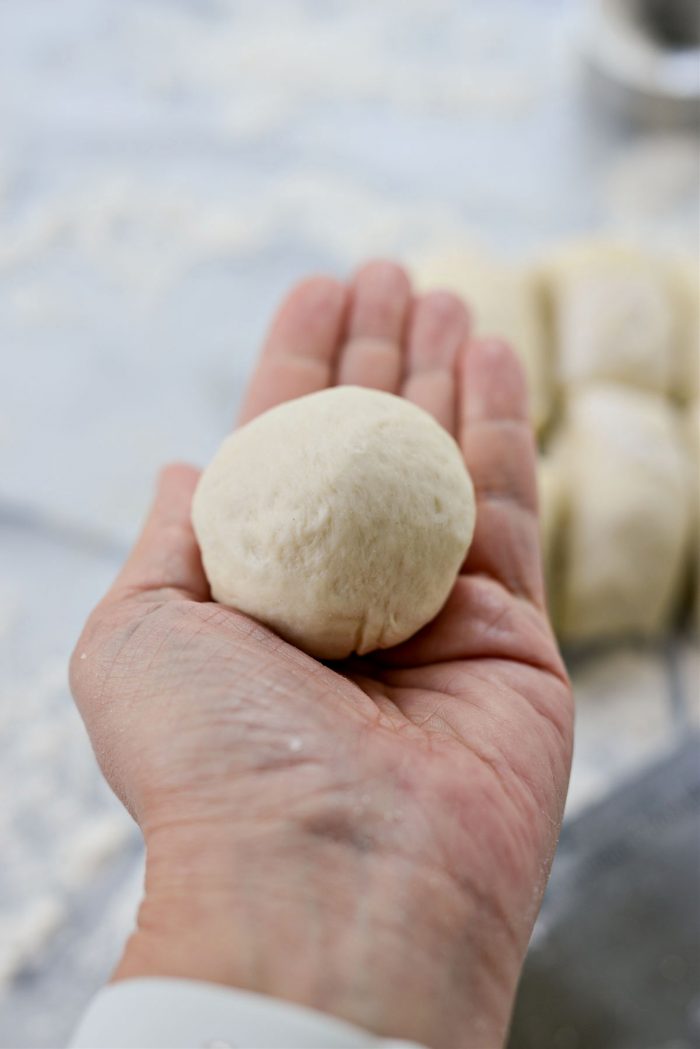
Shape into a ball and roll until smooth.
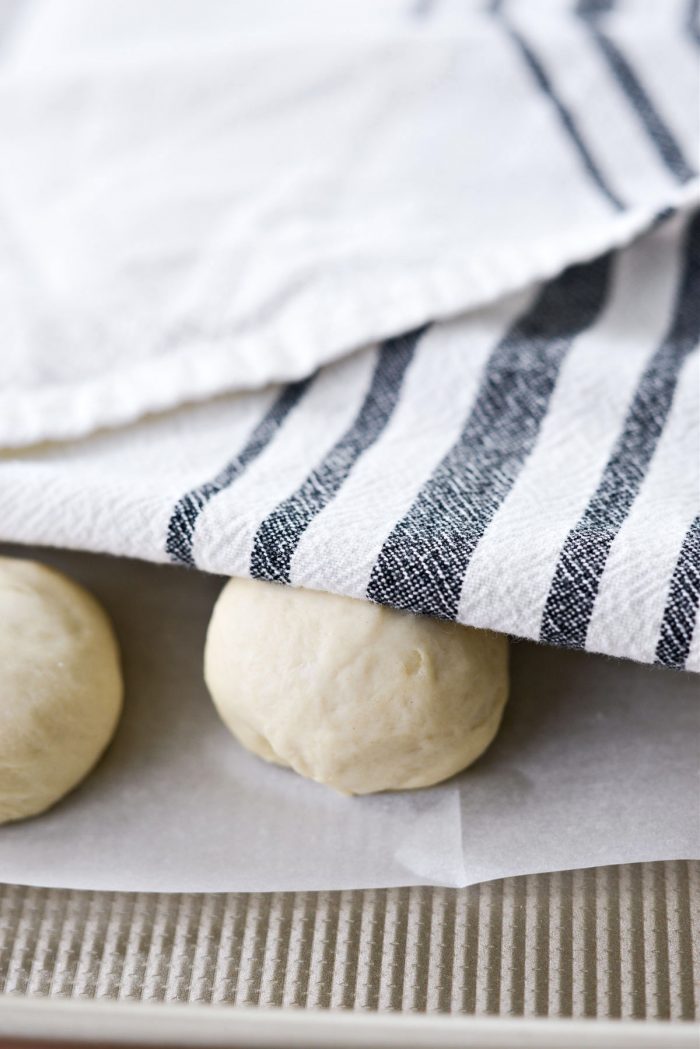
Place on parchment paper lined sheet pan, cover with a clean towel and repeat with remaining pieces. Let rest for 15 minutes.
Meanwhile, preheat your oven to 475℉ (or 245℃). And set a wire rack into a rimmed metal baking pan.
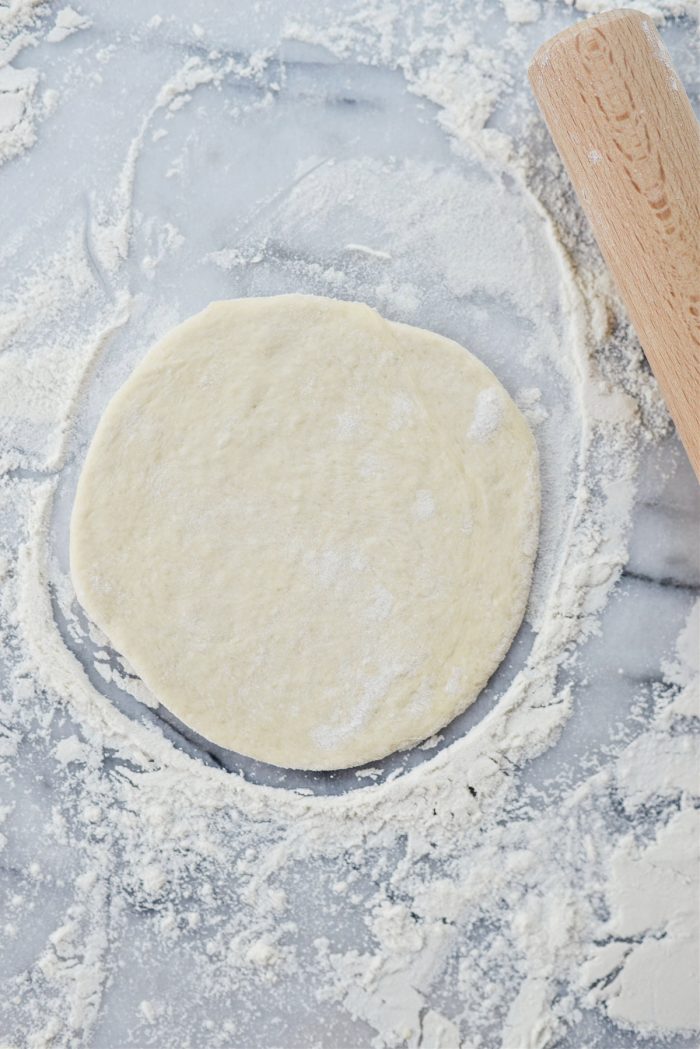
On a lightly floured surface, work in batches, rolling each round out roughly 4-inches in diameter.
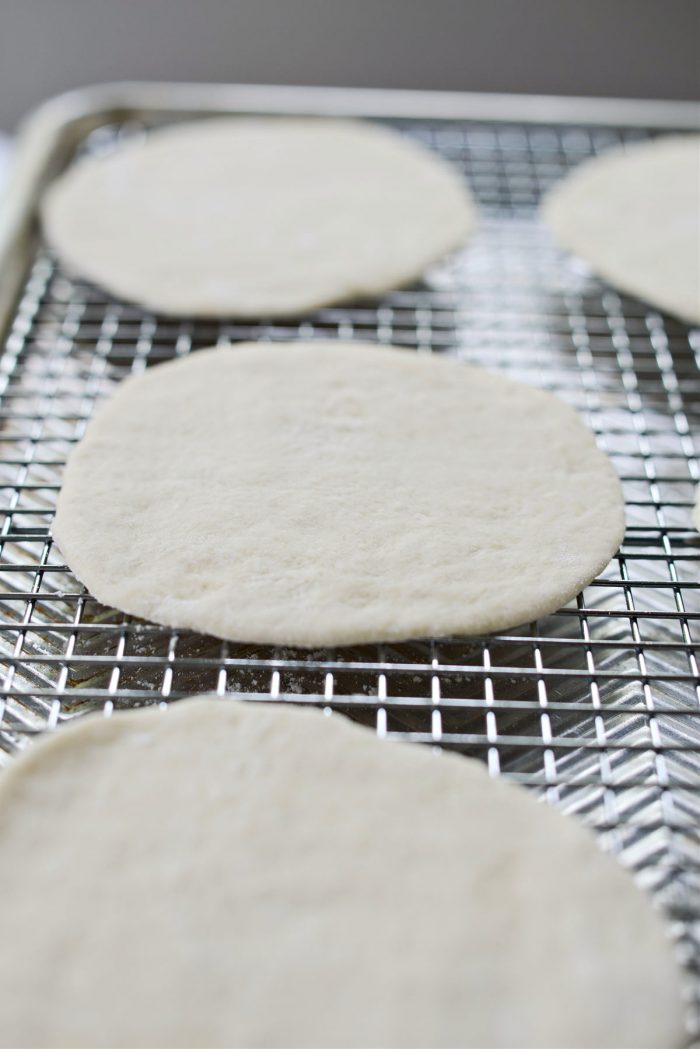
Transfer to wire rack. Roll out the rest and place between layers of clean kitchen towels.
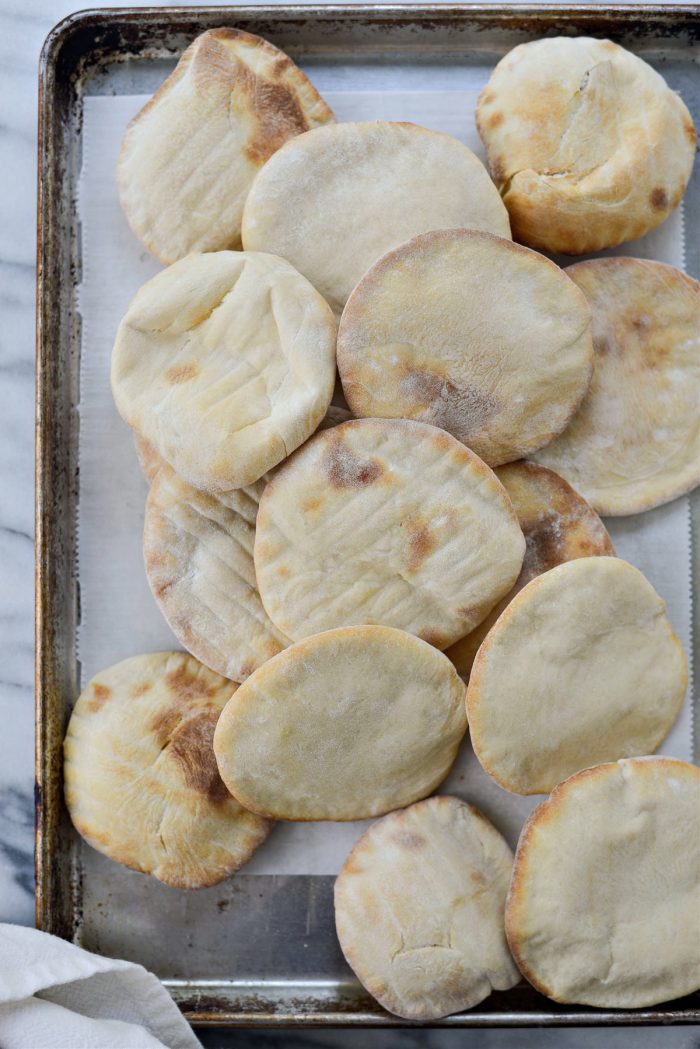
Once the rack is filled, slide pan into your preheated oven and bake 4 to 5 minutes. Use tongs to turn them over and bake for an additional 2 to 3 minutes OR until the edges are golden and both the tops and bottoms are fully cooked. Transfer to a clean sheet pan and cover with a couple kitchen towels or large flour sack towel. The steam that escapes will help soften the pita bread.
Repeat with the remaining rolled out pita dough rounds.

See? So easy!
What To Do with Mini Pita Bread?
There is so many ways to enjoy pita bread. They can be stuffed, torn and dipped into dips like hummus or baba ghanoush. They are great as crust for flatbread or pizza and day old pita can be torn into pieces and turned into croutons for fattoush salad.
Enjoy! And if you give this Mini Pita Bread recipe a try, let me know! Snap a photo and tag me on twitter or instagram!
Mini Pita Bread Recipe
Ingredients
- 1½ teaspoon granulated sugar
- 1 cup warm water, plus 2 tablespoons
- 1½ teaspoons active dry yeast
- 3 cups unbleached bread flour
- 1 tablespoon olive oil, plus more for bowl
- 1 teaspoon kosher salt
Instructions
- In the bowl of your stand mixer (fitted with the paddle attachment) add sugar and dissolve with warm water. Sprinkle in yeast and let sit for 5 to 8 minutes to activate the yeast.
- With the mixer on low speed, gradually add the flour, then the olive oil and salt. Once this has just about combined, switch over to a dough hook. With your mixer on low speed, knead for 6 minutes.
- In a large bowl, add a splash of olive oil. Shape the dough into a ball and transfer to the bowl. Coat the dough in the oil and use it to grease the sides of the bowl.
- Cover with a clean towel and let rise for 1 hour or until doubled in size.
- Turn the dough out onto a lightly floured surface. Shape into a log and cut in half lengthwise. Then divide both strips in half, and then in half again, repeating until you have 16 pieces.
- Shape into a ball and roll until smooth. Place on parchment paper lined sheet pan, cover with a clean towel and repeat with remaining pieces. Let rest for 15 minutes.
- Meanwhile, preheat your oven to 475℉ (or 245℃). And set a wire rack into a rimmed metal baking pan.
- On a lightly floured surface, work in batches, rolling each round out 4-inches in diameter, transfer to wire rack. Once the rack is filled, slide pan into your preheated oven and bake 4 to 5 minutes. Turn over and bake for an additional 2 to 3 minutes OR until the edges are golden and the tops and bottoms are fully cooked.
- Remove transfer mini pitas to a clean pan and cover with a new towel. Repeat with remaining dough.
Buy the Cookbook: Simply Scratch : 120 Wholesome Homemade Recipes Made Easy Now available on Amazon »
THANK YOU in advance for your support!


When I get my place I’m making my own.
Super easy and tasty!
I’ve made these pitas 3 times on the grill and they are amazing. Everyone that came for the BBQ loved them and now they are a requirement for every BBQ.
Am going to make them…I make Tacos and my husband and I like the soft tacos…I could stuff these pitas without fallout, that would be fantastic…
Can I double or triple this recipe without any adjustments?
I don’t see why not!
Wanting to make these ahead of time for a get together…Do they freeze well!?
Sorry this did not work. They did not “bellow” and ended up very dry. Inedible. I made breadcrumbs from the results. Back to my previous method of full size pitas cooked on a cast iron pan inside the oven.