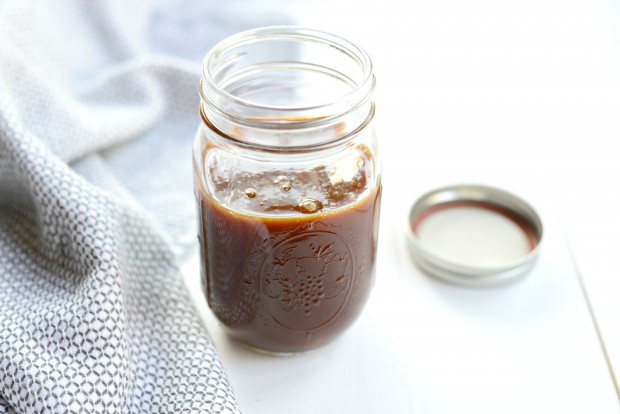
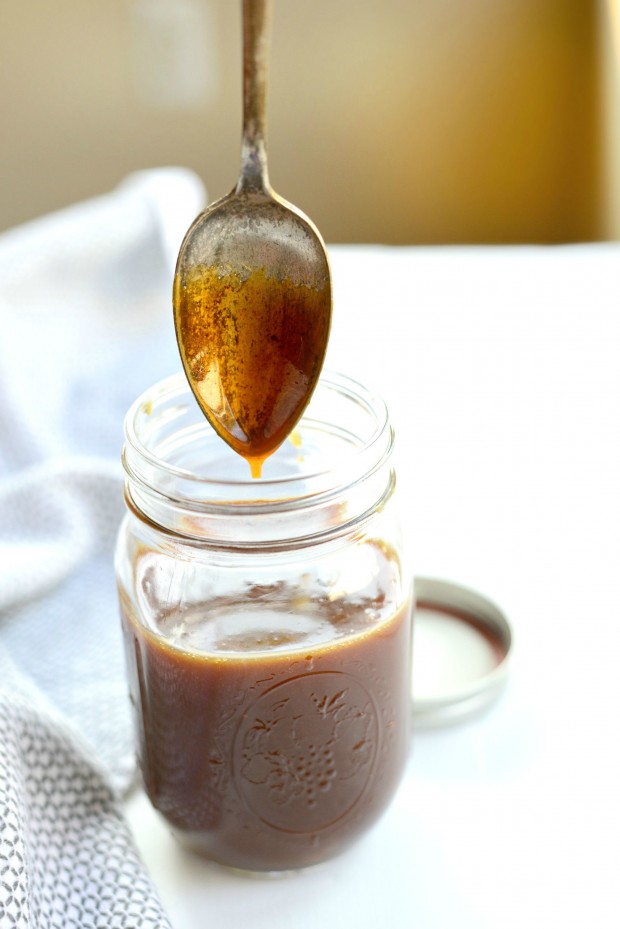
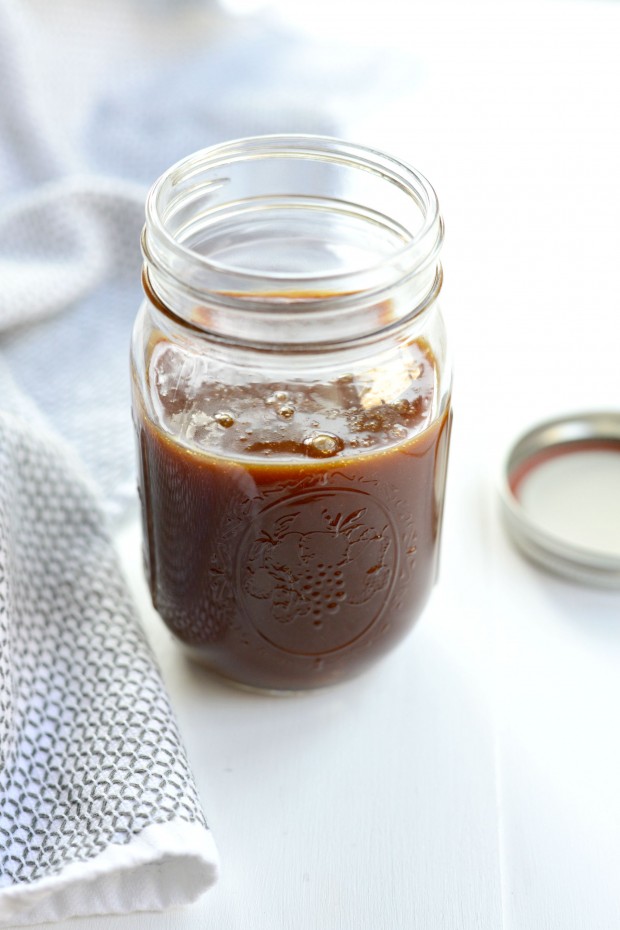
A simple homemade caramel sauce for dipping apples, topping ice cream, waffles, pie or your face.
I picked up my first peck of Michigan apples this weekend at the market.
I know I said I was hanging on to summer for as long as I can, BUT I can’t help but to get a little (read: A LOT with, like, fifty exclamation points!) excited when I see the paper bags with their paper handles filled with un-perfect yet perfectly perfect apples peeking out the tops. It’s still early so the apple options were slim; McIntosh, Spy and some other kind I’m totally blanking on but I know come fall there will be lots and lots to choose from. Since I never had a Spy apple in my life, I grabbed them- and locked it in that I was making homemade caramel sauce for apple dipping- among other things.
I’m proud to say that I am the first person to introduce my family to a from scratch caramel sauce. If you’ve never had it before, and I’m not talking about the melting of those cubes with the impossible cellophane wrappers… you have not lived. It’s pure bliss. The hint of burnt sugar, the butterscotch notes which I’m assuming is from the butter and vanilla combo… it’s worth the little hassle that caramel making has you endure.
Trust me. If I can do it, so can you!
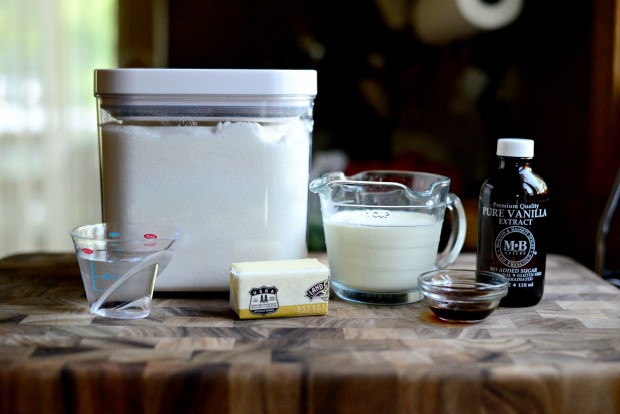
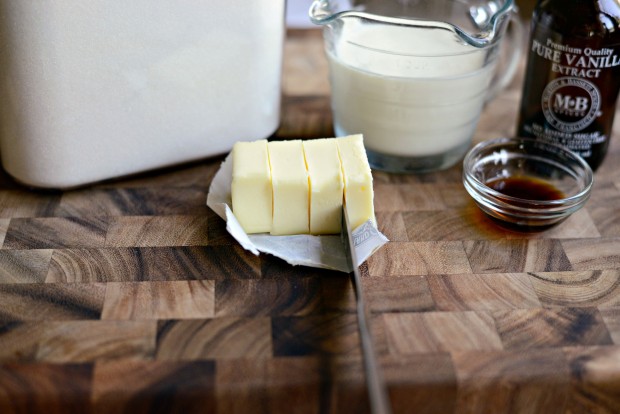
To make caramel you’ll need sugar, water, heavy whipping cream, butter, vanilla and salt.
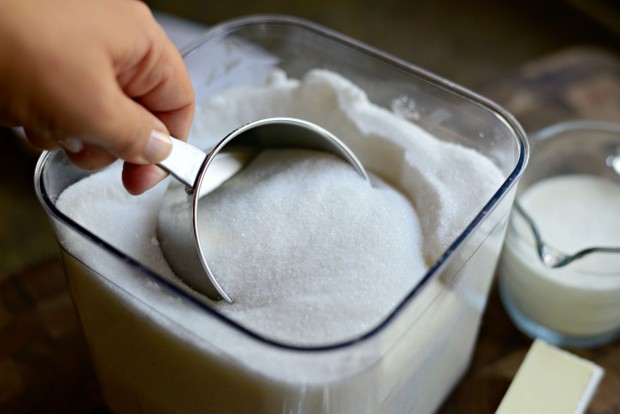
Measure out a cup of sugar.
Then 4 tablespoons of salted butter. (I’m using Land O’Lakes European butter- for kicks.)
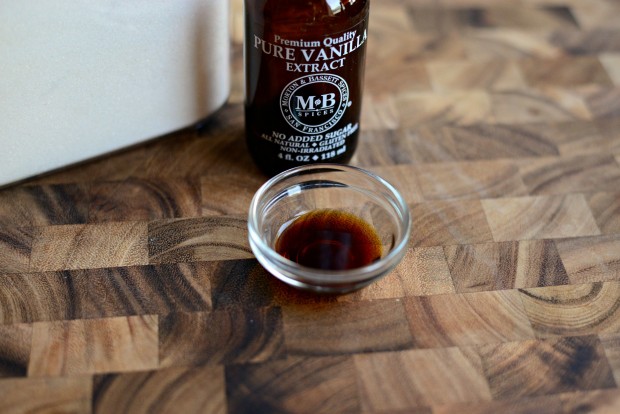
Lastly, measure out a teaspoon of pure vanilla extract.
Having your room temperature ingredients measured and nearby is pretty darn helpful if not crucial for caramel making to run smoothly (<— get it? SMOOOTHLY!?)
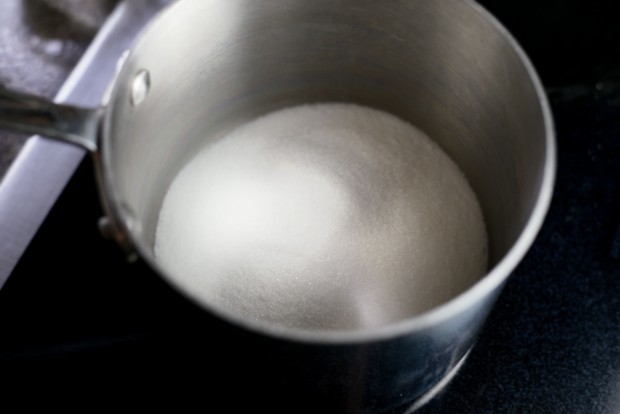
In a clean, heavy bottom sauce pan slowly pour the cup of sugar into the center.
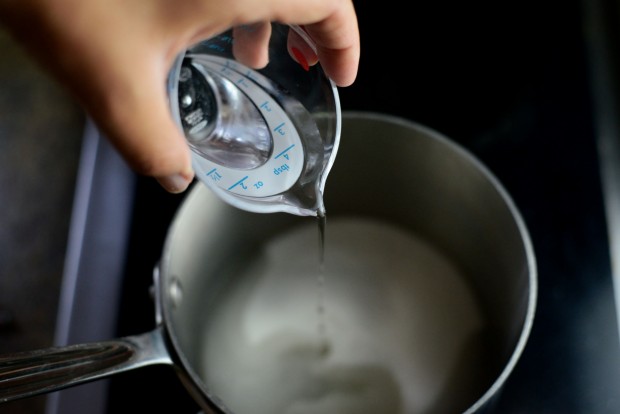
Pour in the 1/4 cup of water.
DO NOT STIR! Trust me on this, stirring disturbs the magical caramelization process that can result in a crystalized sugar hot mess. Trust me it’s bad. Honestly, I mean it… just stand by and allow the water to absorb the sugar before cranking the heat to medium high.
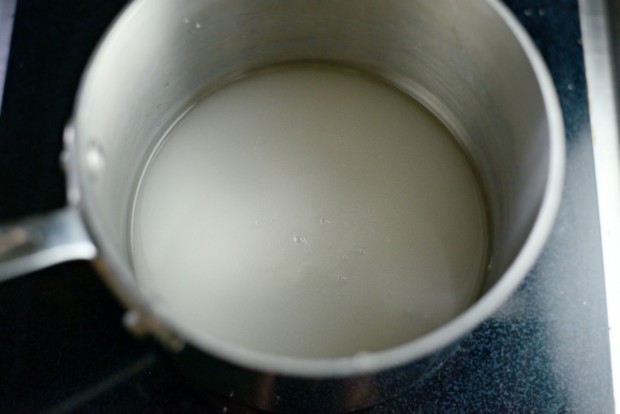
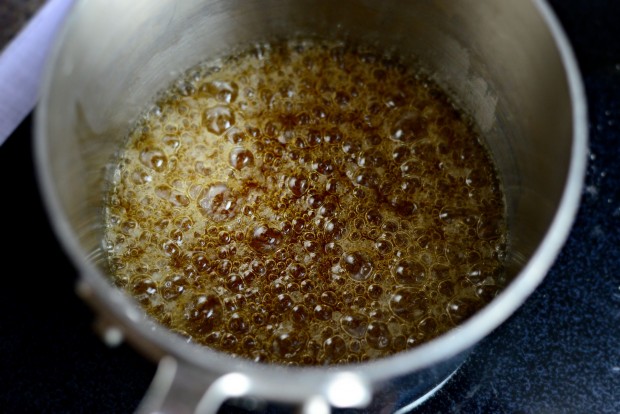
And just watch. Do not leave the stove top to get the mail, or change a load of laundry… stay close and watch the sugar/water mixture go from clear…
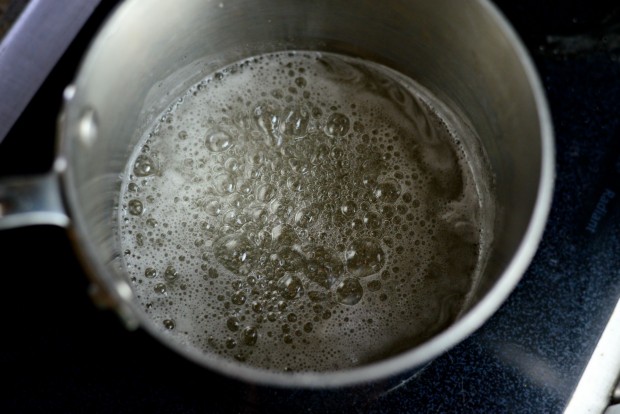
…to a champagne color…
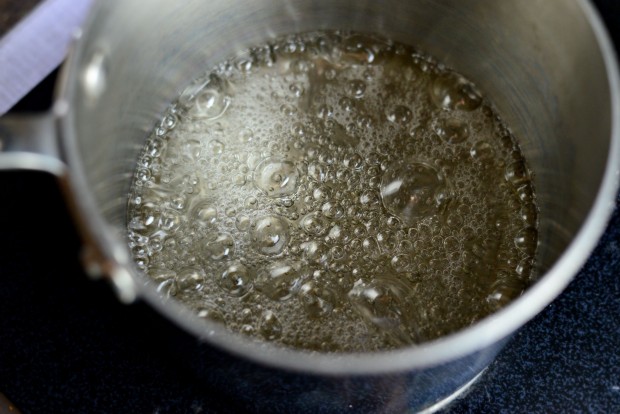
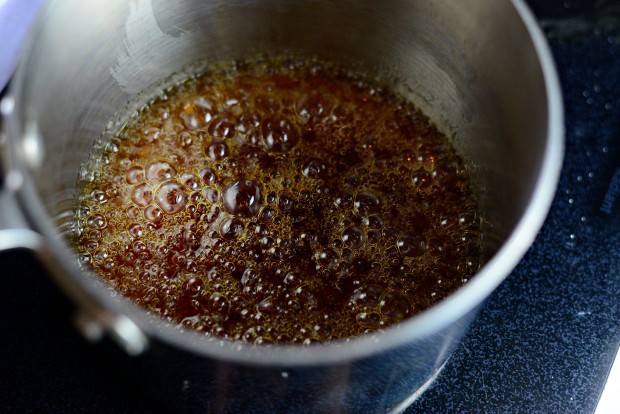
…then to a light amber…
…medium amber…
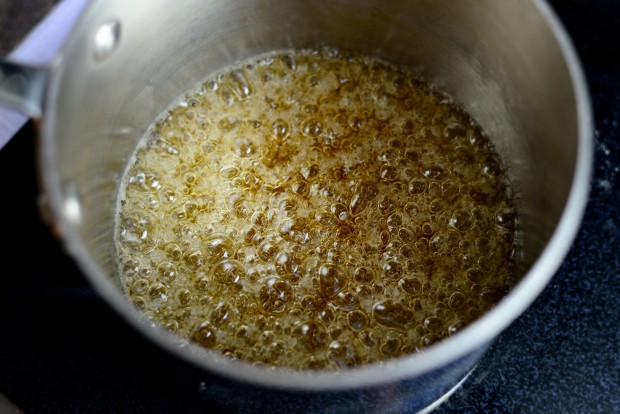
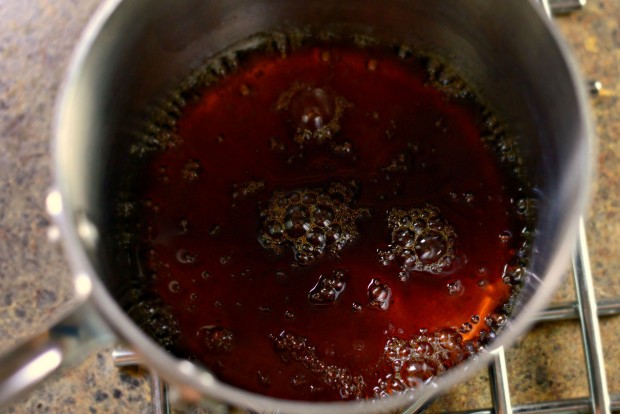
…then finally to a deep amber color. If at any point things are moving to fast for you, you can reduce or adjust the heat… it just may take longer to caramelize.
Here’s a quick time-lapse video! PS. It looked a lot better on my phone but oh-wells.
It can go from caramelized to burnt pretty quickly in these last few stages so once you reach this color immediately remove the pan from the stove top to an awaiting trivet or heat-proof surface.
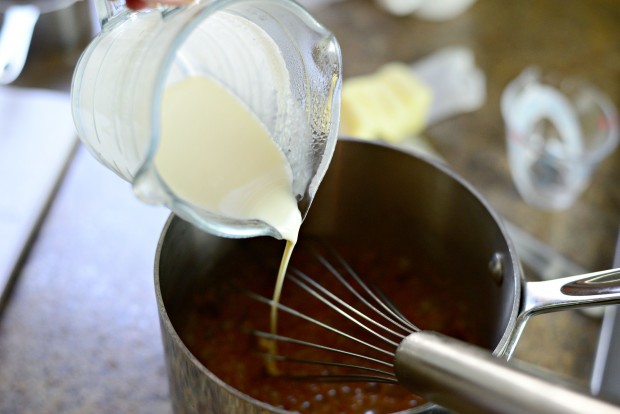
Holding the whisk out in front of you, slowly pour (while whisking) in the 3/4 cup of room temperature heavy cream. I hold the whisk out in front of me to avoid the hot steam from burning my skin. A lesson I learned the hard way.
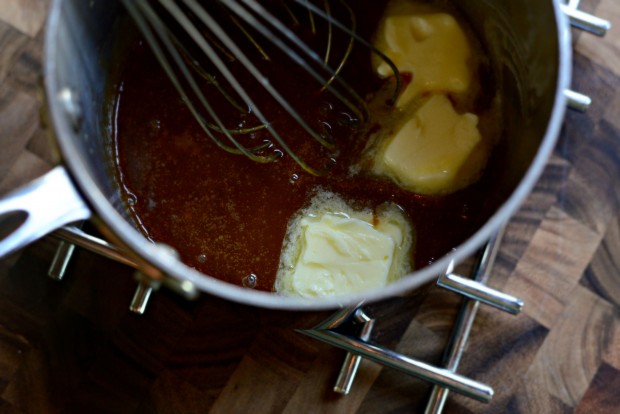
After the cream, carefully drop in the 4 tablespoons of butter.
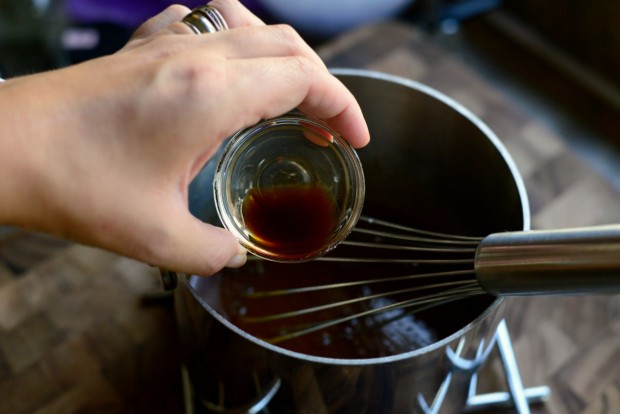
Then add in a teaspoon of vanilla extract…
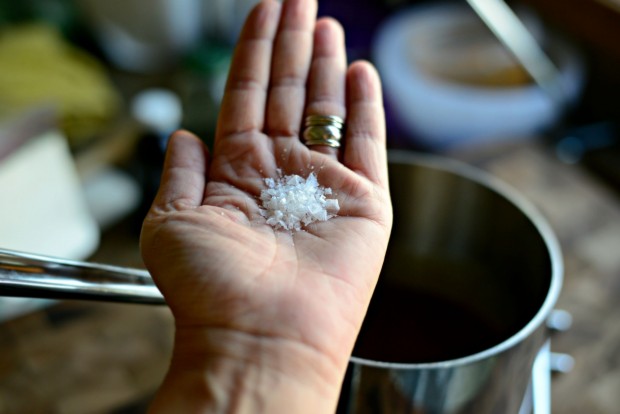
…annnnnd about 1/4 to 1/2 teaspoon of flaked sea salt. For more of a “salted caramel” up the salt a bit more.
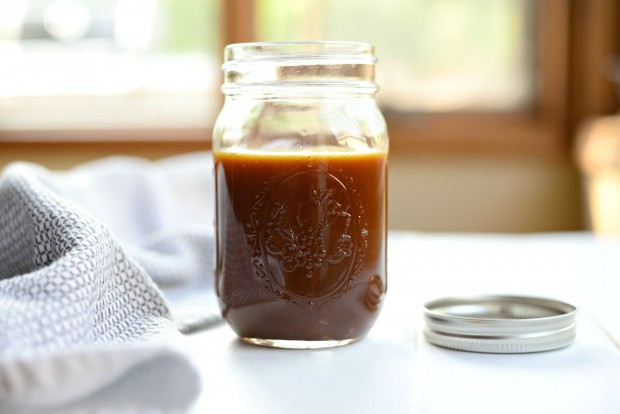
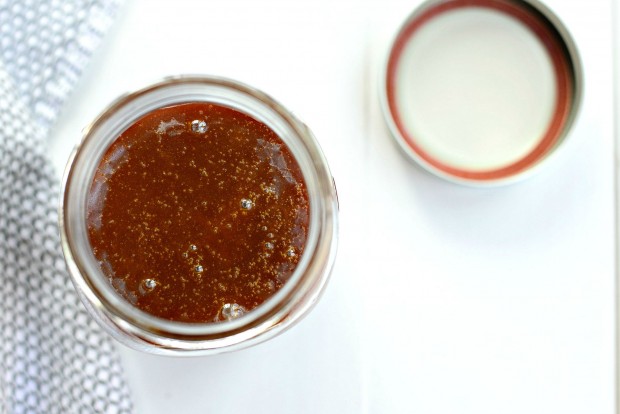
Allow the caramel to cool in the pan before pouring the liquid-gold-of the-gods it to a heat-safe container that has a tight fitting lid. At this point the caramel is still pretty thin, but fear not… it will thicken up quite a bit while it cools. I give the sauce about an hour to cool on the counter before screwing on the lid and popping it into the fridge.
All in all it takes about 25 minutes (or less!) to make this caramel sauce. Don’t fret if it takes you a couple go rounds. It still crystalizes on me from time to time. 9.9 times out of 10 it’s because I stirred it at some point. That’s always my problem… I’m a need to stir kind of person so I forget every. single. time.
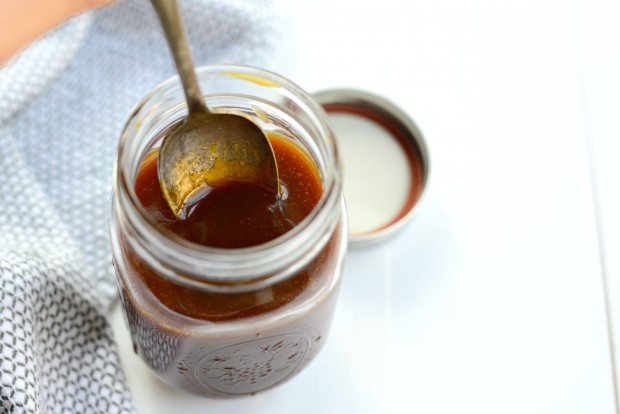
Once the homemade caramel sauce has cooled (in the fridge) and has thickend up a smidge, you can pour some in a bowl for dipping apples, orrrrrr drizzle it over ice cream, waffles, pie and/or your face. Whatever. I will not judge. Basically because I did exactly that. #noshameinmygame
Once you make your very own caramel… you wont go back.
Ever.
Enjoy! And if you give this Homemade Caramel Sauce recipe a try, let me know! Snap a photo and tag me on twitter or instagram!
My cookbook Simply Scratch : 120 Wholesome Homemade Recipes Made Easy is now available! CLICK HERE for details and THANK YOU in advance!
Homemade Caramel Sauce
Ingredients
- 1 cup sugar
- 1/4 cup water
- 3/4 cup heavy whipping cream, at room temperature
- 4 tablespoons butter, at room temperature (I use salted European)
- 1 teaspoon pure vanilla extract
- 1/4 to 1/2 teaspoon flaked sea salt, add more if a salted caramel is desired
Instructions
- Set your ingredients out at least 45 minutes prior to starting the caramel.
- In a clean, heavy bottom saucepan slowly add the sugar to the middle of the pan. Pour in the water. DO NOT STIR. Allow the water to absorb the sugar before turning the heat on to medium-high.
- It's pretty hands free from here on out until the sugar has caramelized. First, bring the sugar/water mixture to a bubble. STILL DO NOT STIR. Just watch closely as it will turn from clear, to a champagne and then to several stages of amber. Once the sugar has caramelized and is a deep golden amber in color, remove off of the heat. Whisk while pouring in the heavy cream.
- Then carefully drop in the butter and whisk until combined. Whisk in the vanilla and salt and allow the caramel to cool in the pan for about 10 minutes before pouring the caramel sauce into a heat-safe container.
- Allow the caramel to cool on the counter for 1 hour or until at room temperature, where it will thicken up quite a bit.
- Secure a tight fitting lid and store in the fridge for up to 2 weeks.
[this post contains affiliate links.]
Buy the Cookbook: Simply Scratch : 120 Wholesome Homemade Recipes Made Easy Now available on Amazon »
THANK YOU in advance for your support!


I’m super intrigued because I have made caramel sauce many times and I have always stirred it. I’m a little nervous to try this method because I’m worried about it burning or tasting burnt. I’m willing to give this method a shot because – no stirring! How easy is that?!
Yup! No stirring! Just whisking at the cream and butter steps. Enjoy!
Wow, definitely have to try this! I wonder if you can use this to make caramel apple spice….
Also, love love love the ingredients photo, please keep including it in your posts.
Hugs to you and nice to have you back — and yes, it did feel something was definitely different ever since your book, but now you seem back “in the groove of things”, as you put it. Thank you so much Laurie, for keeping the blog alive and for continuing to spoil us with your recipes, your lovely pictures and your delightful writing style!
Thank you for the lovely comment E! Xo!
Looks amazing! Can’t wait to try as a dip with fall apples coming!
Me either! Alllll the apples! 😉
Absolutely nothing beats a home made caramel sauce. Nothing. However if I may add a few things I’ve learned in the years of my caramel making. Mix the sugar and water off the stove first, then put it on the heat. And have a cup of cold water and a clean pastry brush handy. As the sugar syrup cooks it will bubble up the inside of the pan. This will cause a “residue” that can be incorporated back into the syrup and could cause it to crystalize. Take the pastry brush dipped in water and carefully brush the inside of the pan to remove that residue and keep the inside of the pot “clean”.
The big tip I have for you, is, take the pot of syrup OFF the heat just BEFORE it comes to that deep amber color. Even off the heat the syrup continues to cook and will go from beautiful amber to burnt brown in 2 seconds. And you’ll look at it and think “well it looks ok” but it won’t be okay and you won’t find that out until you’ve added your (expensive) butter and cream. You want a nice nutty flavor not the acrid taste of burnt sugar. It also helps to have the butter and cream already measred out and ready to go into the syrup the moment you see that lovely color. That will stop the syrup from continuing to cook. Trust me on this.
I’ve been making this same type of caramel sauce for some time now and still have the occasional ‘miss’. If you find it’s crystalized in spite of your careful efforts just pop it in the microwave on medium high for 20 to 30 seconds and stir before you use it.
Hope any of this helps you.
Thank you for the detailed tips
This looks so good! I’ve been looking for a good caramel sauce recipe and am definitely going to give this a try!
Can’t wait to try this! If you don’t have sea salt, would kosher salt work?
Hi Chandis! Absolutely- go for it! Enjoy!
I just tried to make this, but after I added the cream, I wound up with a big glob of hardened caramel on my whisk that would not re-incorporate into the liquid. I followed the directions, so I don’t know what went wrong!
I stirred (another recipe) and iI seized so I am trying it your way and I will keep trying until I get it right , I have always wanted to make my own sauce those bought sauces give me the hibby geebies, I do not know what is in them, so I will keep you posted!
I hope this recipe does the trick! 🙂
I was excited to find a recipe for homemade caramel sauce that did not need corn syrup but alas, two times I failed. One time under cooking to a light brown, the other going to the “deep brown” which looked great but tasted burnt. I may blame my pots or stove…the syrup definitely started to brown around the edges sooner and may have been what eventually caused the burnt flavor. I’ll let you know if third time’s a charm.
Hi Karen! How frustrating! My guess is your pot. Perhaps also try turning down the heat so it happens more gradual? My fingers are crossed and I’m putting caramel success vibes out there for you!
I definitely burnt mine by accident is there any way to save it??
Sorry to hear it, Merlin. Unfortunately there’s not a way to save it. 🙁
Good sauce, that I used part of to make your brownies. I think the rest would be great drizzled over apple pie or in a sundae, or in a number of other desserts. Do you think this would be freezable?