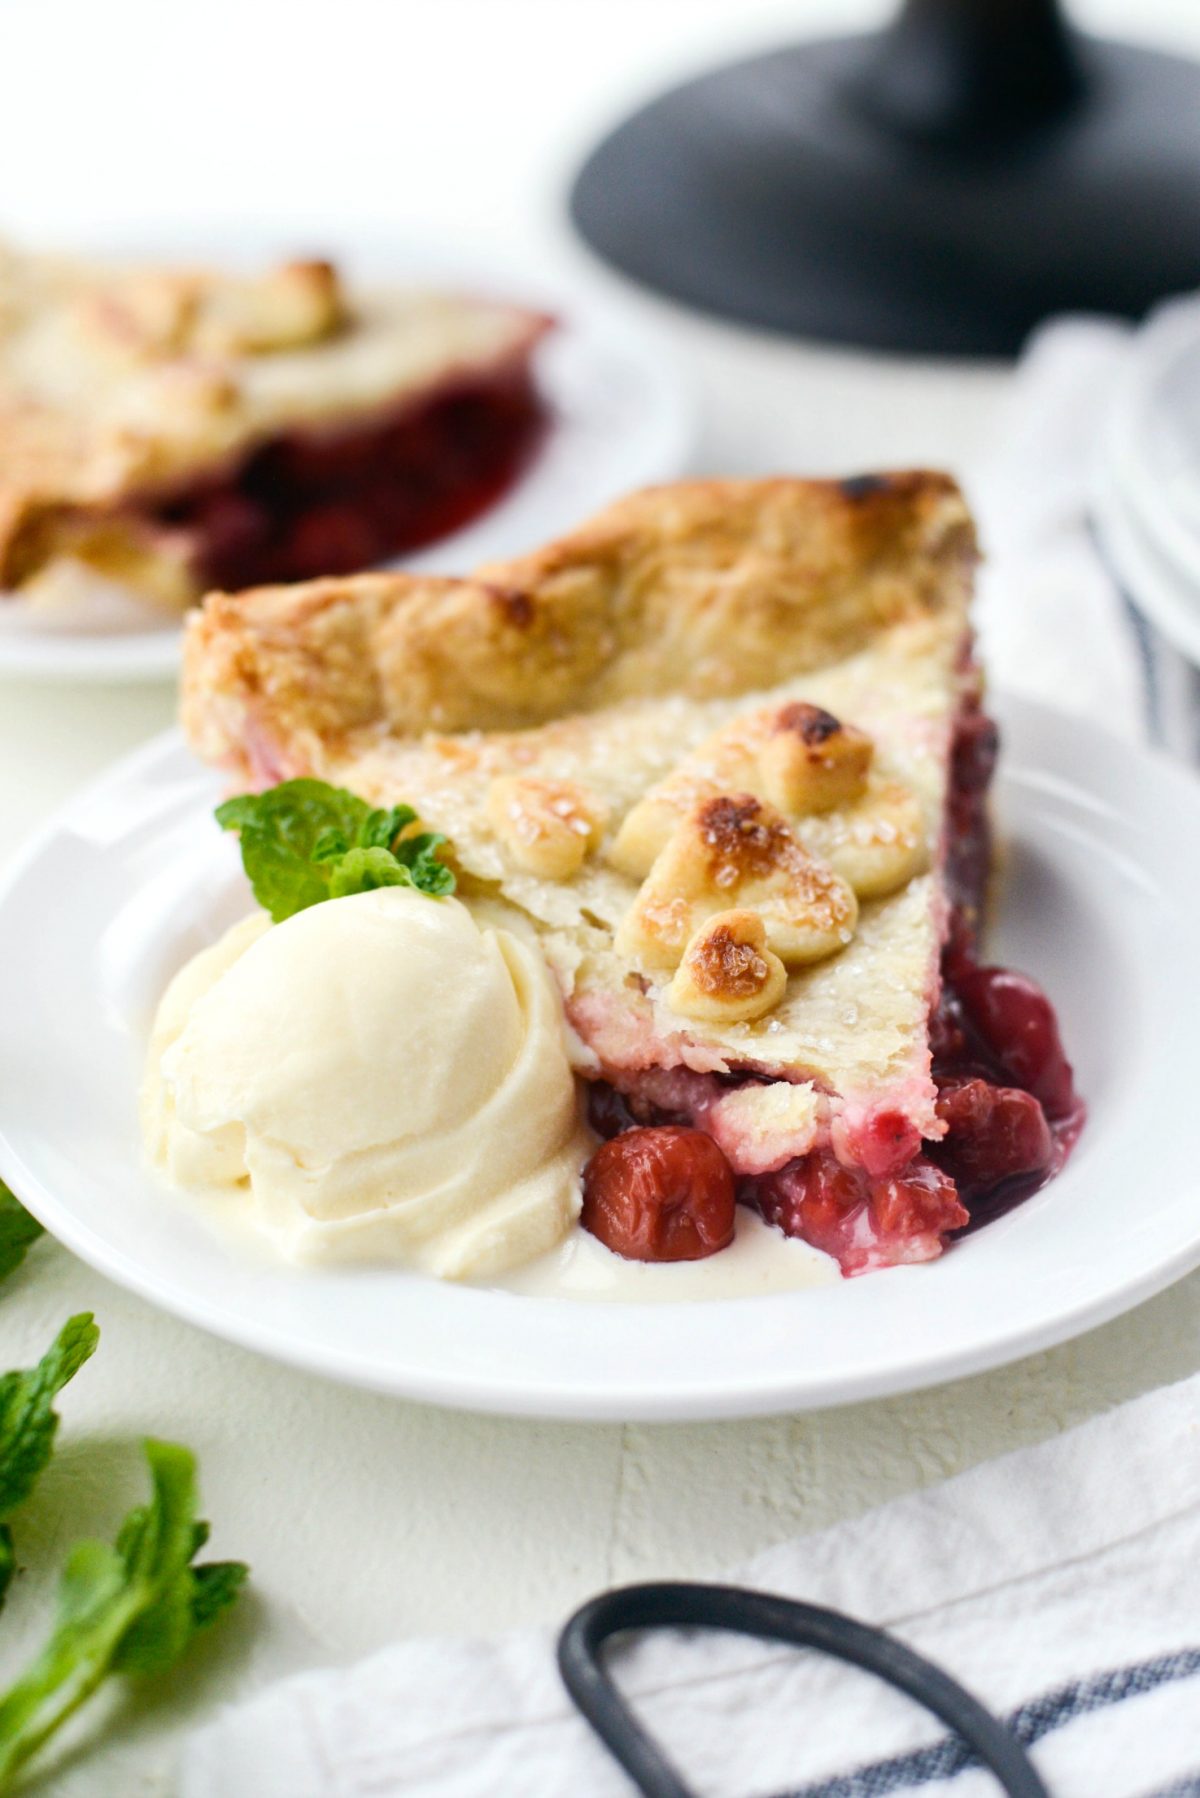
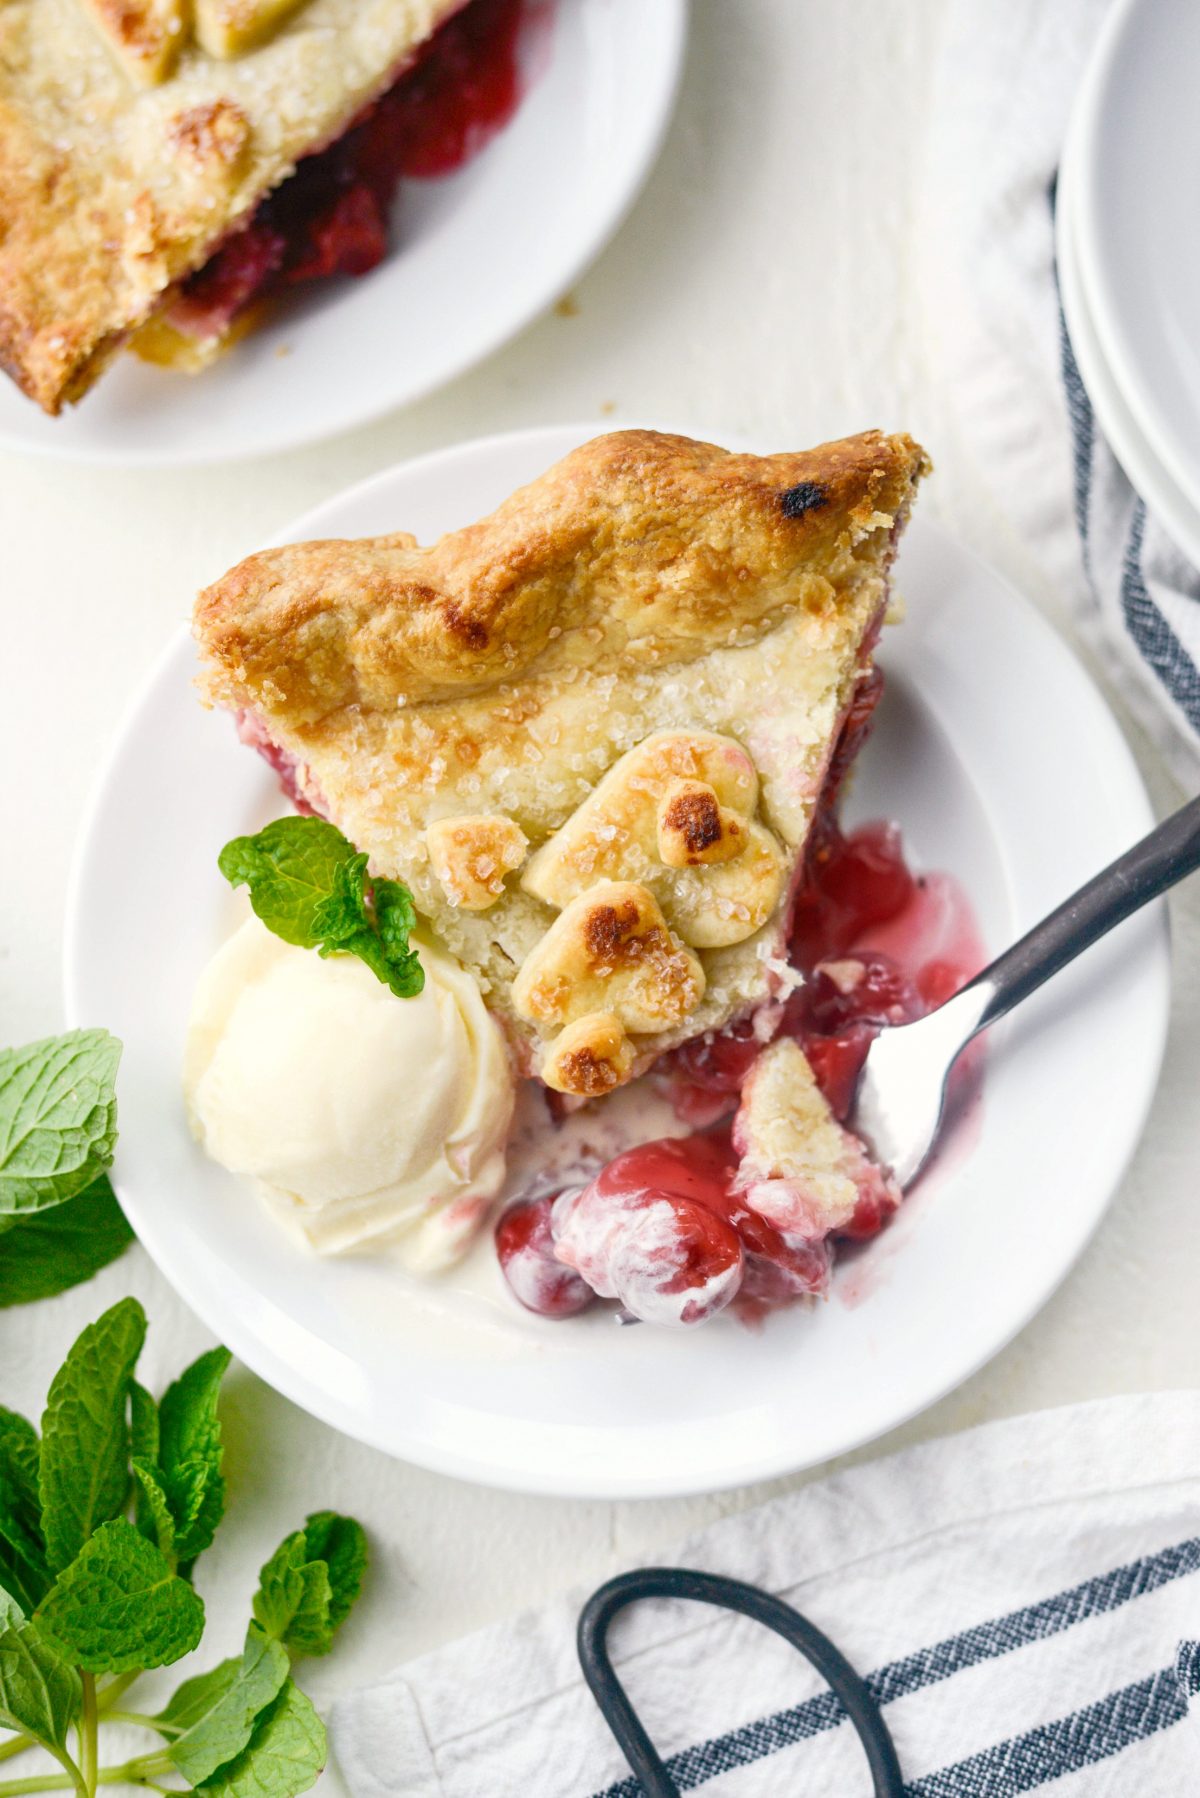
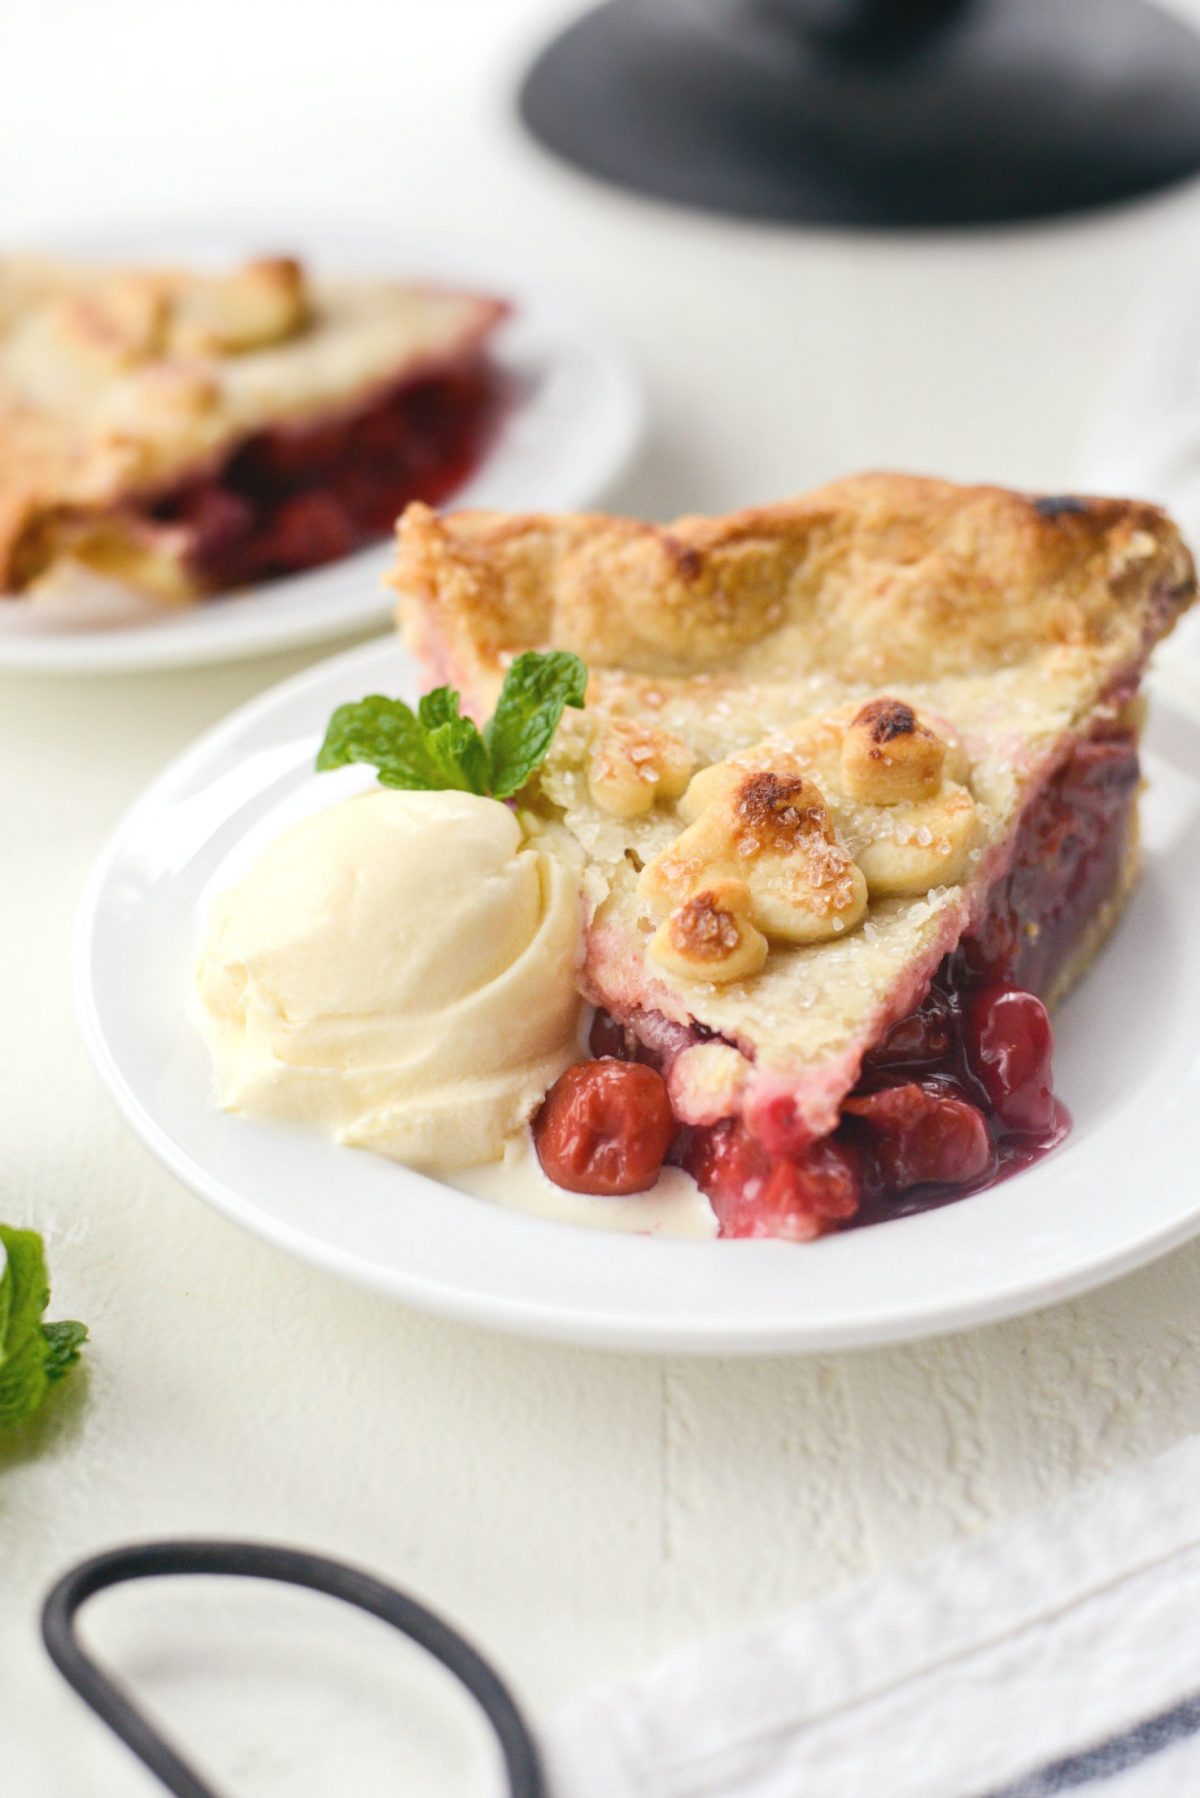
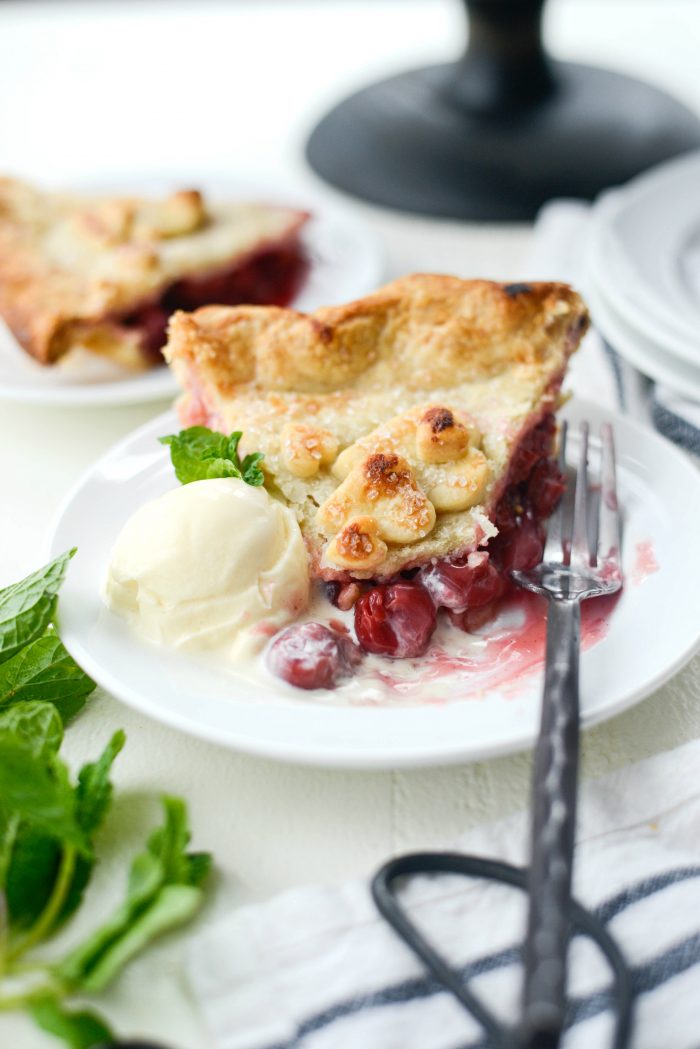
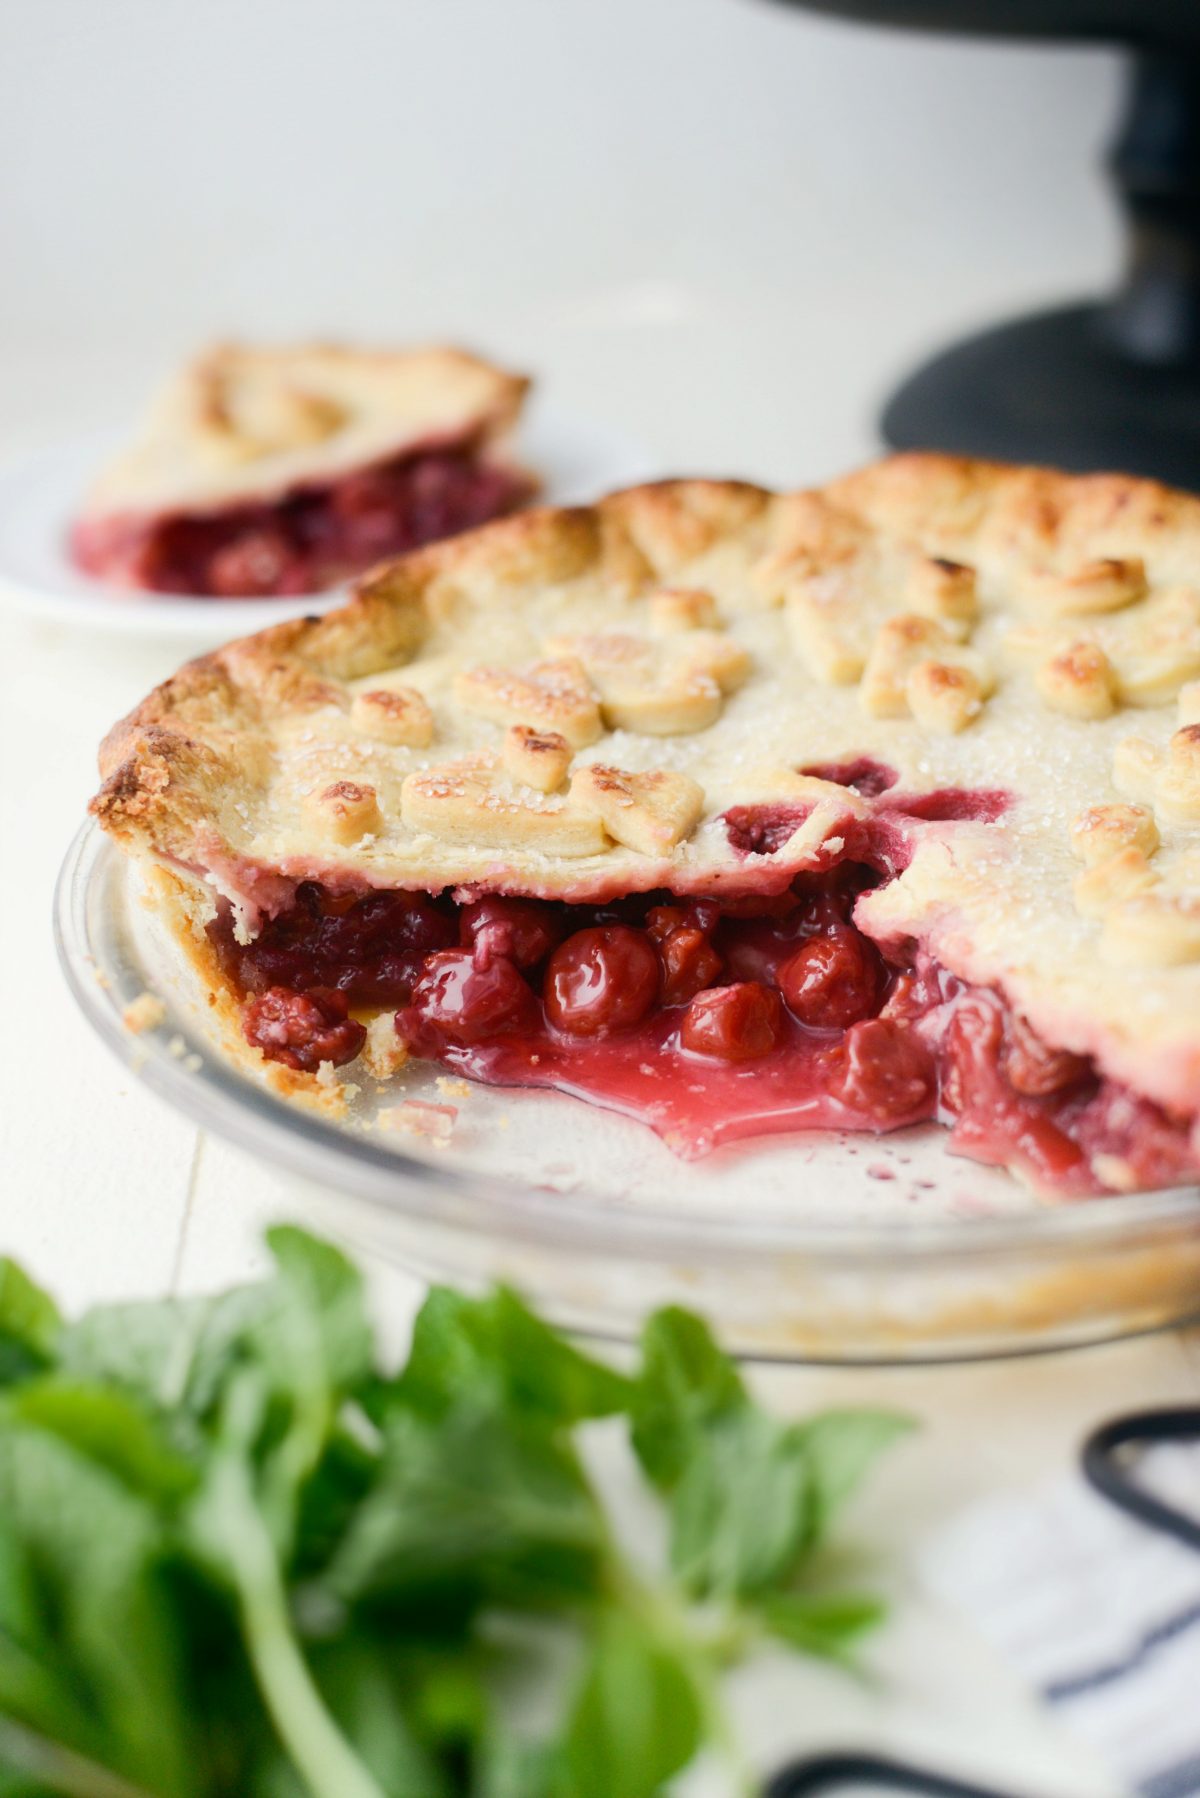
What is more classic than a Homemade Cherry Pie? Tart pie cherries in a glossy thick sauce, baked in a flakey homemade pie crust… what could be better? Serve with a scoop of vanilla ice cream and a steaming cup of coffee!
Did you know February is National Cherry Month?
It is! A whole month dedicated to those sweet and tart gems. I’m not sure why it’s January because fresh cherries aren’t in the produce section until late spring or early summer, but regardless I am for it. Knowing this, I bought a 40-ounce bag of frozen Michigan “red” pie cherries with a mission to bake a pie and homemade maraschino cherries. I’ve had this cherry pie on my “to-blog” list for a while now. Since it’s national cherry month and also because Valentine’s Day is just a day away, now is the perfect time.
What I love about this pie recipe, is that like my apple pie, you make the filling ahead of baking the pie. So that there’s no sinking of the top pie crust and everything thickens up perfectly.
One perfect homemade cherry pie coming right up!
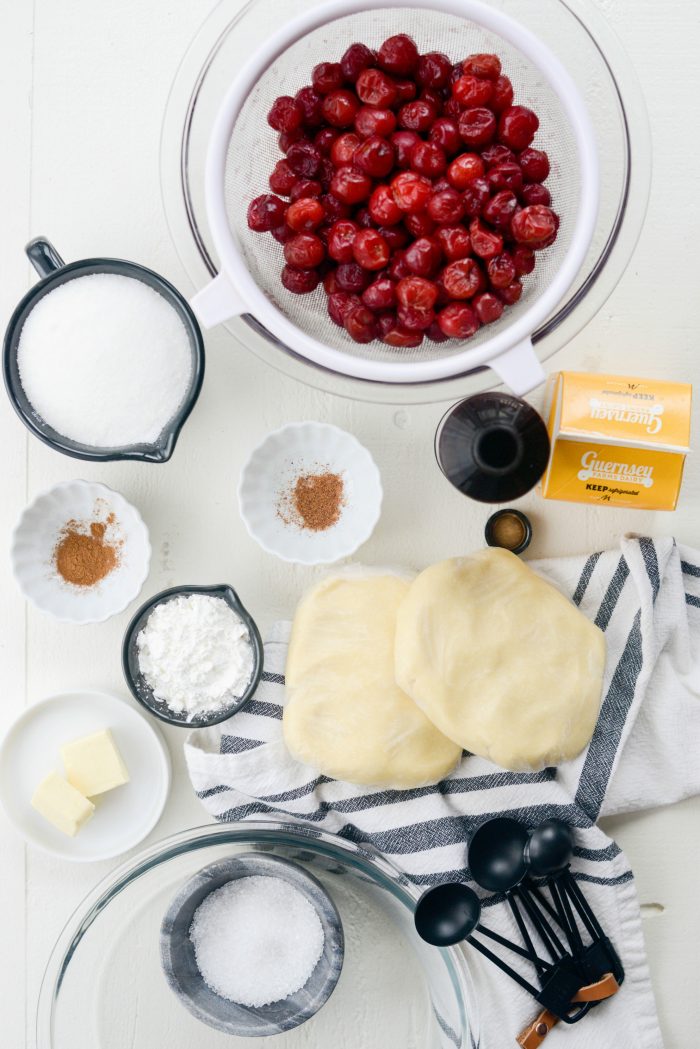
To Make This Homemade Cherry Pie you will need:
- sweet red pie cherries (reserve all juices from thawing)
- recipe for homemade pie crust
- granulated sugar
- cornstarch
- vanilla extract
- ground cinnamon
- nutmeg
- unsalted butter
- heavy cream
- coarse sugar
The night before: place 5 cups frozen sweet pie cherries into a mesh strainer and set over a bowl. As the cherries thaw, juices will drip into the bowl below. This takes about 6+ hours or so and is best to do overnight.
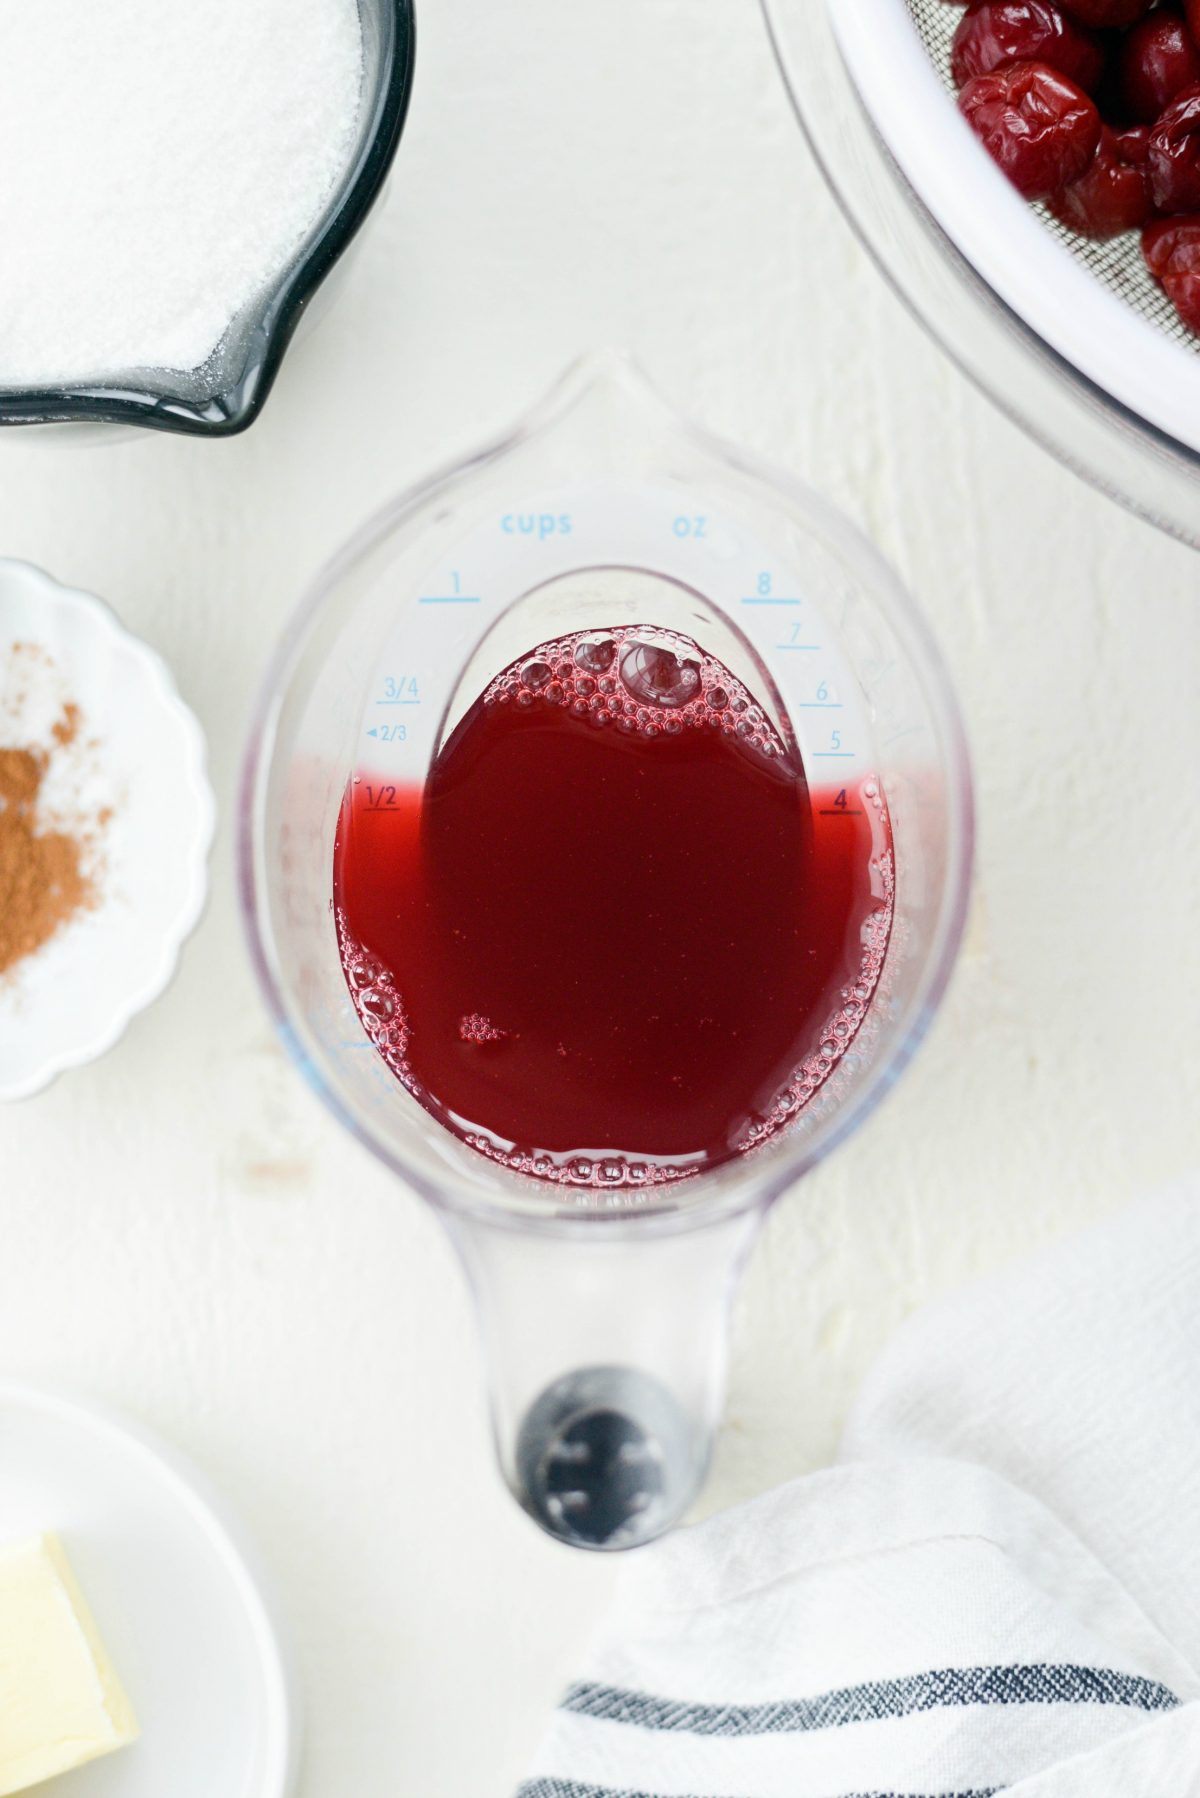
Pour the juices into a measuring cup and, if needed, add in enough water to make 3/4 cup.
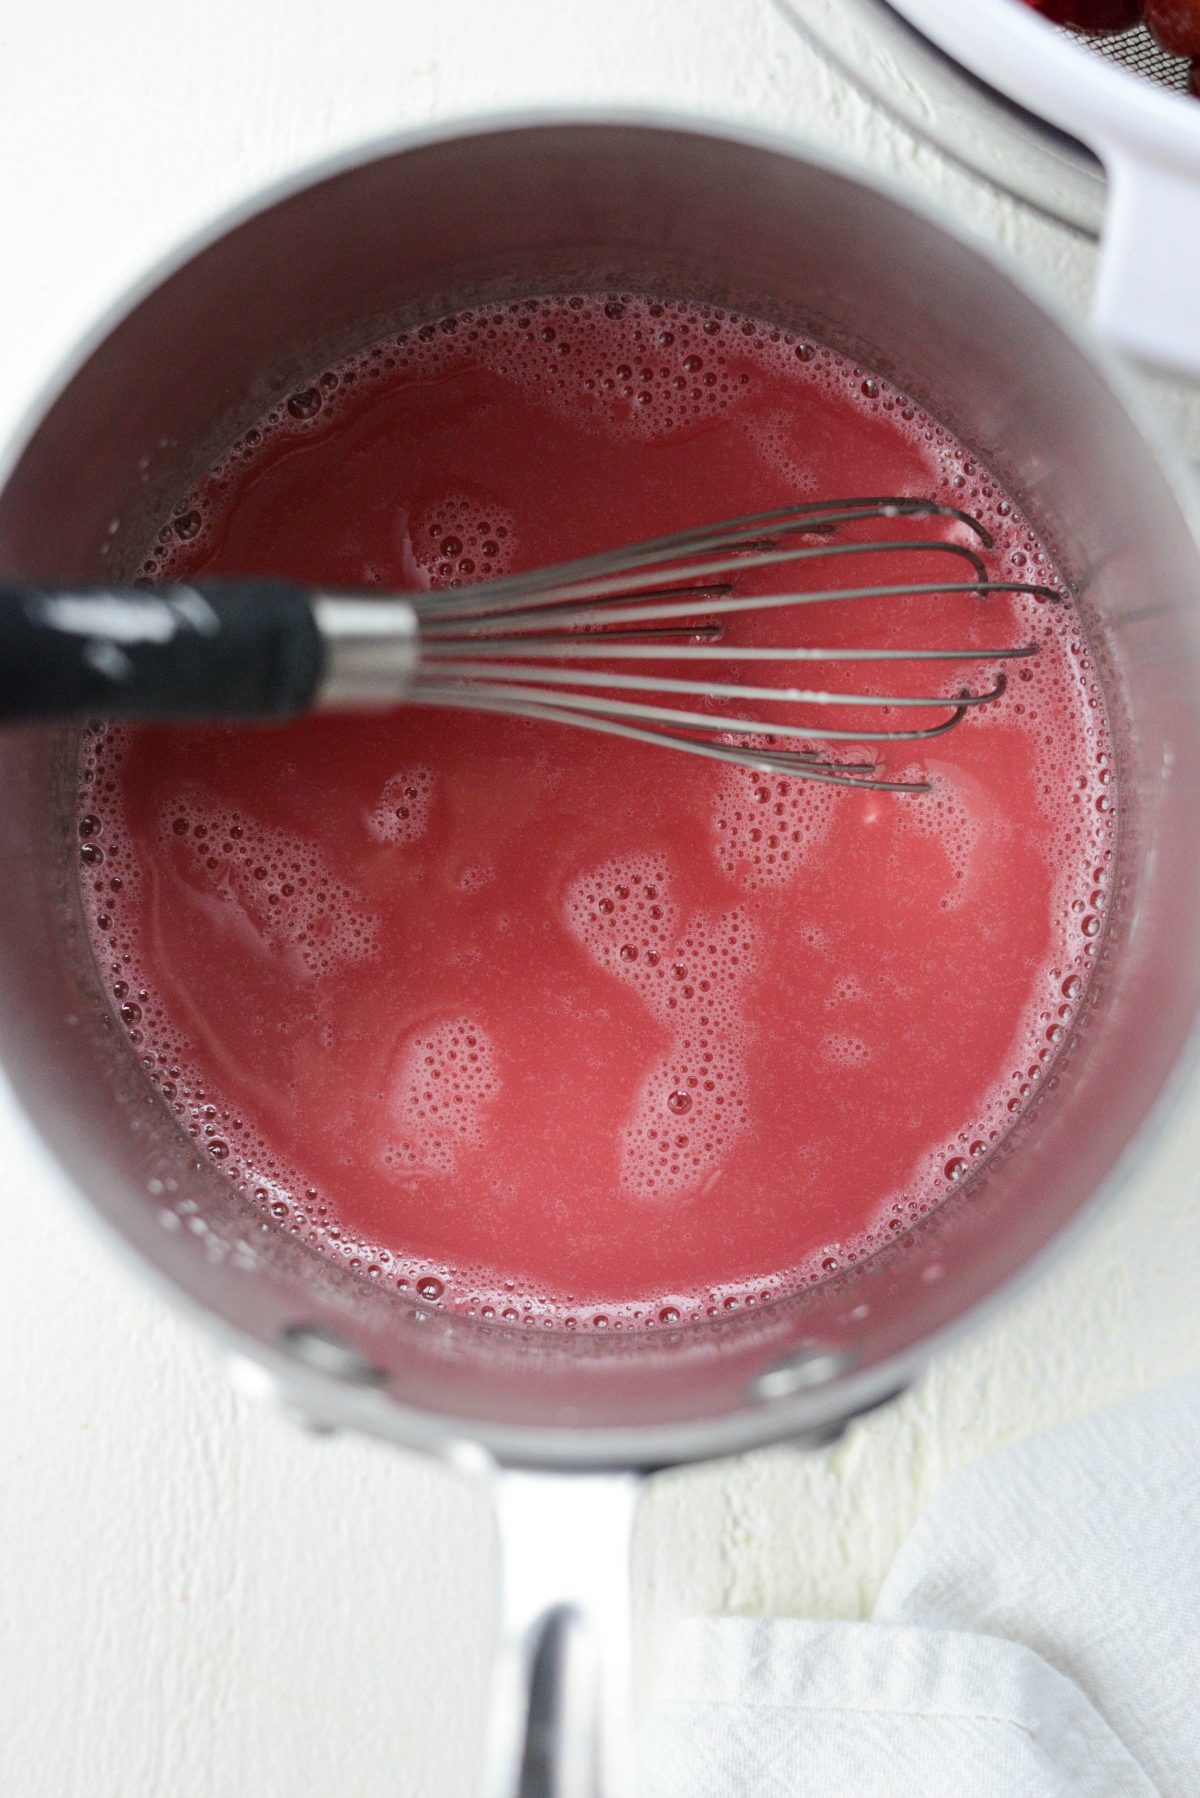
Next, into a heavy bottom saucepan, add 1 cup sugar, 1/4 cup cornstarch and the 3/4 cup cherry juices, whisking to combine. Then bring to a boil, while whisking until thickened or about 5 minutes or so.
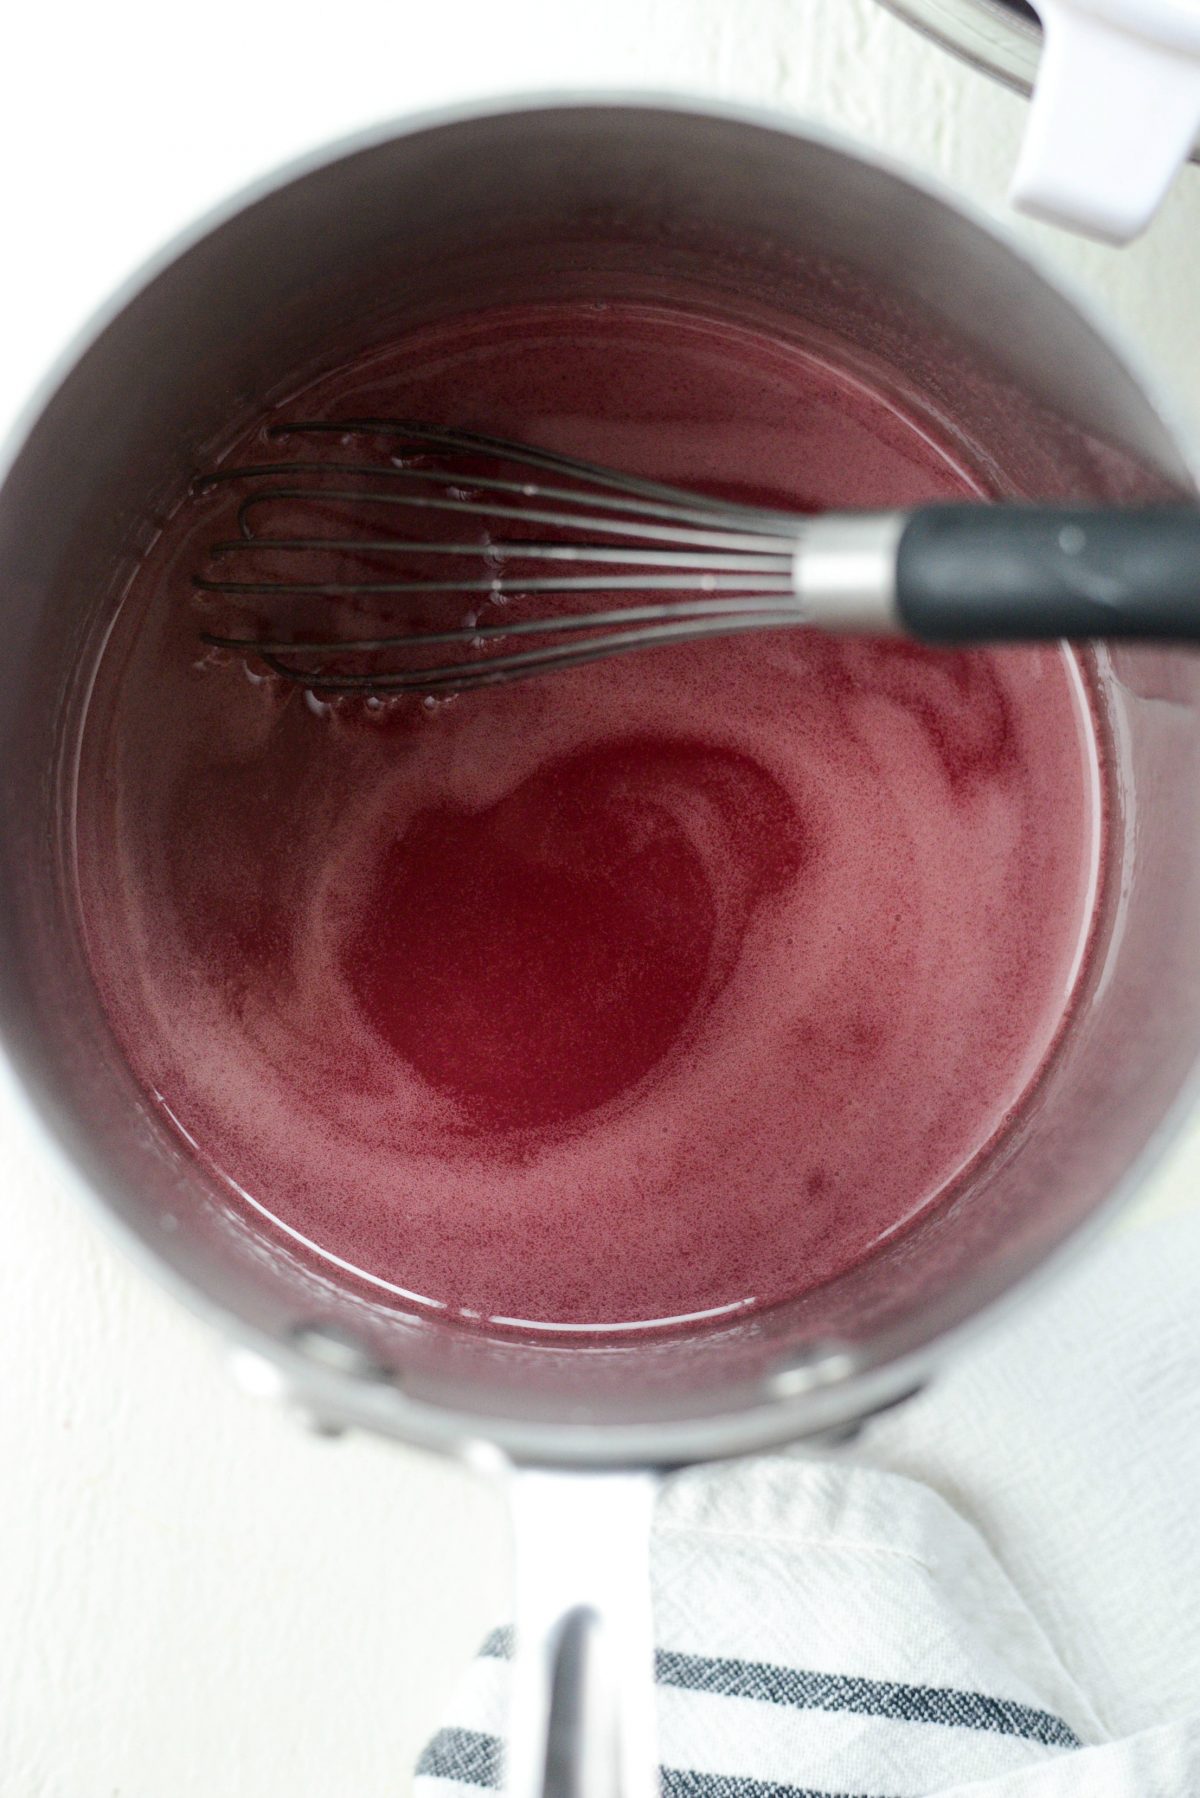
Remove the pan off of the heat and whisk in 3/4 teaspoon vanilla, 1/4 teaspoon ground cinnamon and a pinch of ground nutmeg.
Set it off to the side until the mixture has cooled completely. It will thicken even more as it cools
Finally it’s time to assemble the pie!
Position an oven rack in the lower third of your oven and then preheat your oven to 425℉ (or 220℃).
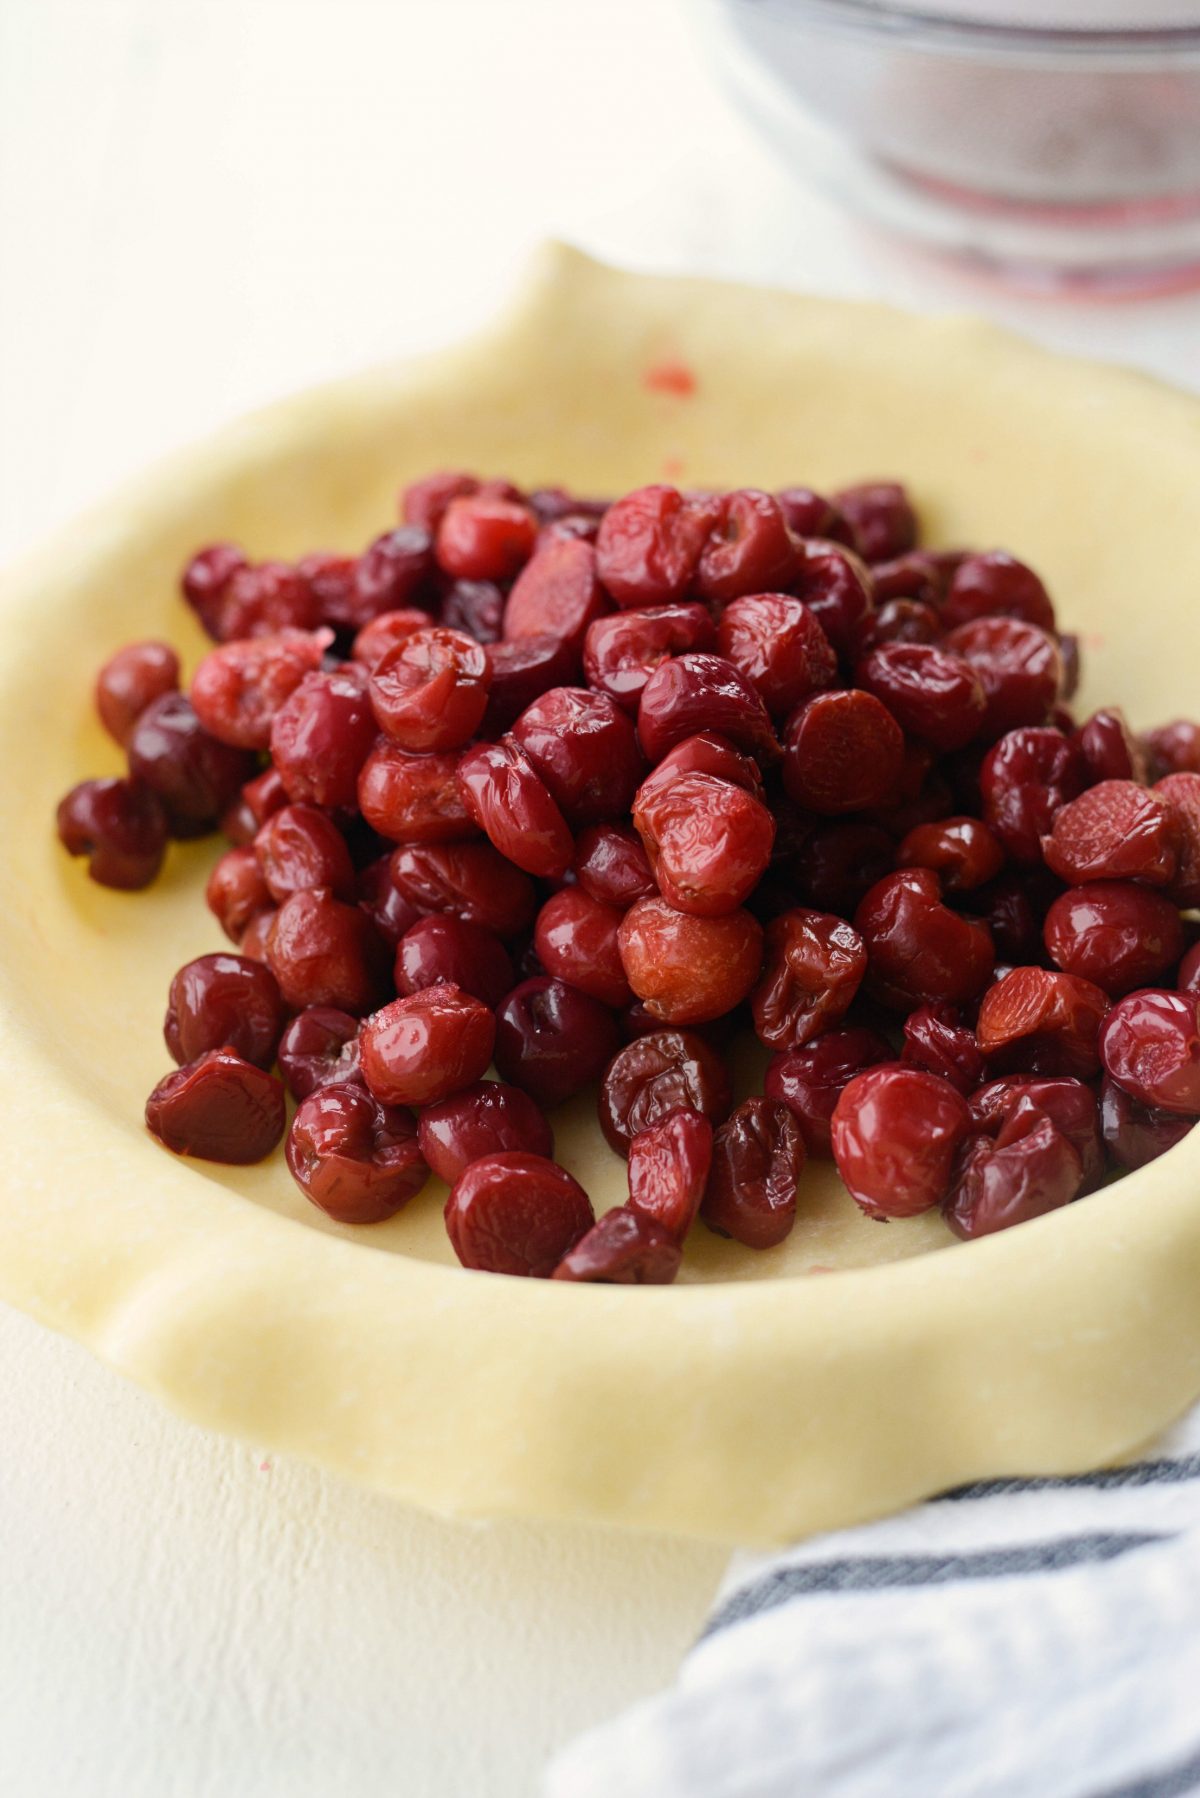
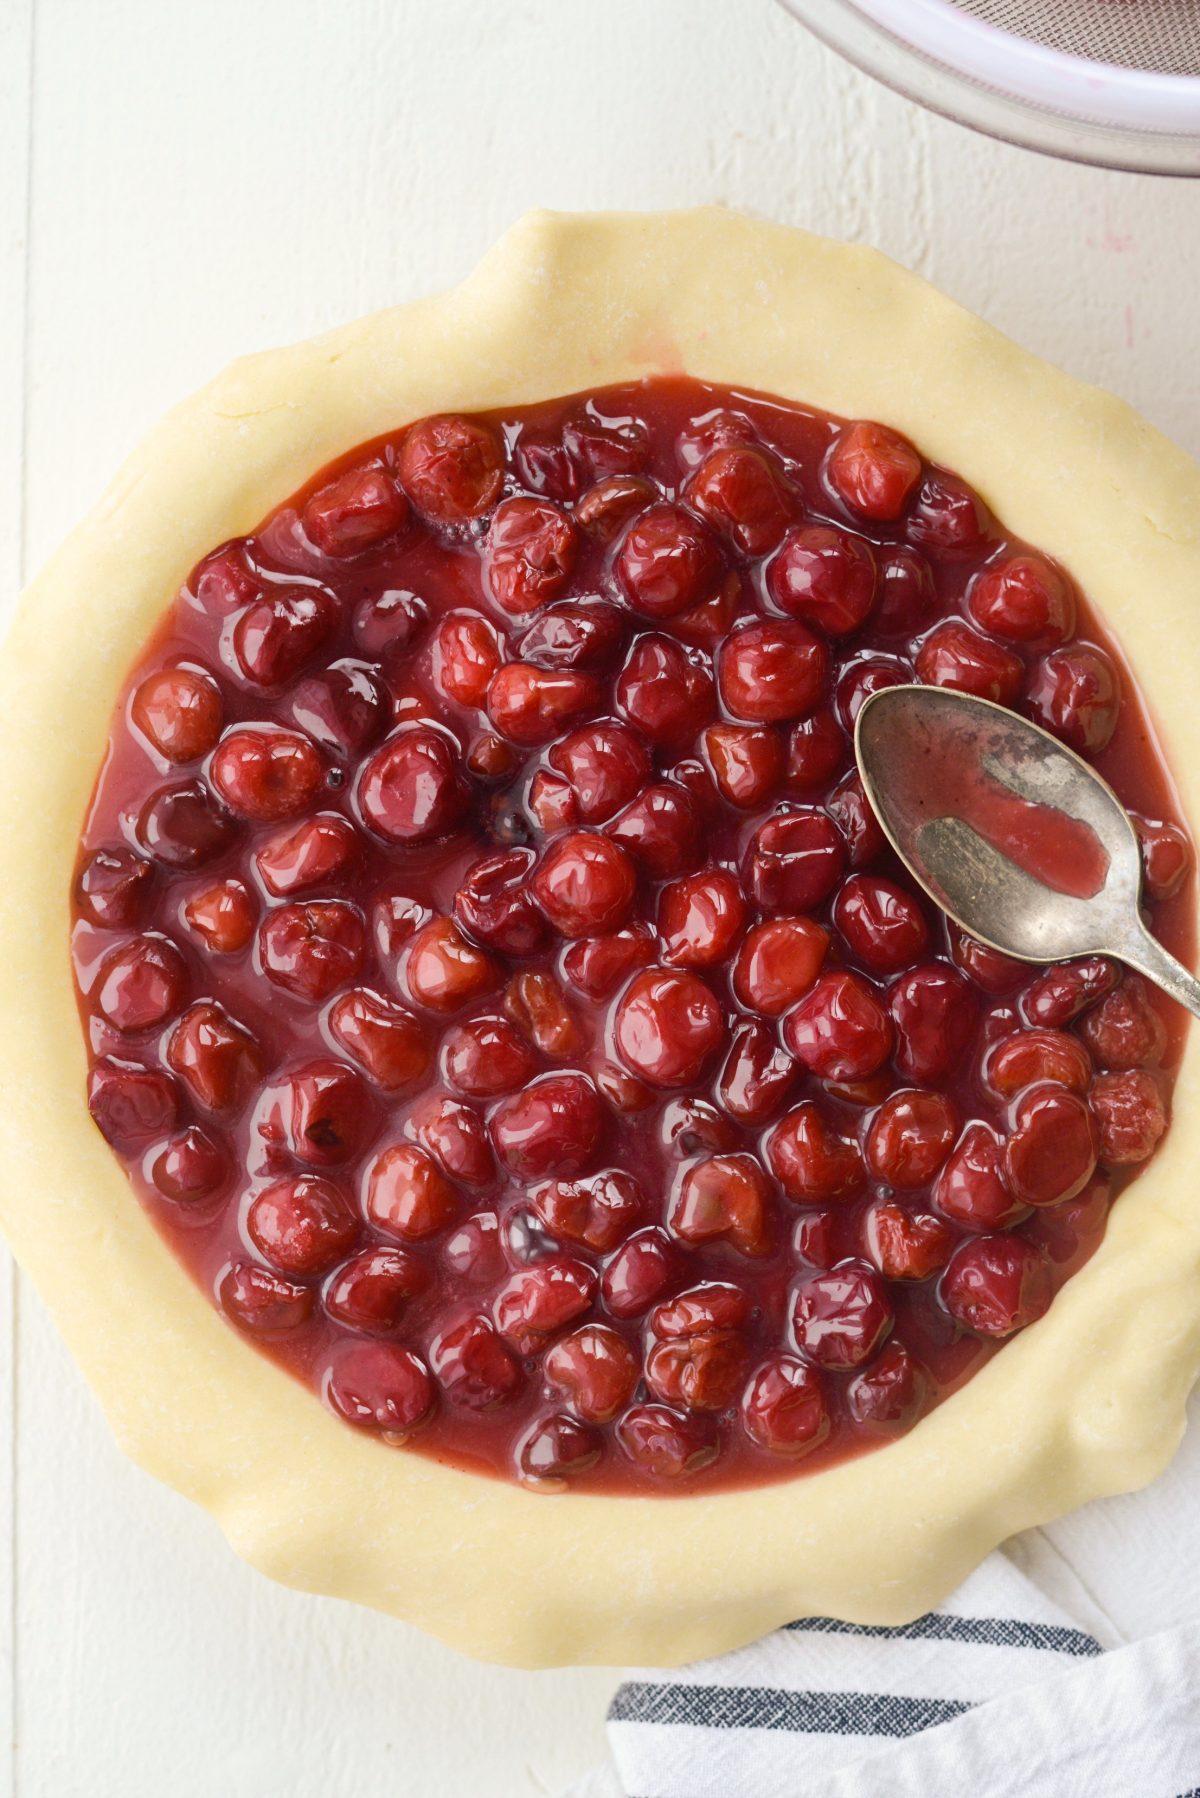
Then into your chilled bottom crust add the thawed pitted cherries.
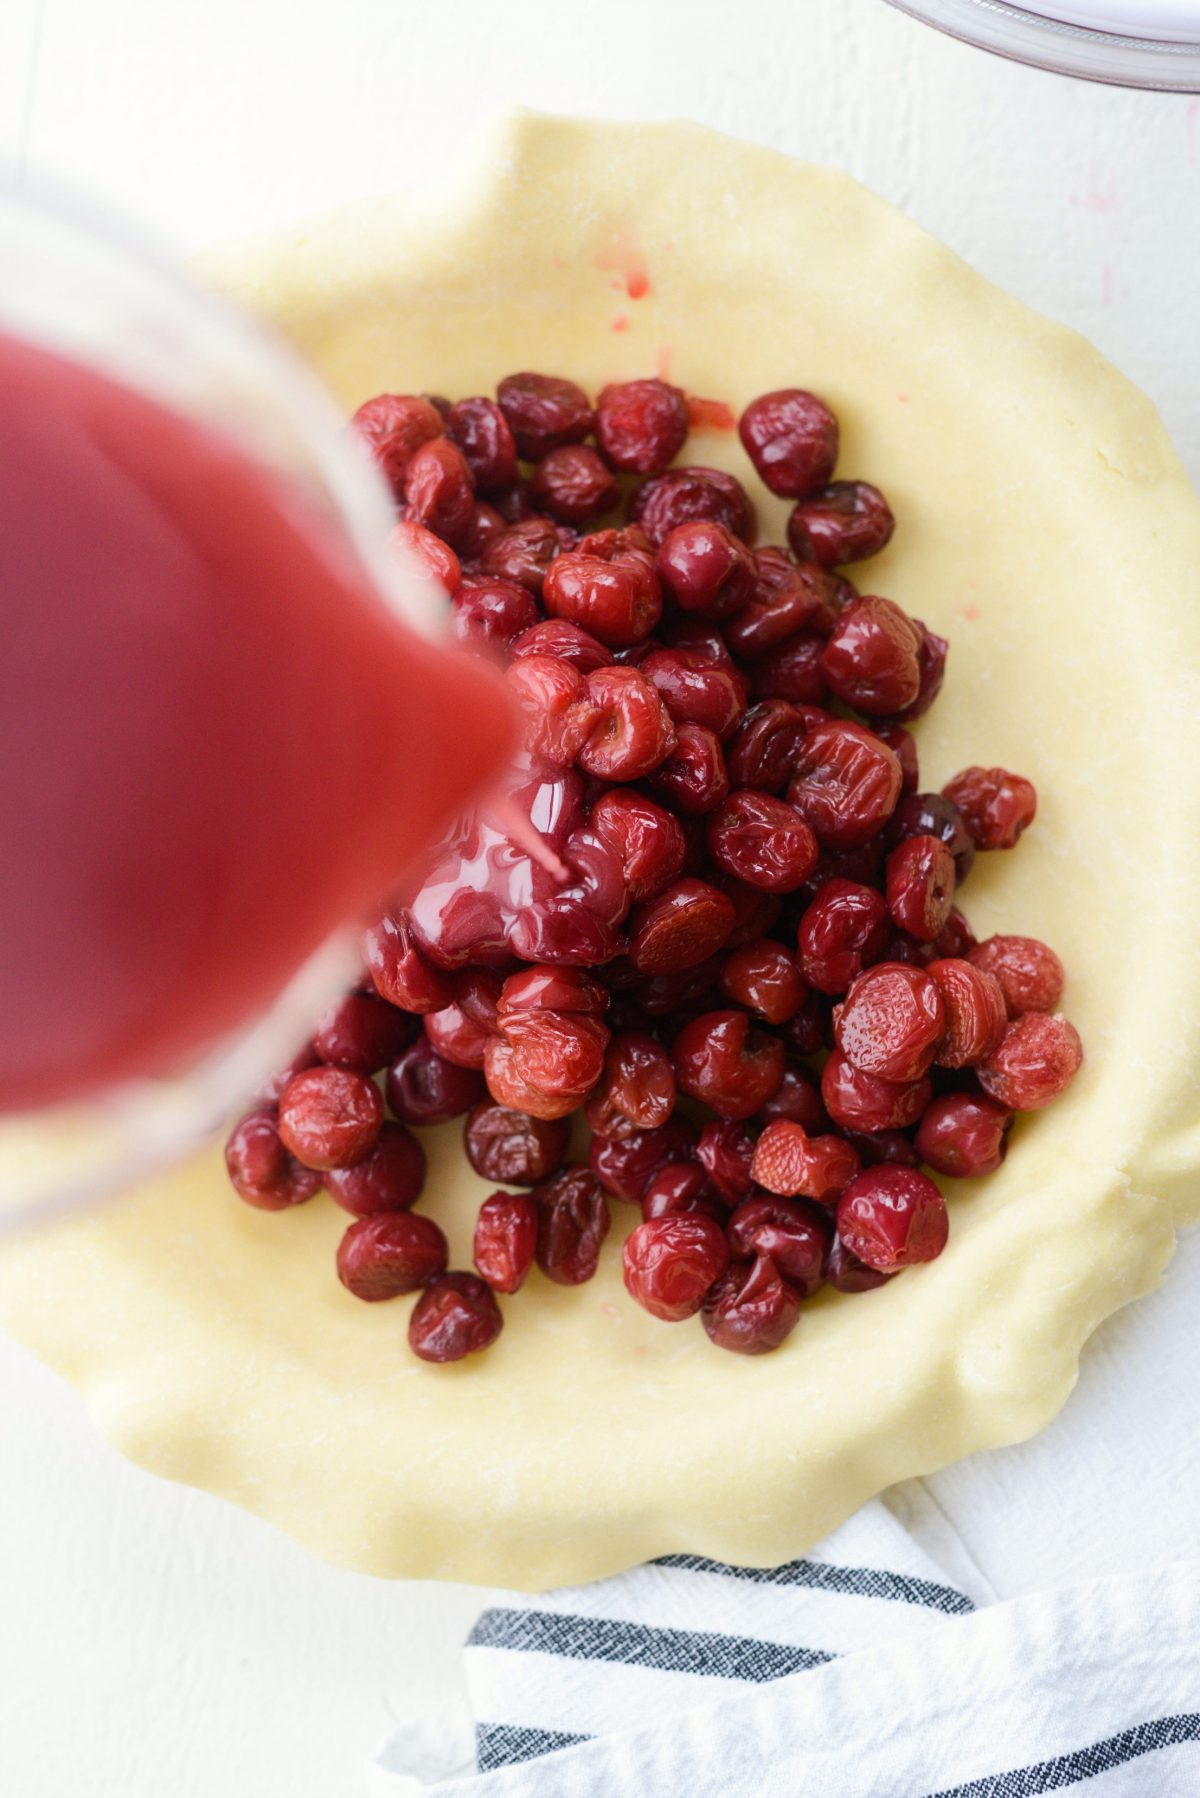
Next, pour the cooled filling over top of the cherries and then spread evenly with a spoon.
So pretty, right!
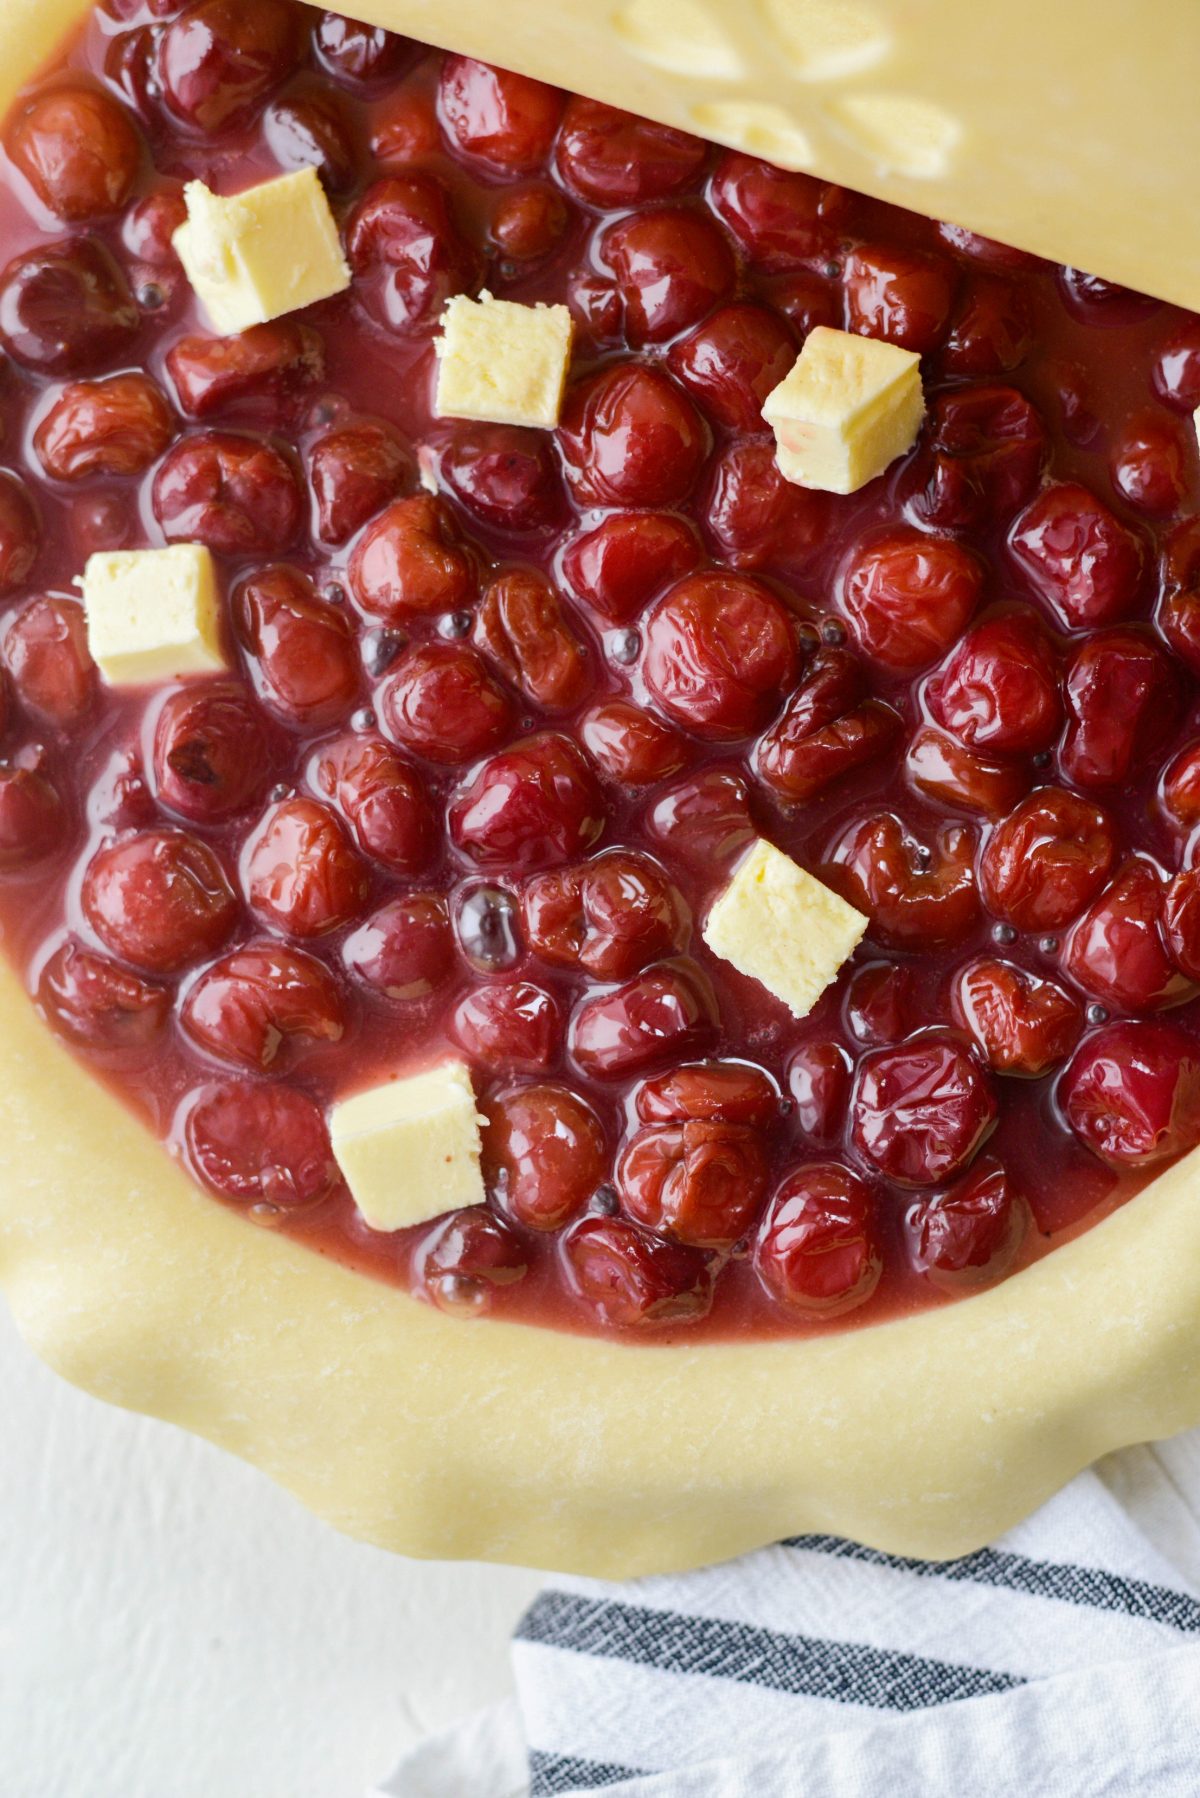
Lastly, dot with 2 tablespoons butter and drape the top crust over top.
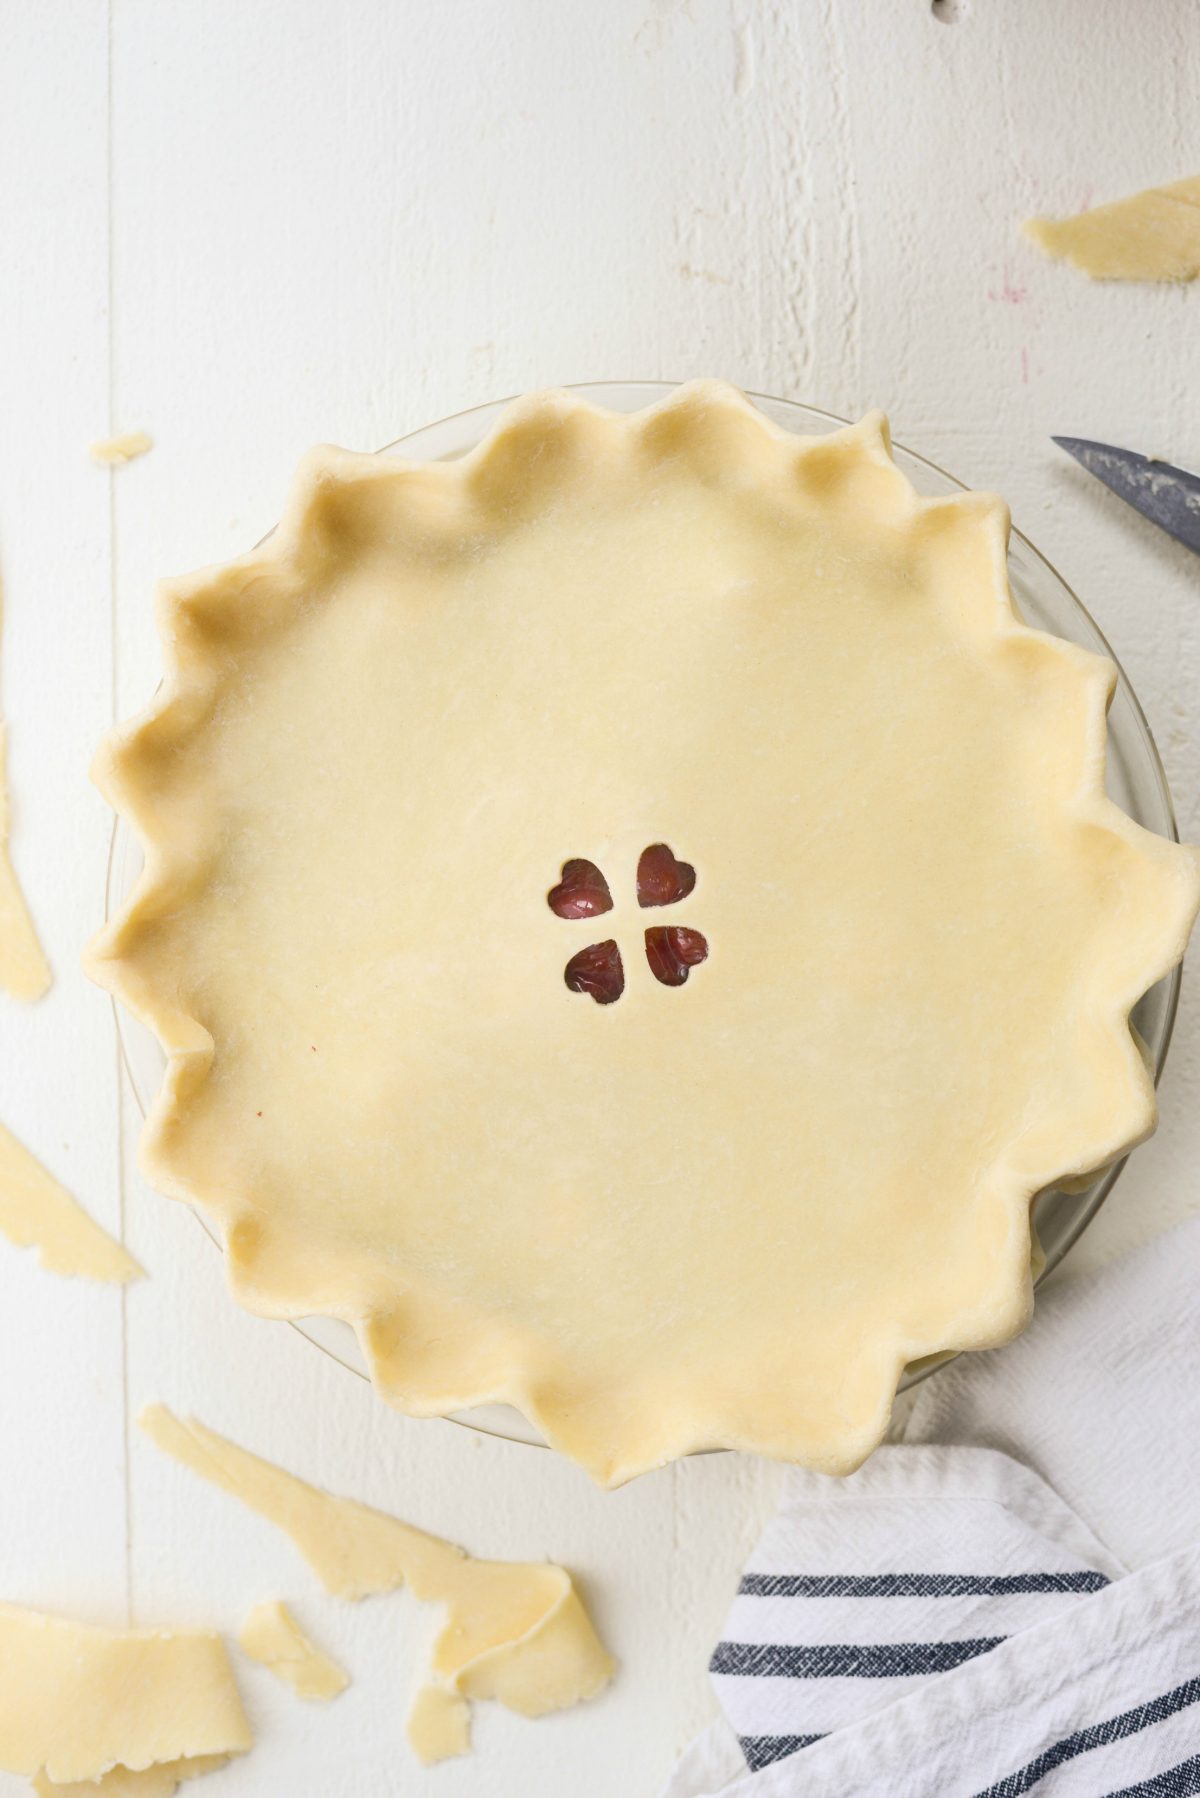
Make sure you cut air vents before you place the top crust onto the pie.
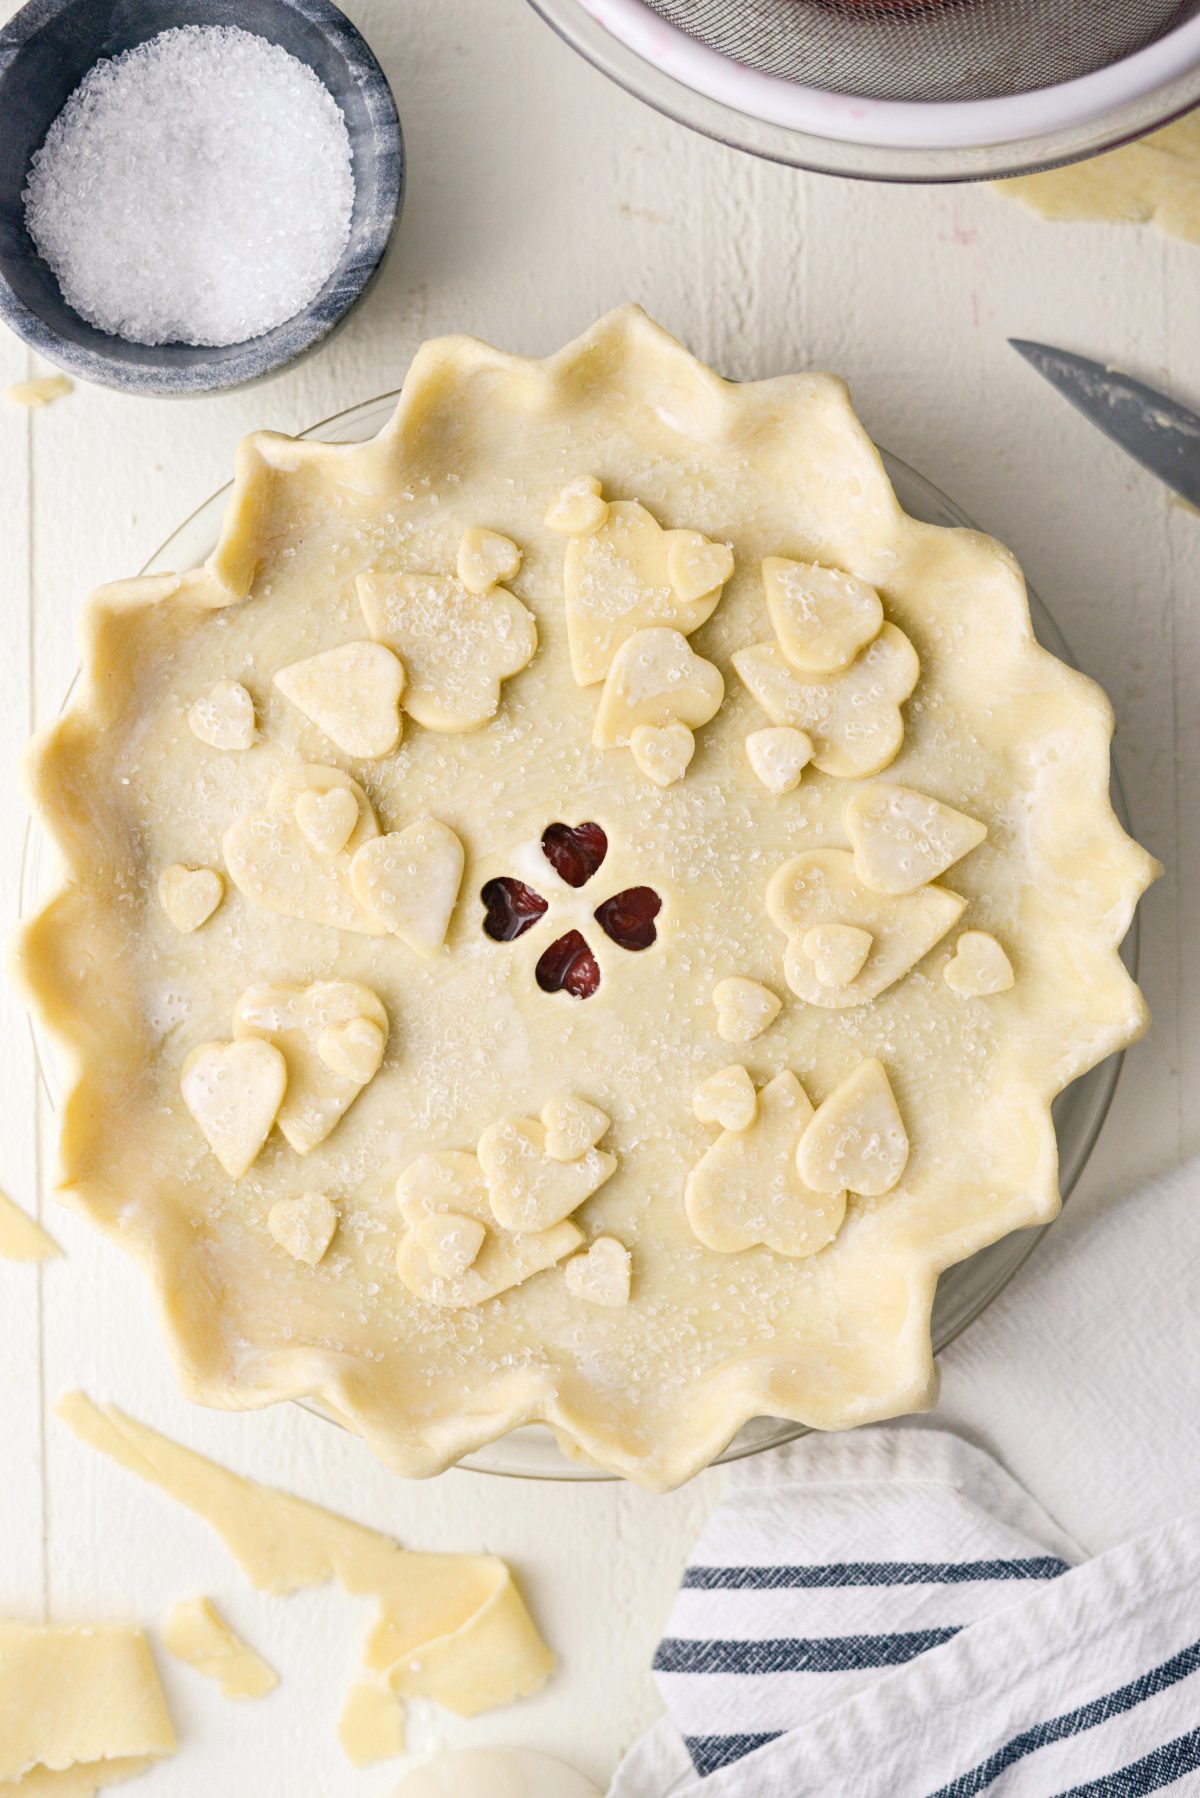
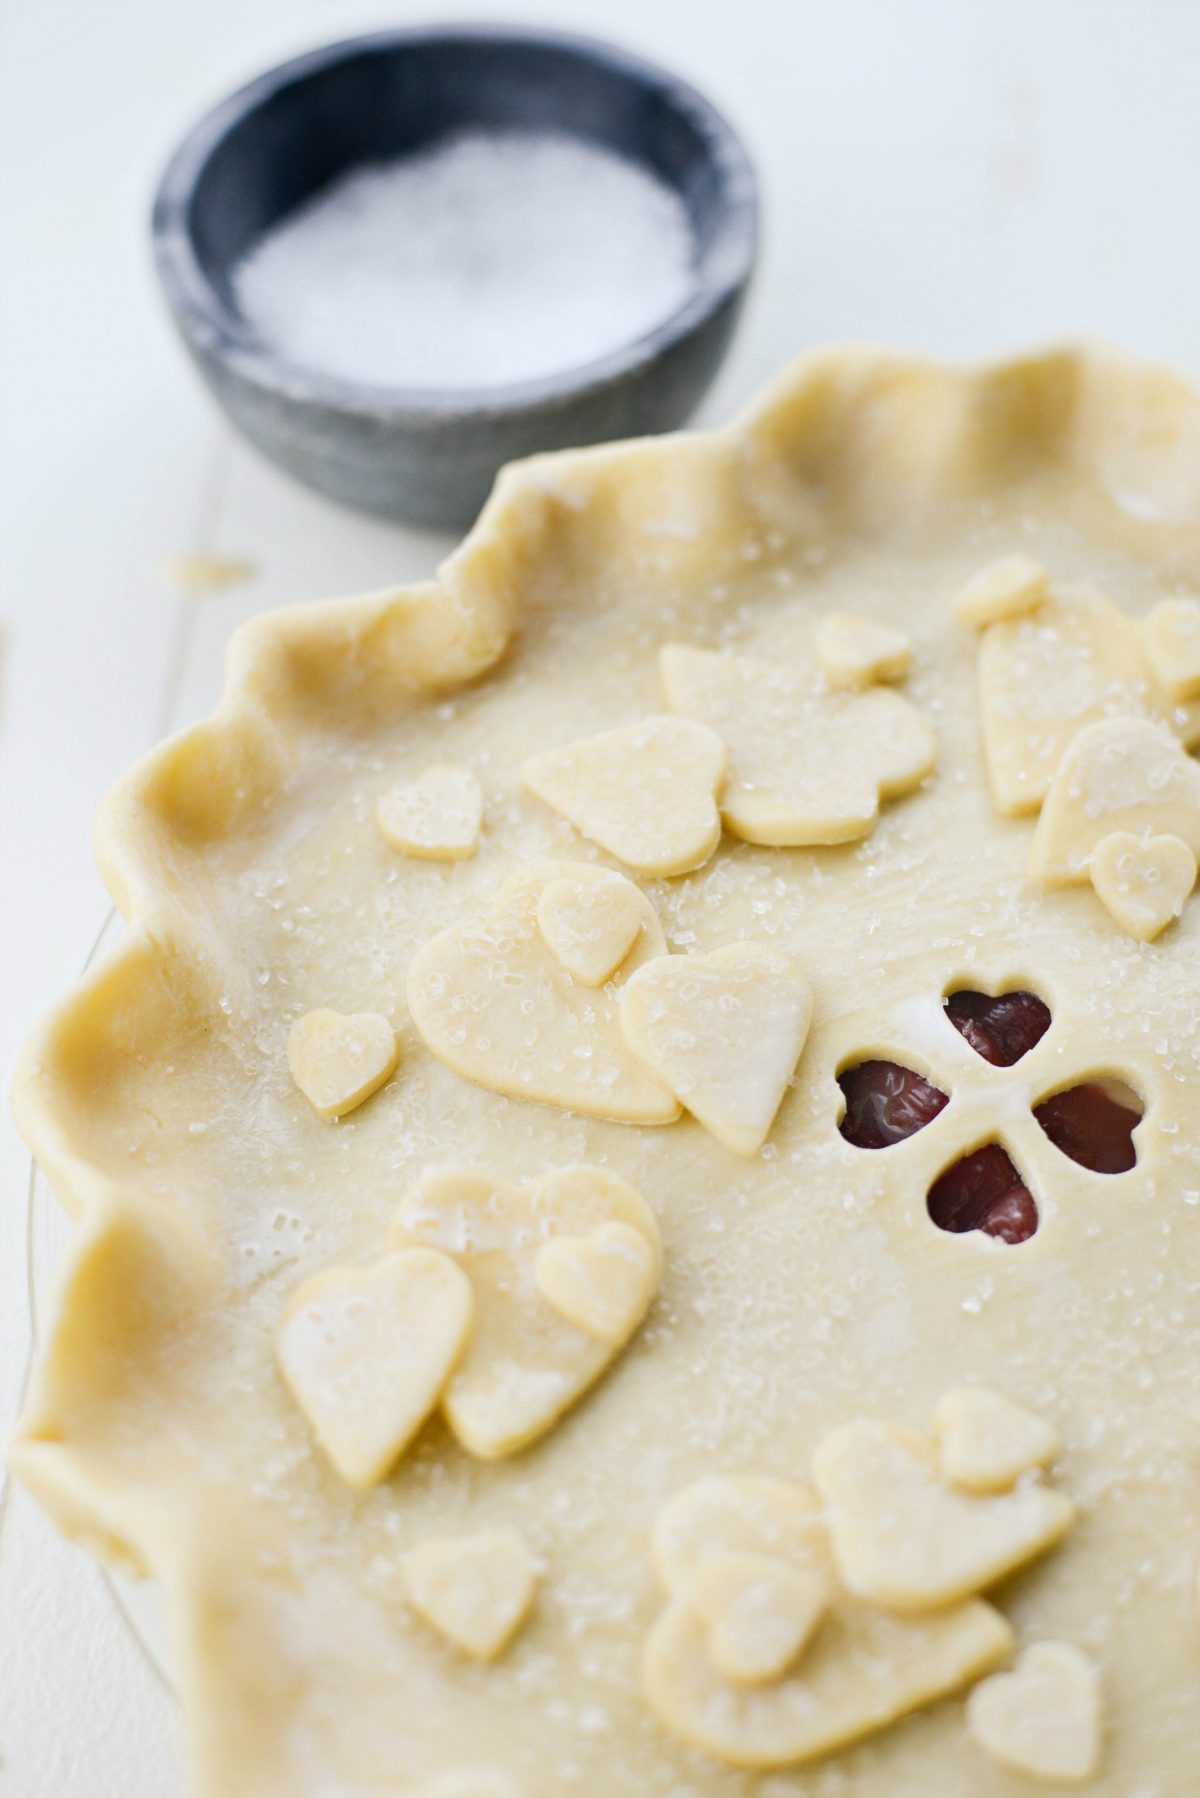
Brush the top of the pie crust with milk or heavy cream and then scatter any cut out pieces of dough (if using).
Brush with more heavy cream and sprinkle with coarse sugar.
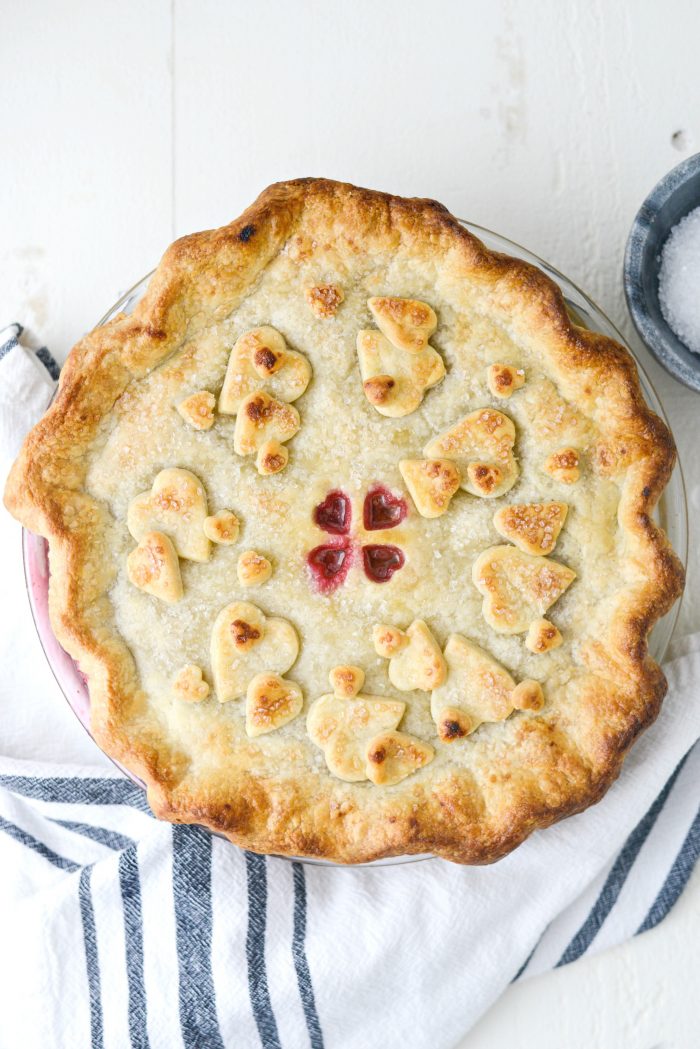
Bake on the the lower third rack with a sheet pan below it to catch any spills. Bake for 30 minutes before reducing the heat to 350° and continue baking for 25 to 30 more or until the filling is bubbling through the vent cutouts.
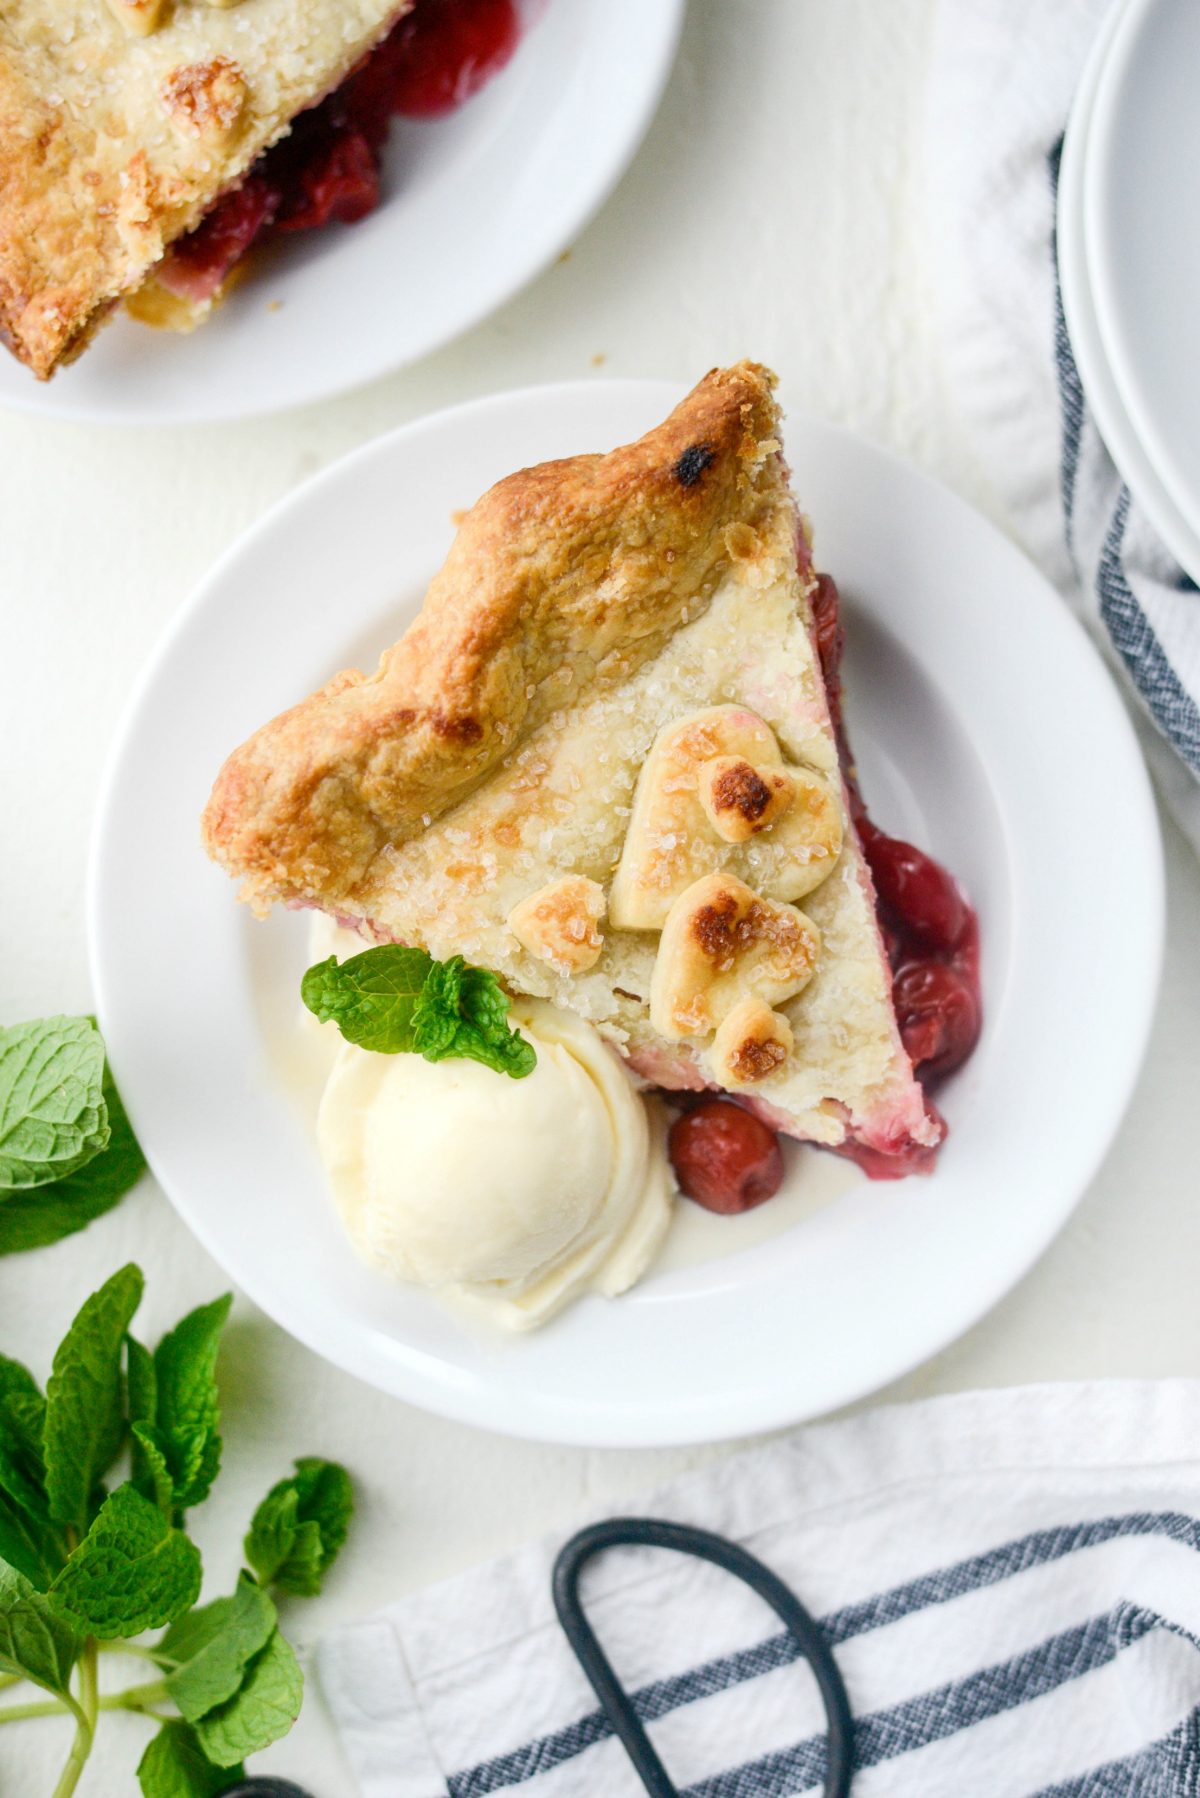
Next allow the pie to cool for a few hours before slicing and serving with a scoop of vanilla ice cream. As you know, I love nothing more than a warm fruit pie and its flaky crust with cold ice cream.
This sweet and tart cherry pie was so easy to prepare, tastes better than any store-bought or diner pie.
Homemade is where it’s at.
Enjoy! And if you give this Homemade Cherry Pie recipe a try, let me know! Snap a photo and tag me on twitter or instagram!
Homemade Cherry Pie
Ingredients
- 5 cups frozen sour cherries
- 1 recipe homemade pie dough
- 1 cup sugar
- 1/4 cup cornstarch
- 3/4 teaspoon pure vanilla extract
- 1/4 teaspoon ground cinnamon
- 1 pinch ground nutmeg
- 2 tablespoons unsalted butter, cut into small pieces
- 2 tablespoons heavy cream, cold
- 1 tablespoon coarse sugar, for sprinkling, or more to taste
Instructions
THE NIGHT BEFORE:
- Set your frozen cherries into a colander set over a bowl and place into your refrigerator. As the cherries thaw the juices will be collected in the bowl below (save those juices!). These need at least 6+ hours to thaw.
THE DAY OF:
- Roll out the bottom pie and top crust to 12-inches in diameter. Place one into a 9-1/2-inch deep pie dish. Trim off excess pie crust, leaving a 1-inch border and refrigerate. Save the scraps if you plan to cut out any designs to top the pie.
- Cut vent holes out of the top crust and transfer it to a lined baking sheet and refrigerate as you work on the filing.
- Into a liquid measuring cup, pour the reserved cherry juice, add enough water (if need be) to measure 3/4 cup total.
- In a heavy-bottom sauce pan, add the sugar, cherry juice and cornstarch, whisk to combine. Bring to a boil, reduce the heat to medium-high whisking often until thickened. About 5 minutes. Remove the pan off of the heat and stir in the vanilla, cinnamon and nutmeg.
- Allow this to cool completely before assembling the pie.
- Position an oven rack in the lower third of your oven and then preheat your oven to 425℉ (or 220℃).
- Add the thawed cherries to your chilled bottom crust, pour the cooled filling over top and smooth out with a spoon.
- Drape the top crust over the filling, trim off the excess dough and fold and crimp the edges.
- Brush the top crust with cold heavy cream and decorate with cut out hearts or shapes if desired. Brush those with cream as well before sprinkling coarse sugar over top.
- Bake on the the lower third rack with a sheet pan below it to catch any spills. Bake fro 30 minutes before reducing the heat to 350° and continue baking for 25 to 30 more or until the filling is bubbling through the vent cutouts.
- Allow the pie to cool for a few hours before slicing and serving.
Buy the Cookbook: Simply Scratch : 120 Wholesome Homemade Recipes Made Easy Now available on Amazon »
THANK YOU in advance for your support!


Nothing goes better with a slice of pie than an icy cold glass of milk. Lemon or lime meringue pie would be the exception 🙂
I’m not a big glass of milk person, so it’s coffee for me
Looks delicious! I will make this for Thanksgiving. But first I’m doing a trail run and making this next week! Question, where do I get the tool to make all those tiny adorable hearts?
Thank you
Hi Elizabeth! Sorry for the delay! I went back and linked the exact ones I bought in the recipe printable. Thanks for inquiring!
yummy idea for a weekend baking treat, fun too, forgot how much I miss cherry pie, thank you!