How fun are these Homemade Ice Cream Waffle Bowls? Simple pantry and fridge ingredients transform into a delicous edible bowl! Perfect for all ages and can be jazzed up by dipping the rim into melted chocolate. Now just add your favorite Tillamook Ice Cream flavor! Yields 8 bowls in about 30 minutes.
To say my family loves ice cream is an understatement. We ADORE it.
It’s a personal weakness and our treat of choice for when our kids have good grades on their report card or if they win a softball game. Which leads me to ask, did you know July was National Ice Cream Month?? BEST FOOD HOLIDAY EVER! Sorry for all the shouty capitals, but a whole month dedicated to celebrate my favorite creamy treat? Yes. Please.
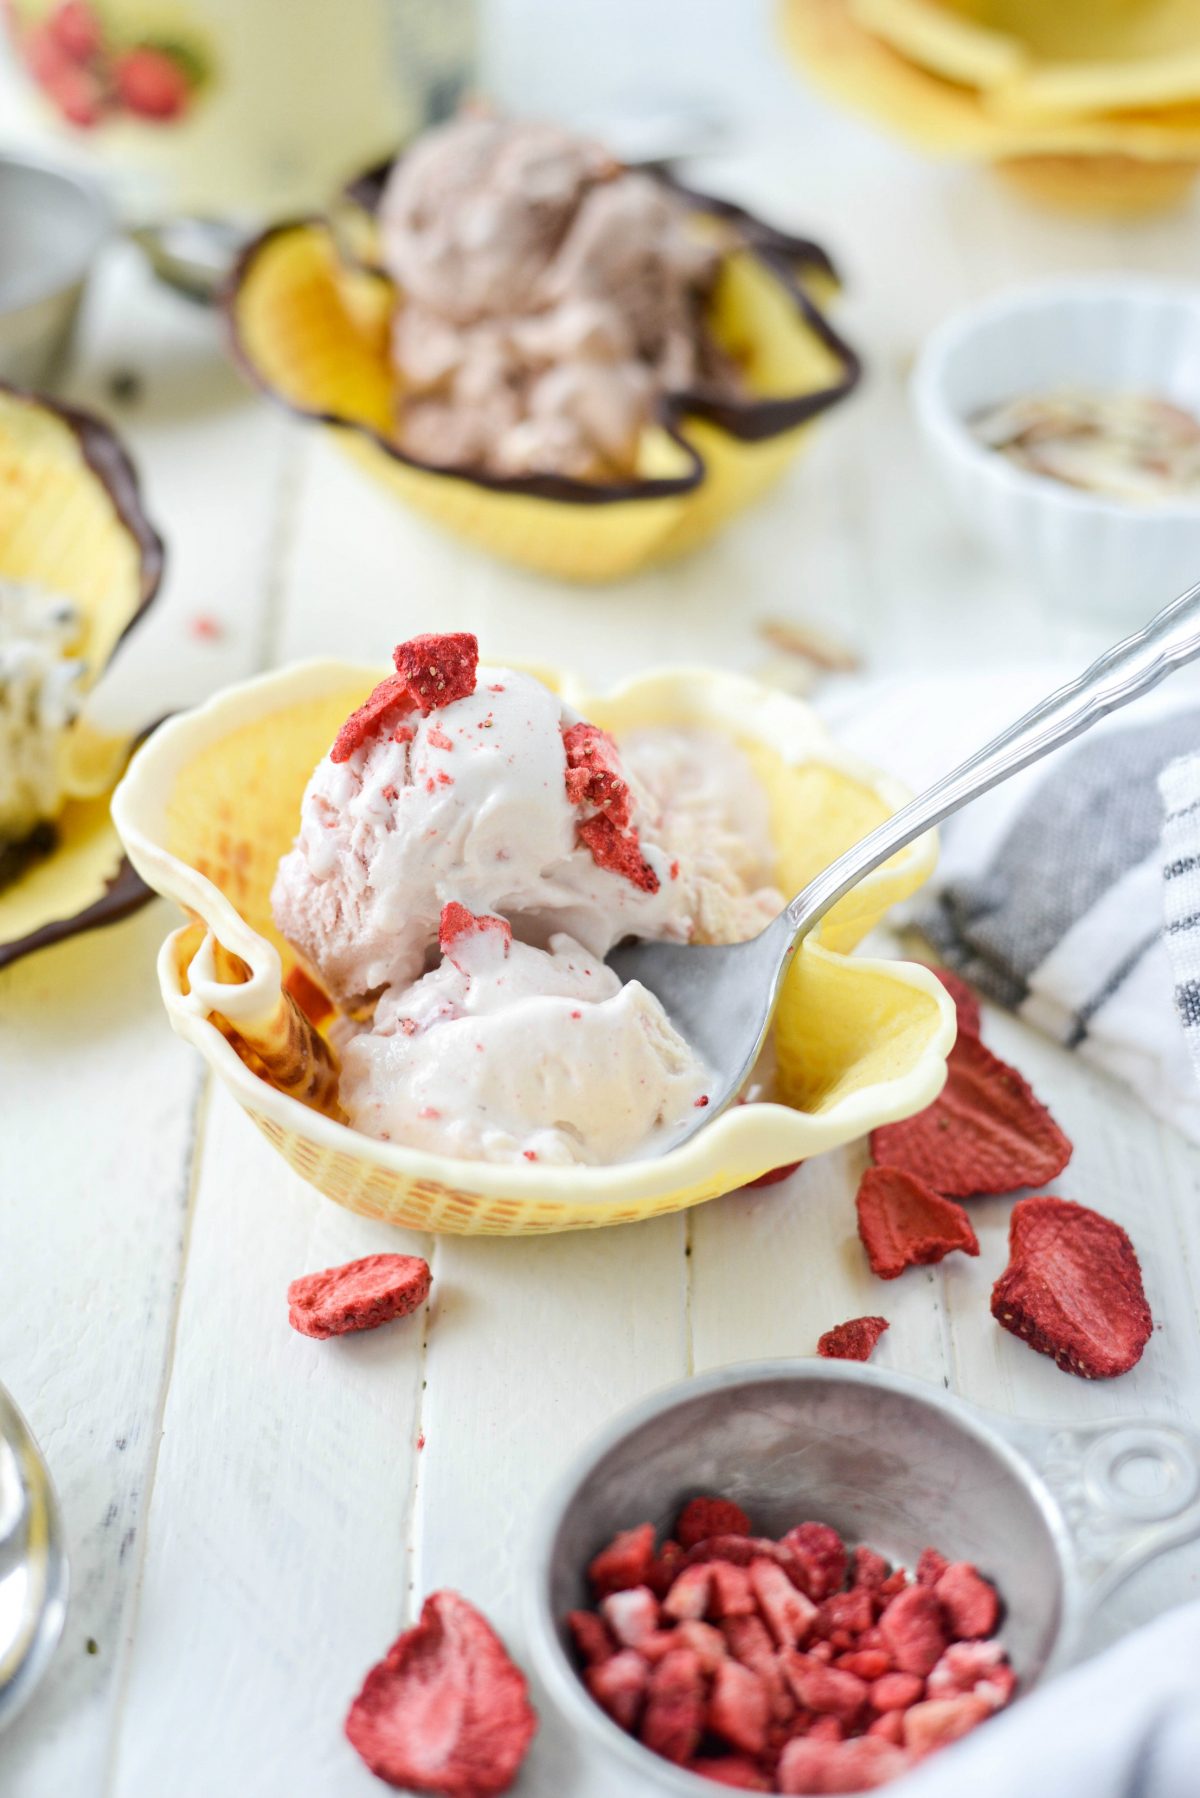
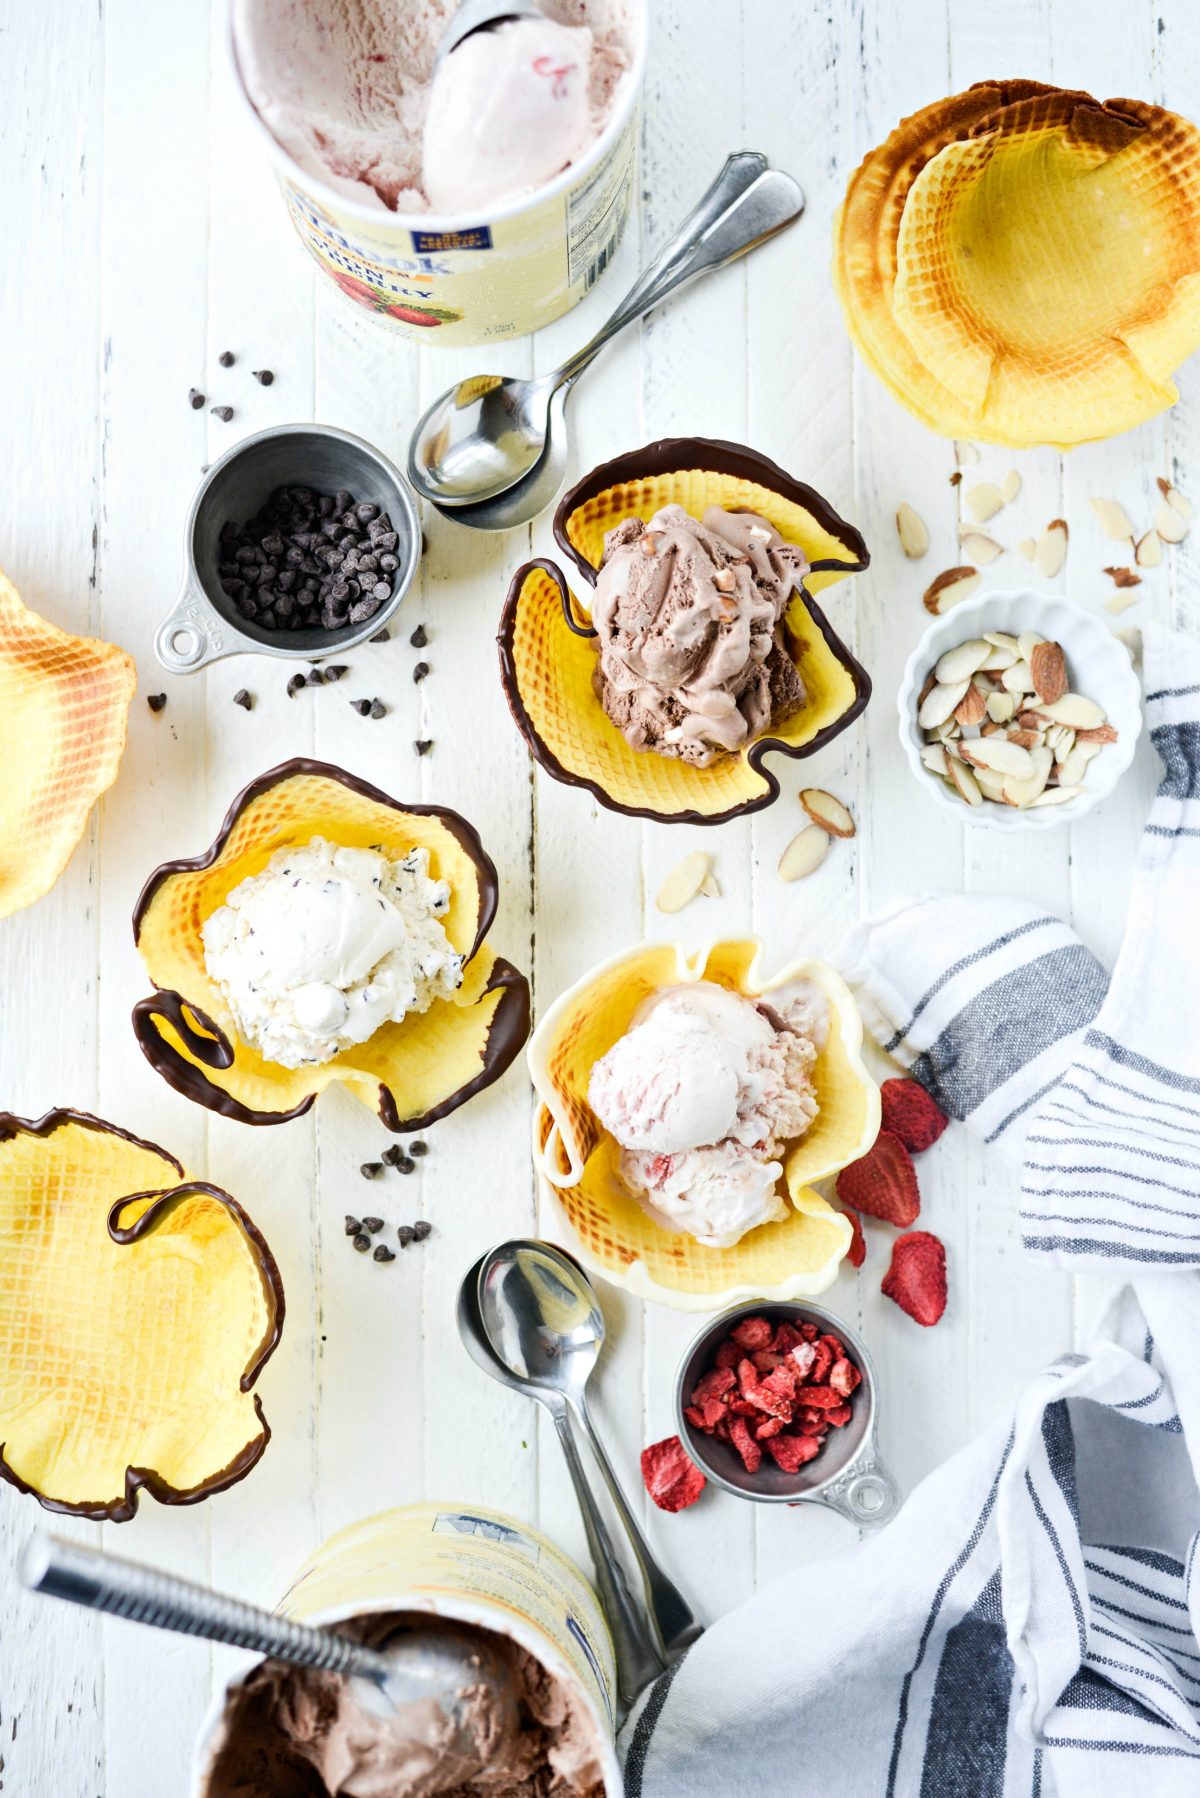
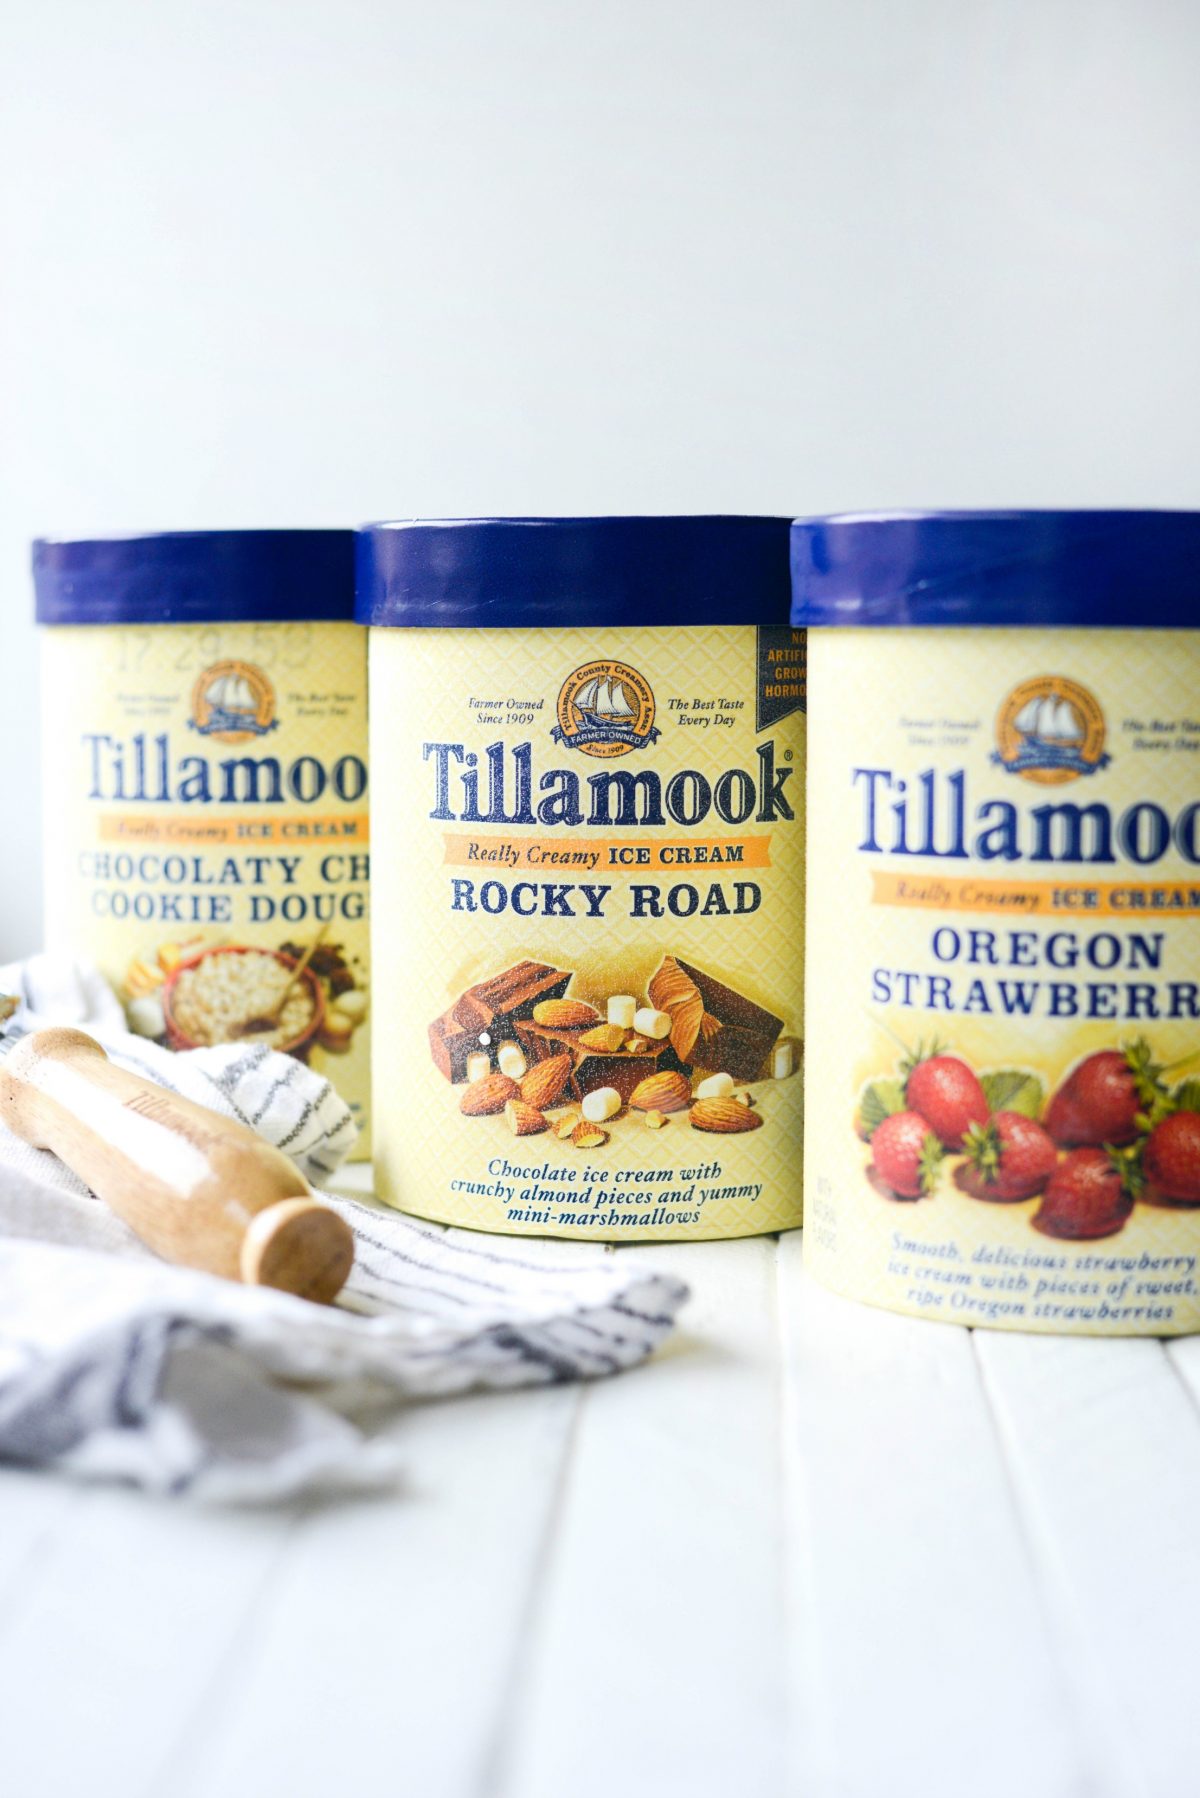
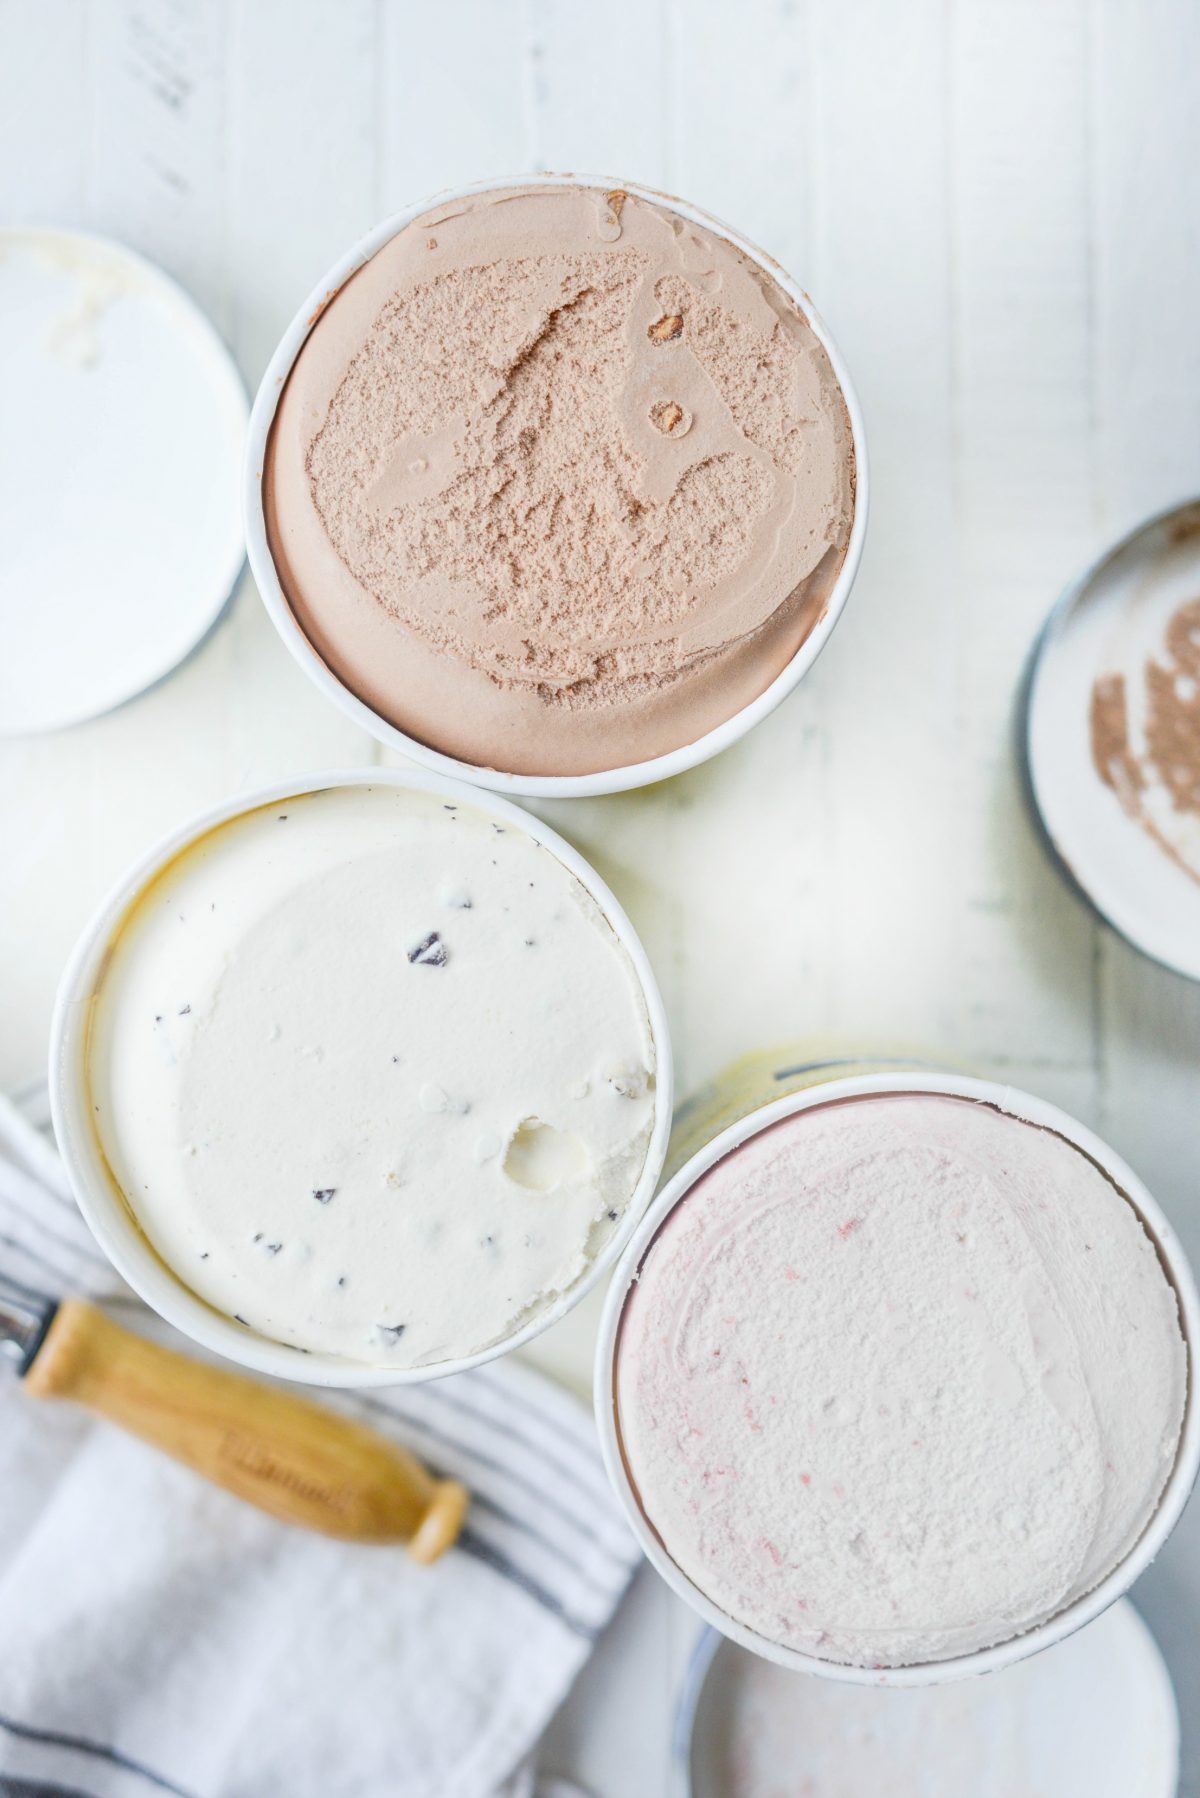
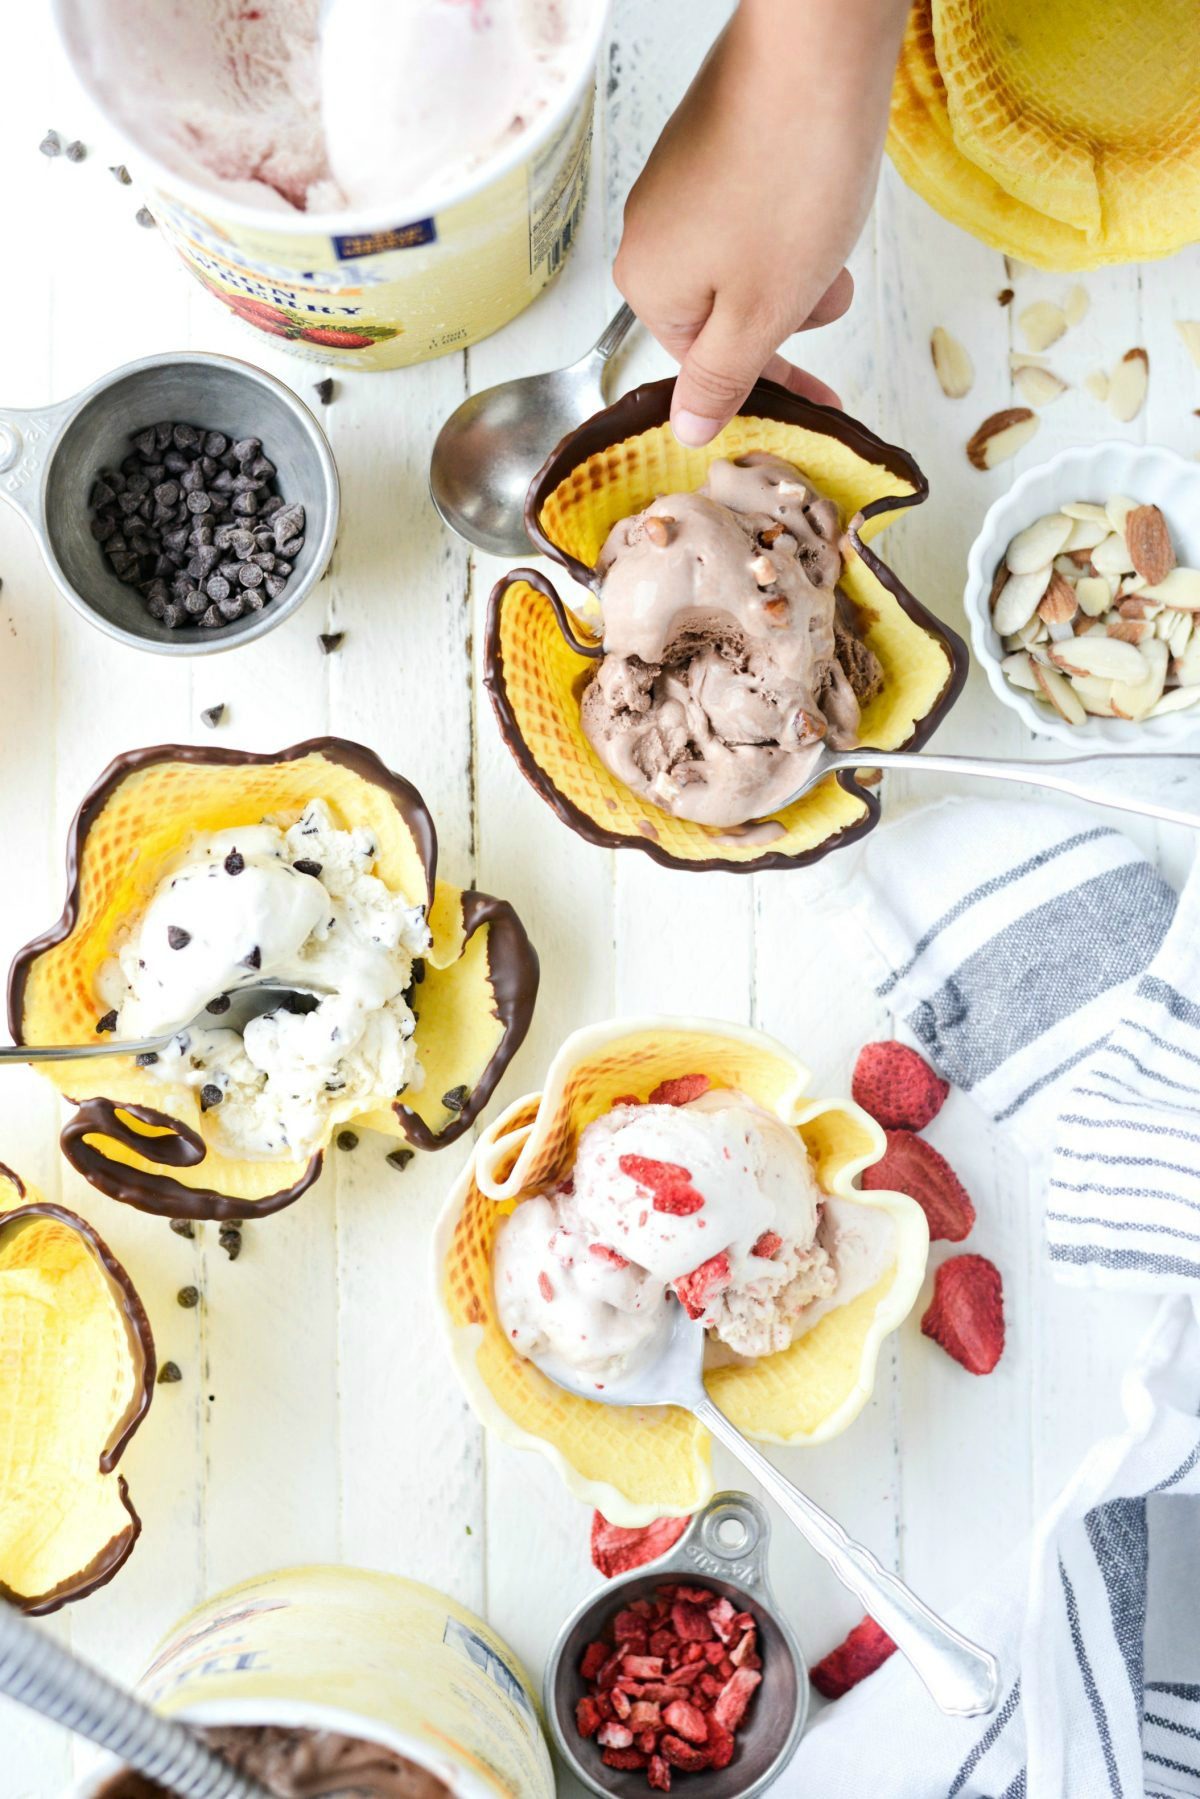
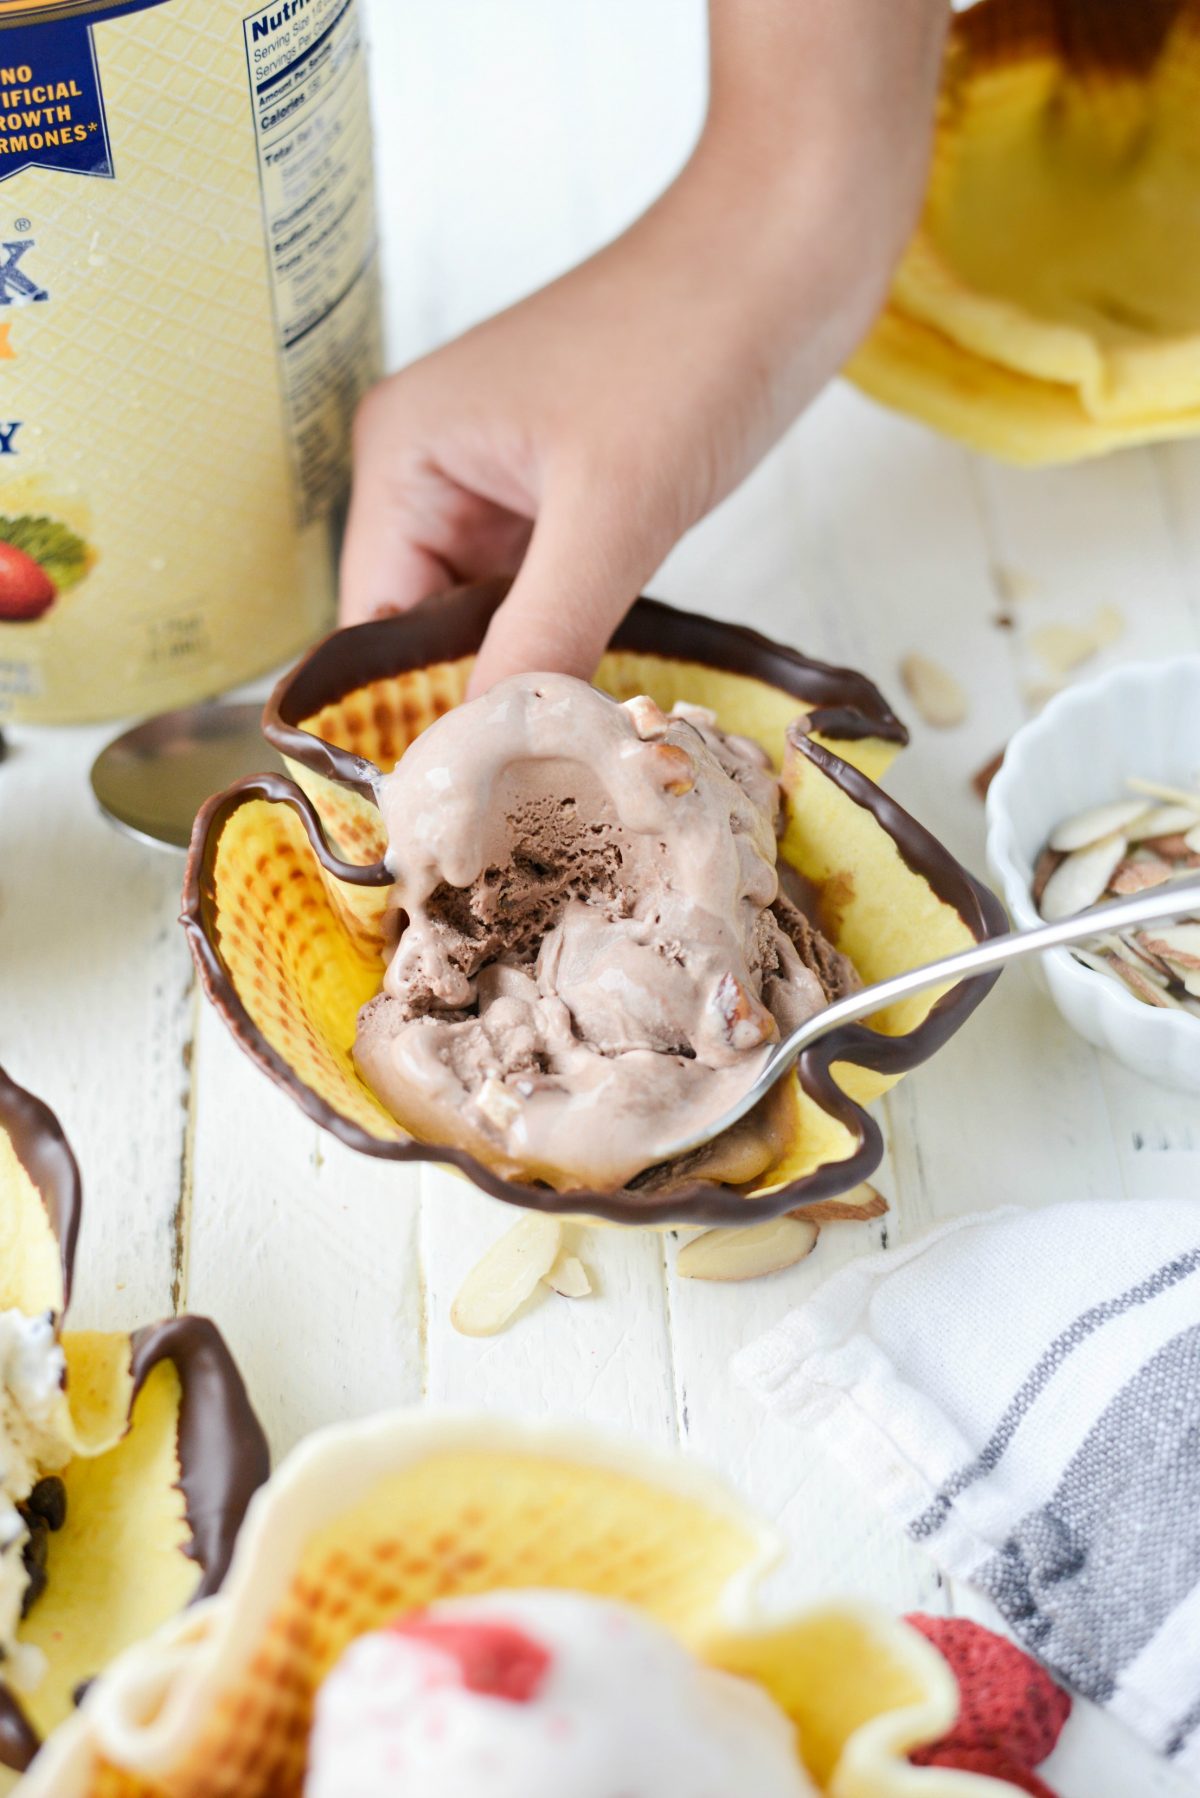
Partnering with Tillamook to create a family fun ice cream social was a no brainer. I let my family pick out their favorite flavors which might have been a nightmare of decision making but surprisingly it wasn’t. Pat decided on Oregon Strawberry, Haileigh and Malloree on Chocolate Chip Cookie Dough and me? Rocky Road of course. It’s my favorite.
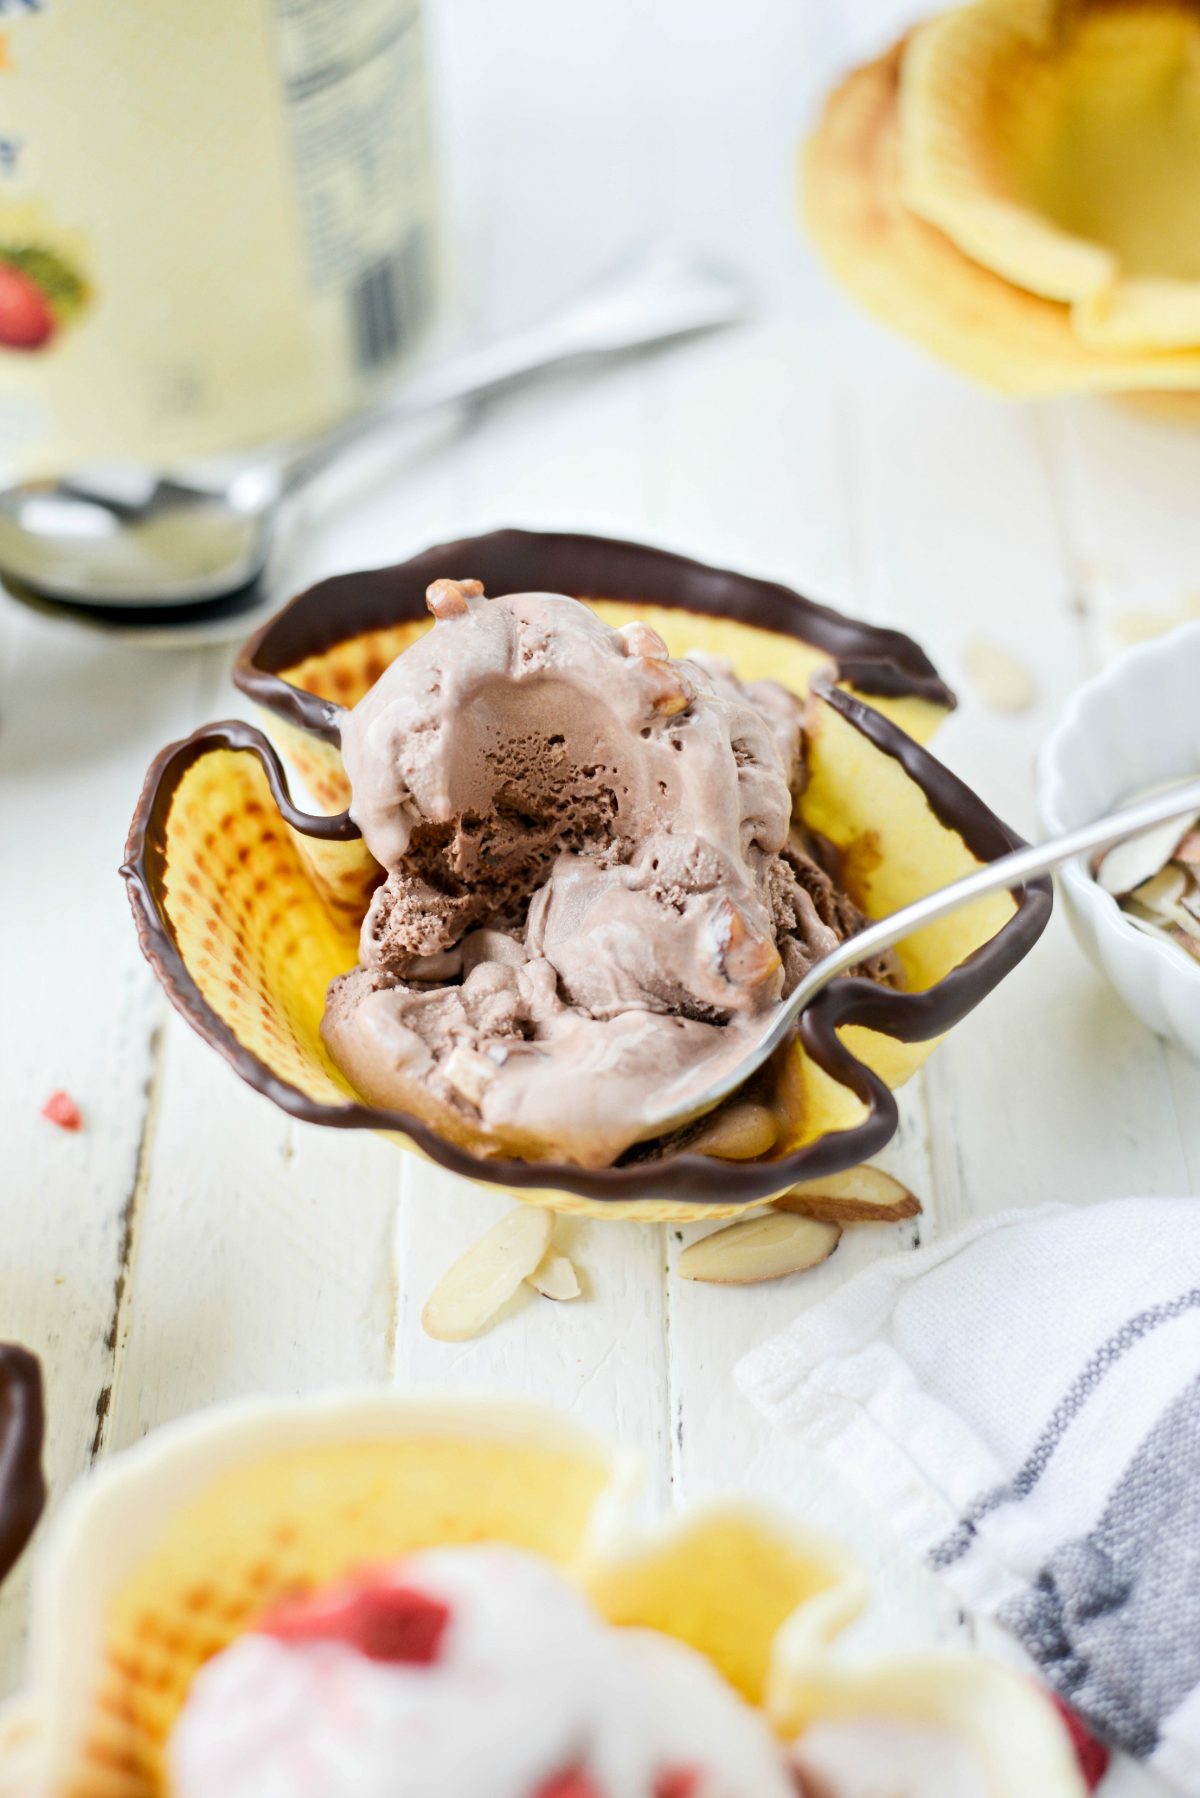
One day earlier this year, I decided to pick up a carton of Tillamook Rocky Road Ice Cream. With the first spoonful it instantly transported me to my childhood. It tasted just like an old favorite flavor heavenly hash, that in the last 5 years was sadly discontinued. Only this new-to-me ice cream was a gazillion times more creamy with bigger pieces of almonds and the marshmallow are whole and not swirled throughout, so I actually TASTE them. Infact back in May, before I even knew about this ice cream partnership with Tillmook, I even tweeted about it.
No lie. #fate
So instead of just scooping ice cream into a regular bowl, I decided to make homemade ice cream waffle bowls. Because what’s better than having your ice cream in an edible bowl? Not a whole lot, that’s for sure.
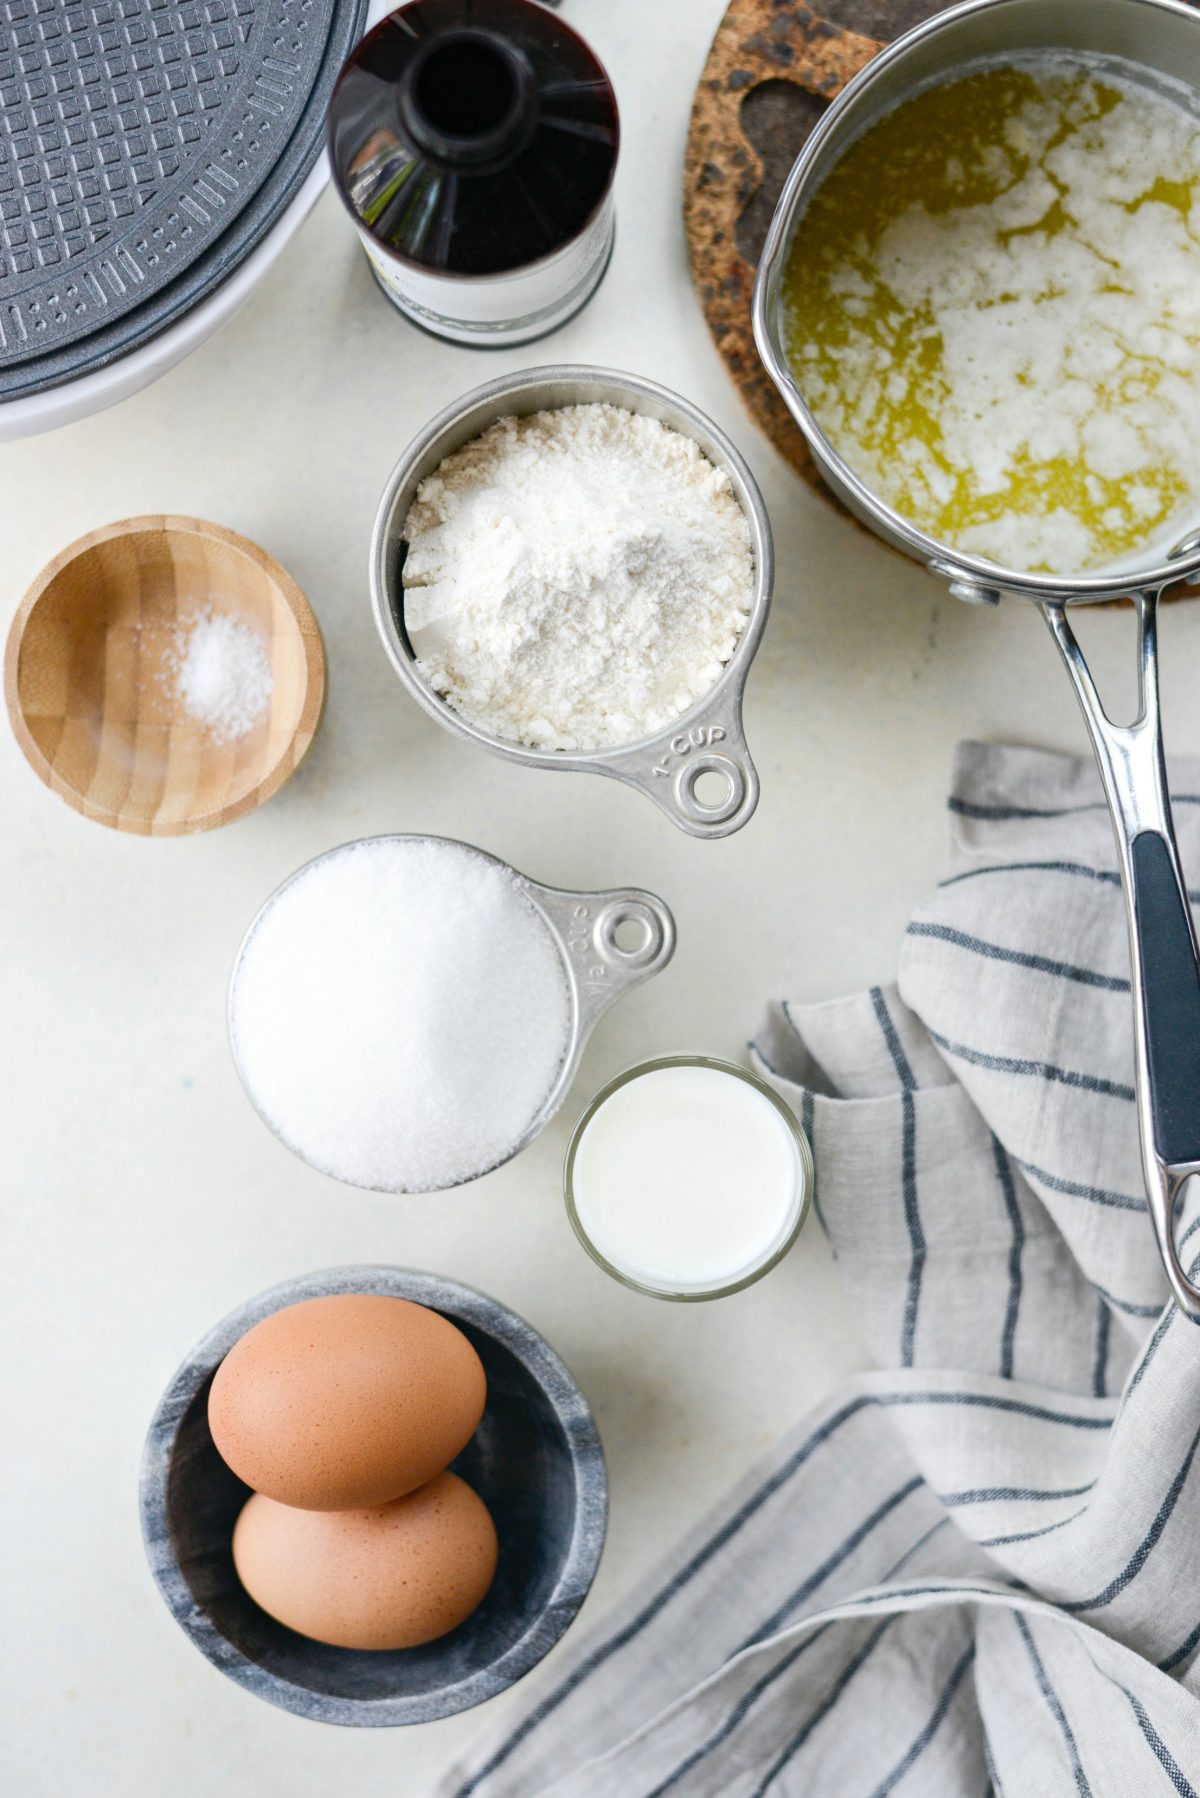
To Make These Homemade Waffle Cones You will need:
- unbleached all-purpose flour – This provides the structure.
- sea salt – Balances out sweetness and adds flavor.
- eggs – Lends structure, leavening and richness.
- sugar – For sweetness and aids in crisping.
- whole milk – Helps moisten the batter.
- vanilla extract – Will enhance the flavor.
- melted (cooled slightly) butter – Helps produce a crisp exterior.
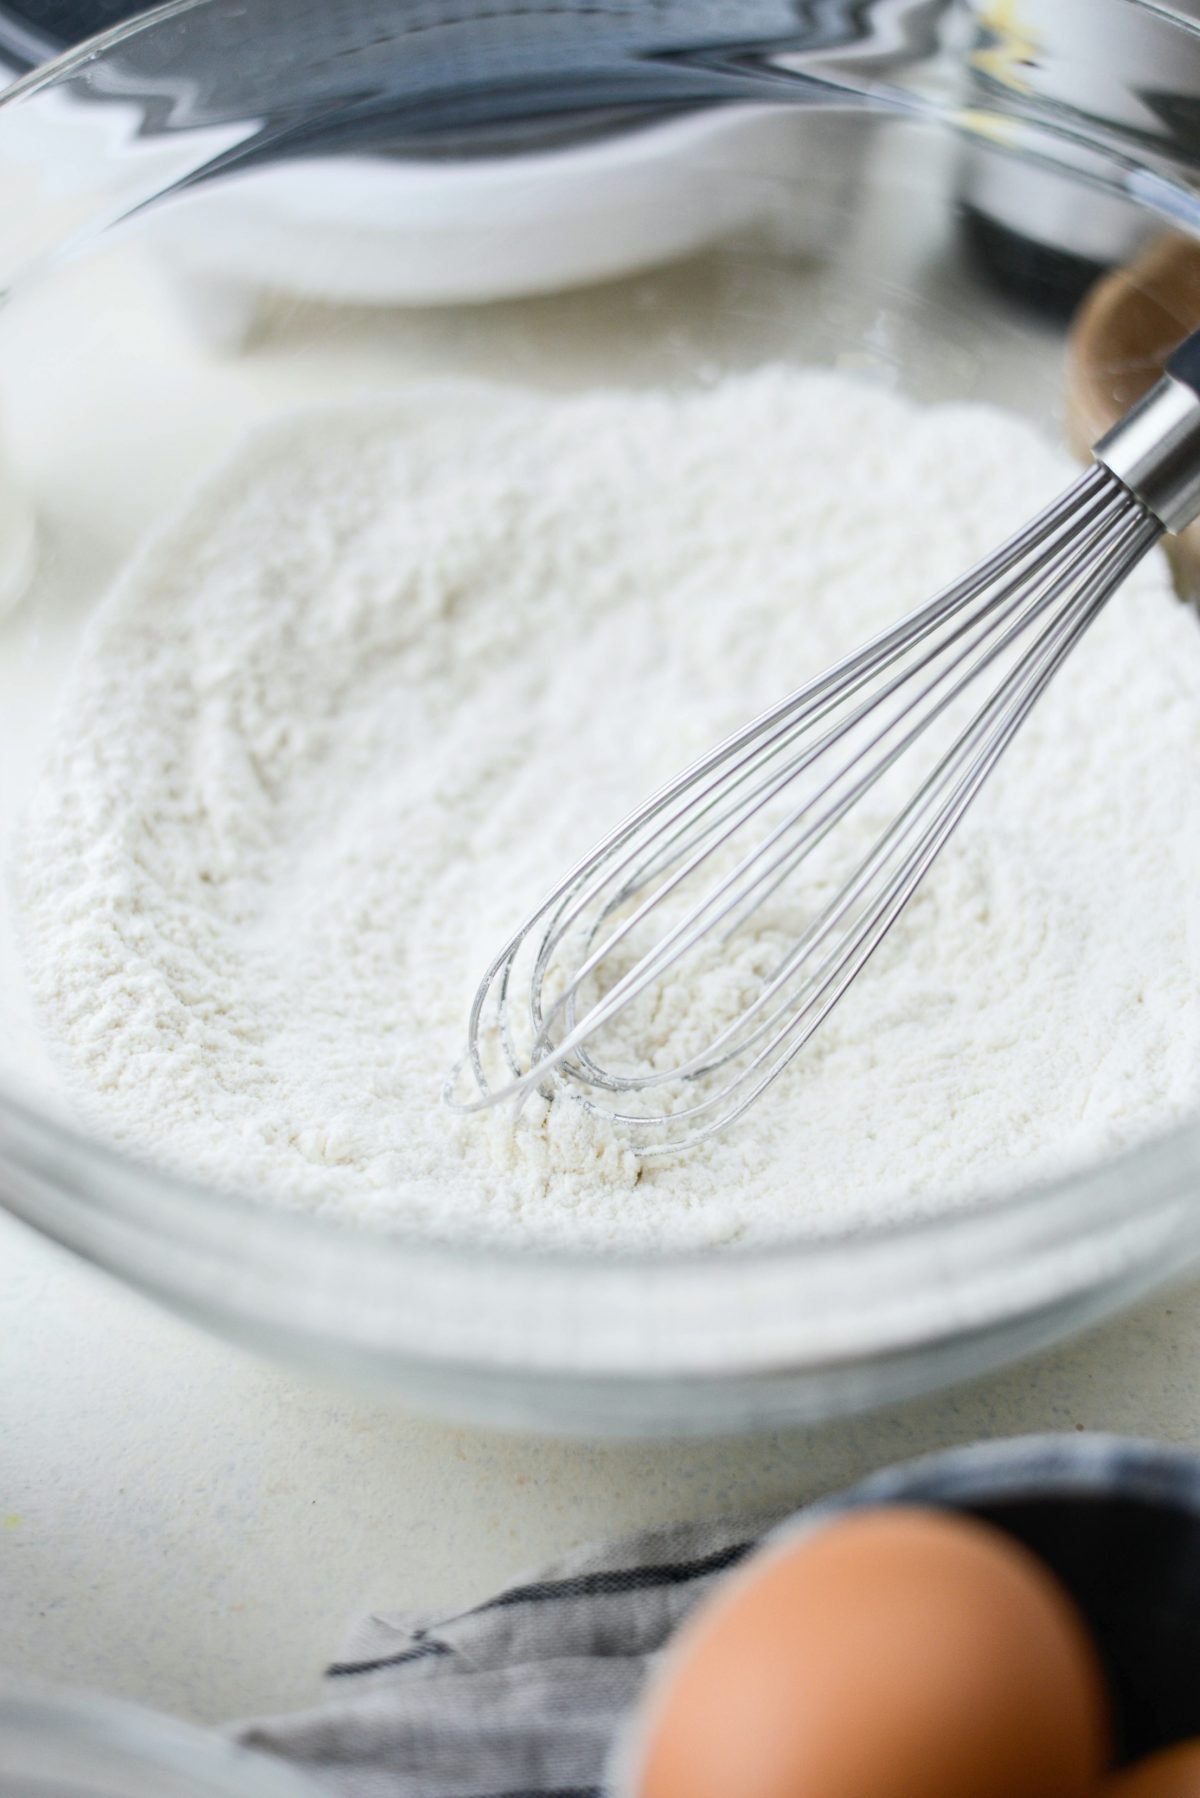
In a medium bowl whisk 2/3 cup of unbleached all-purpose flour and a pinch or 1/8th teaspoon sea salt together, then set it off to the side.
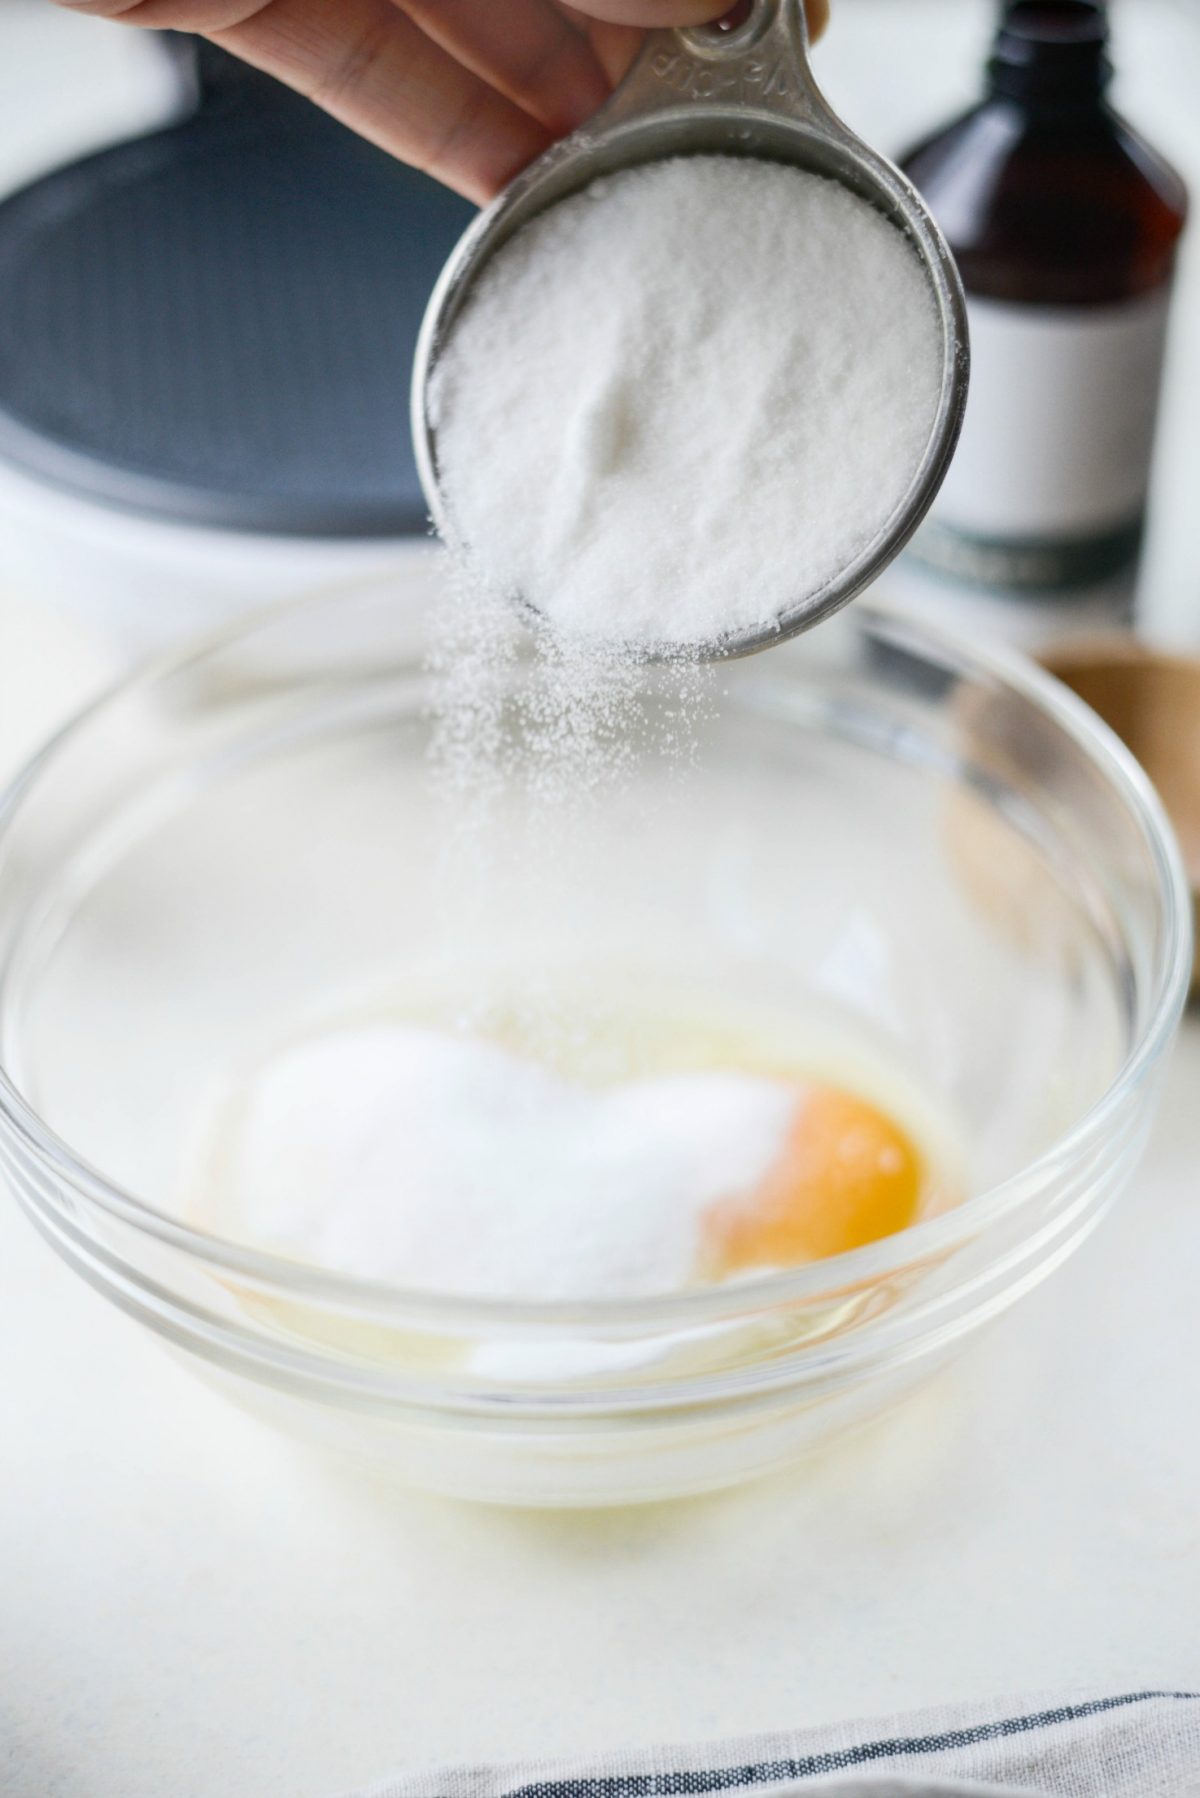
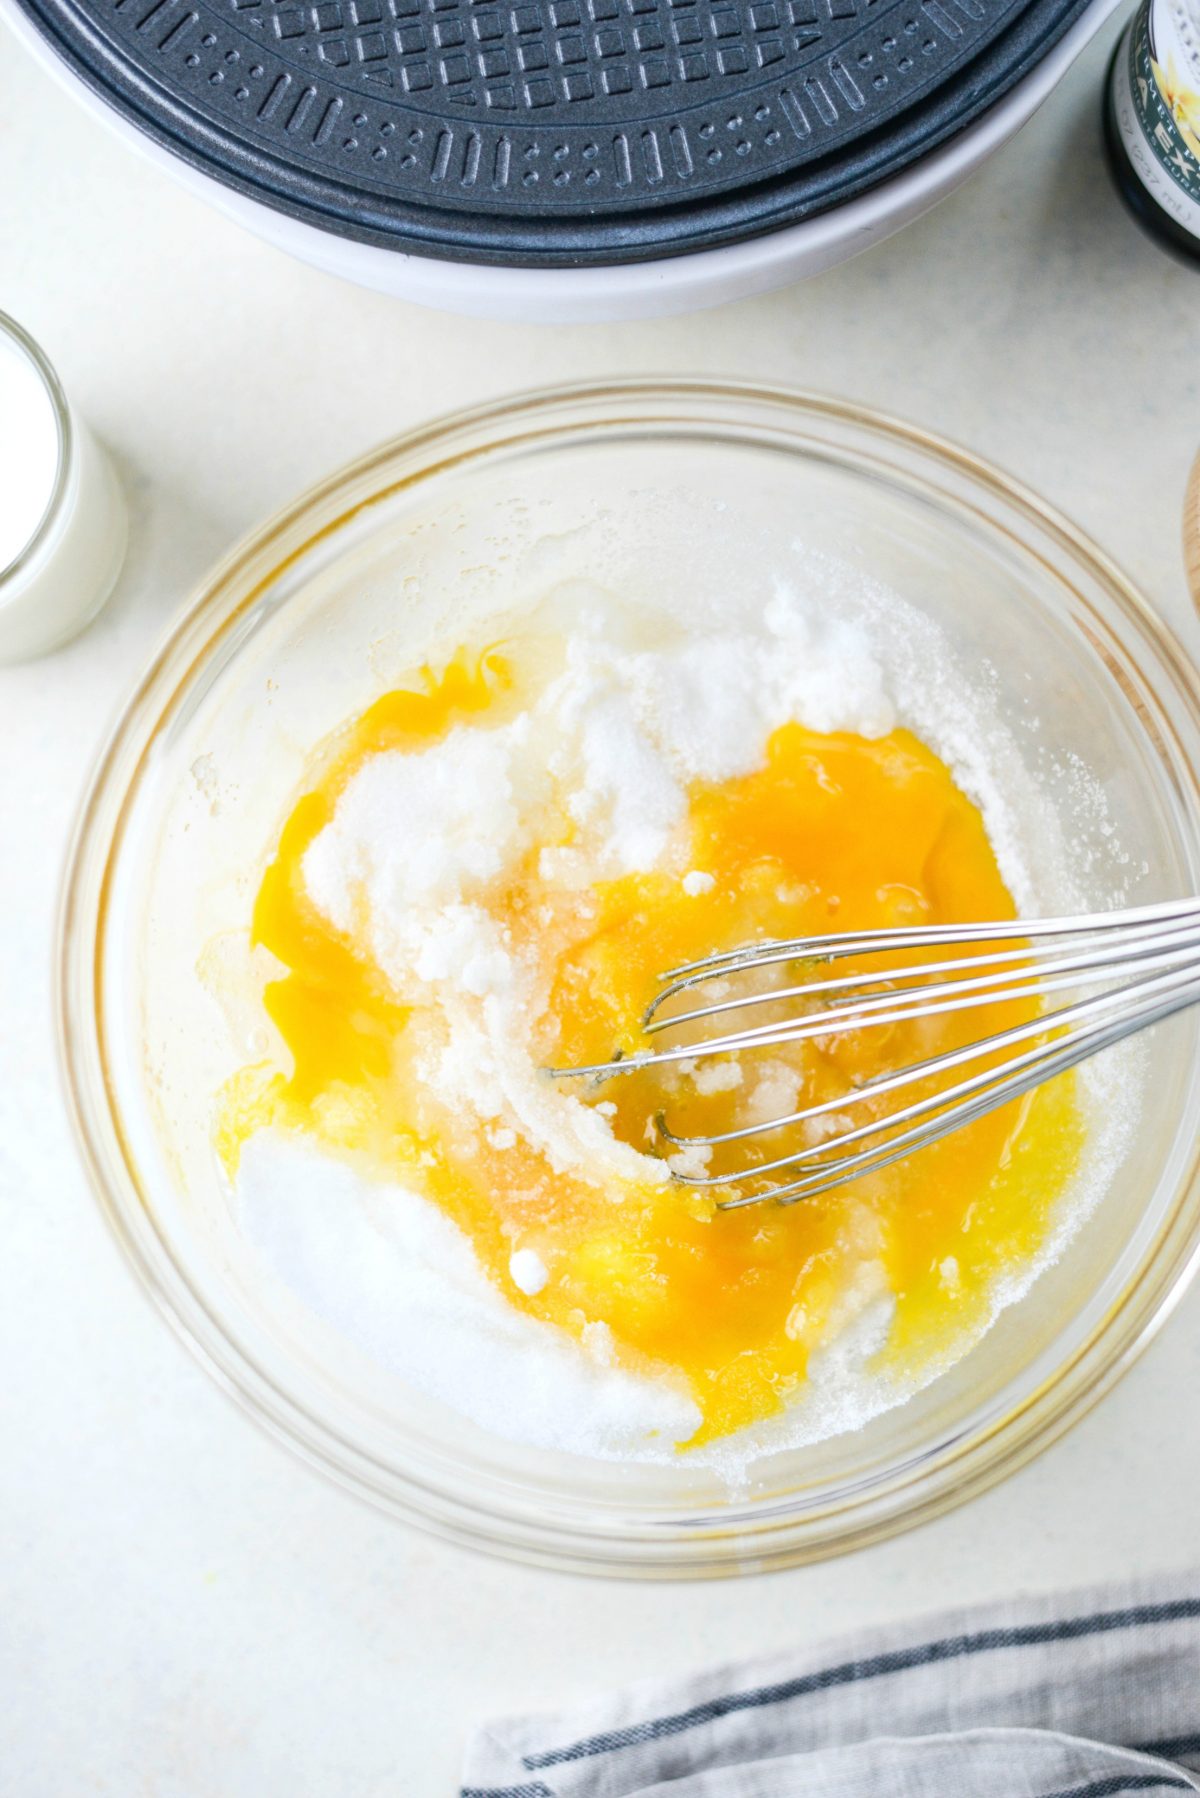
Then in a separate bowl, whisk 2 large eggs with 1/2 cup granulated sugar.
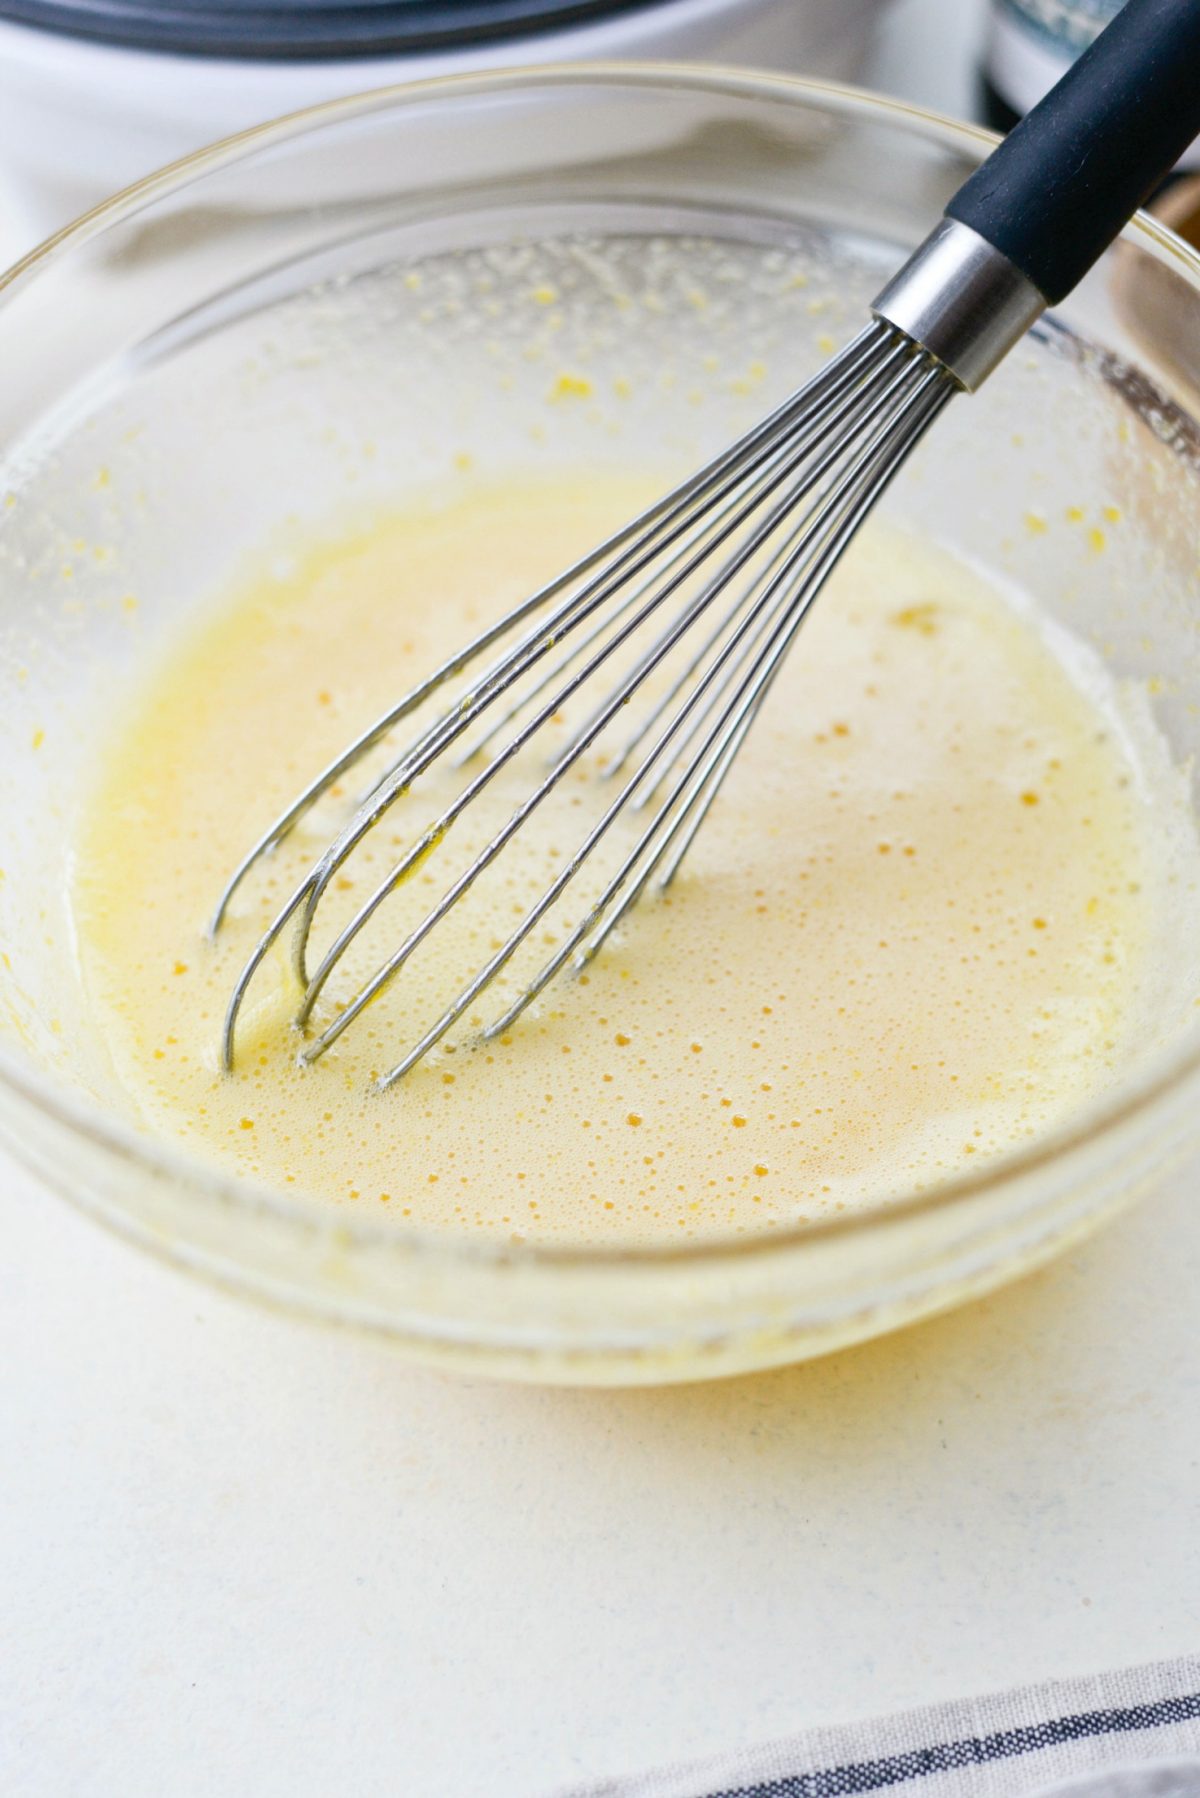
Whisk together until most of the sugar dissolves and the eggs mixture is a light yellow in color.
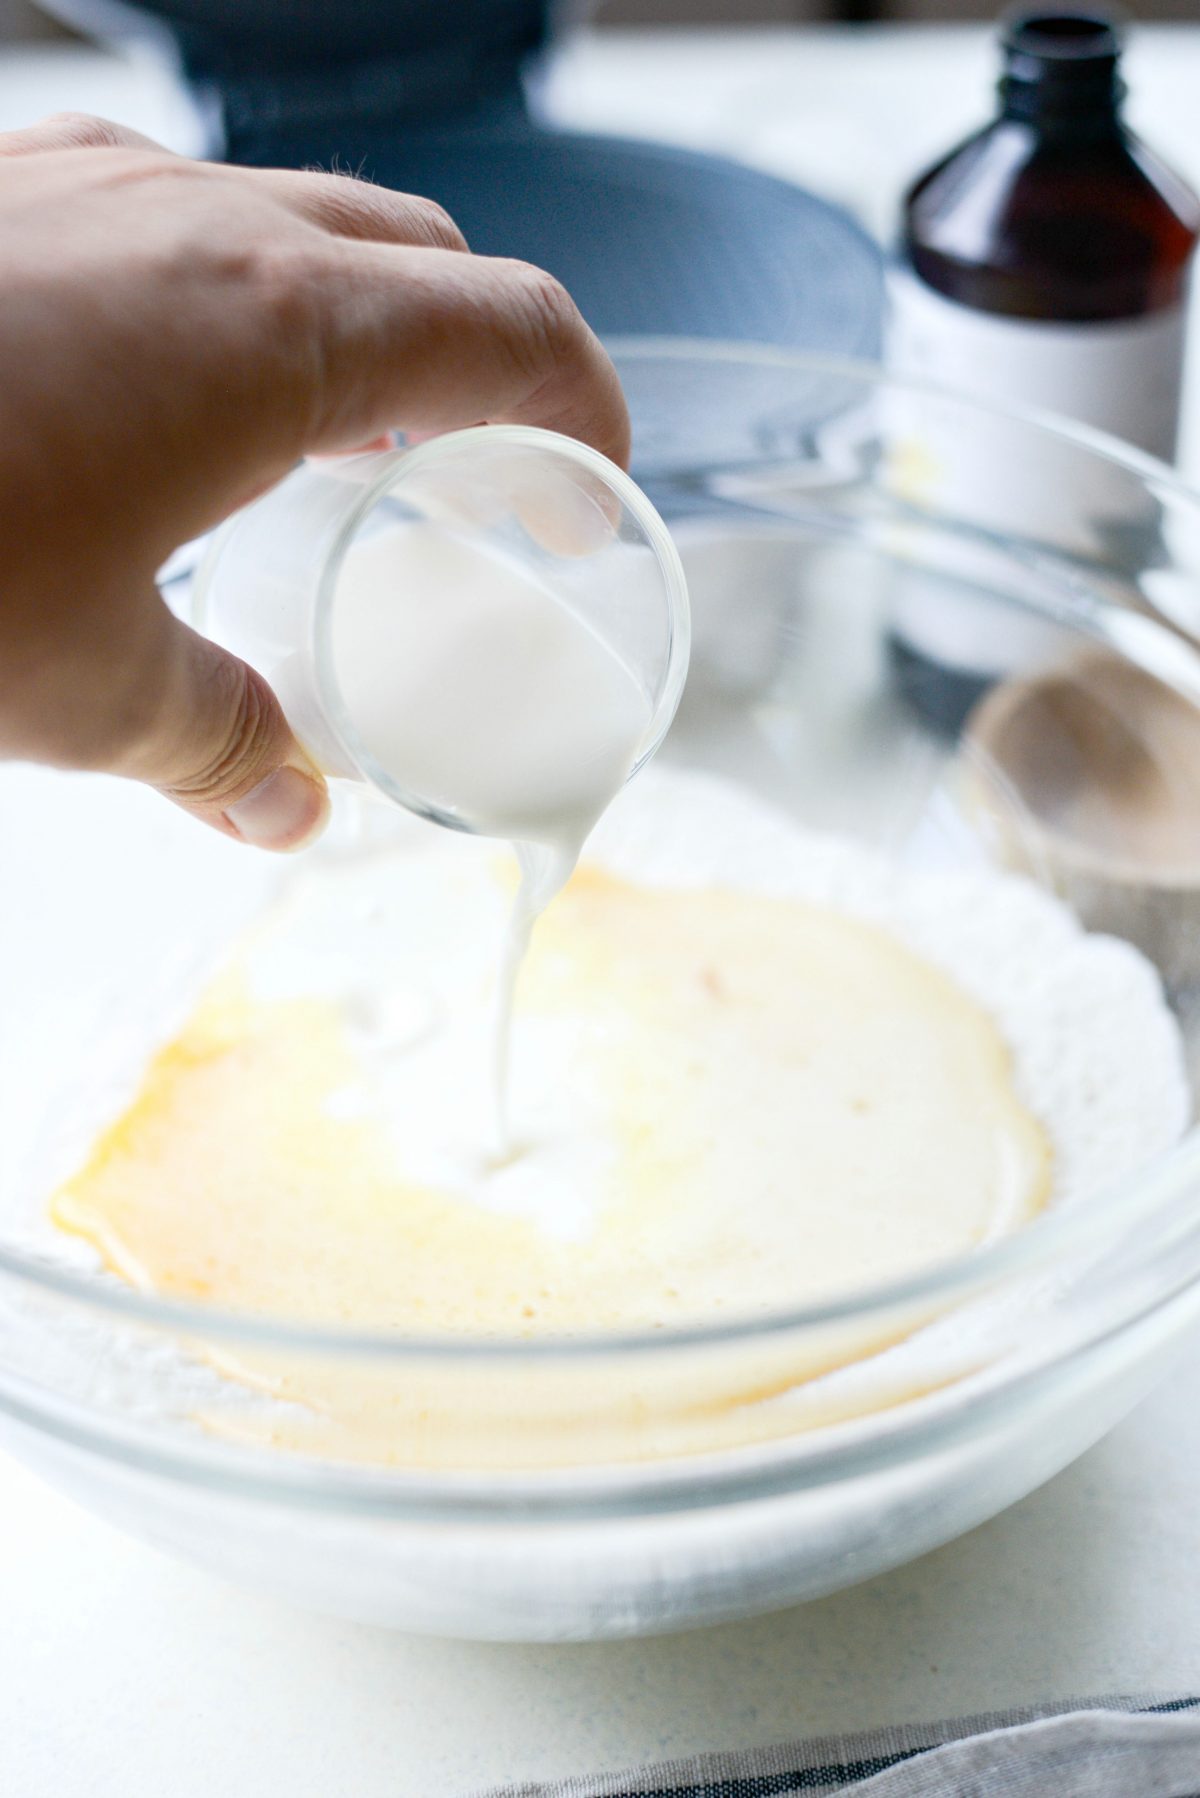
Next pour in 1/4 cup plus 2 tablespoons whole milk and a splash of vanilla and stir until combined.
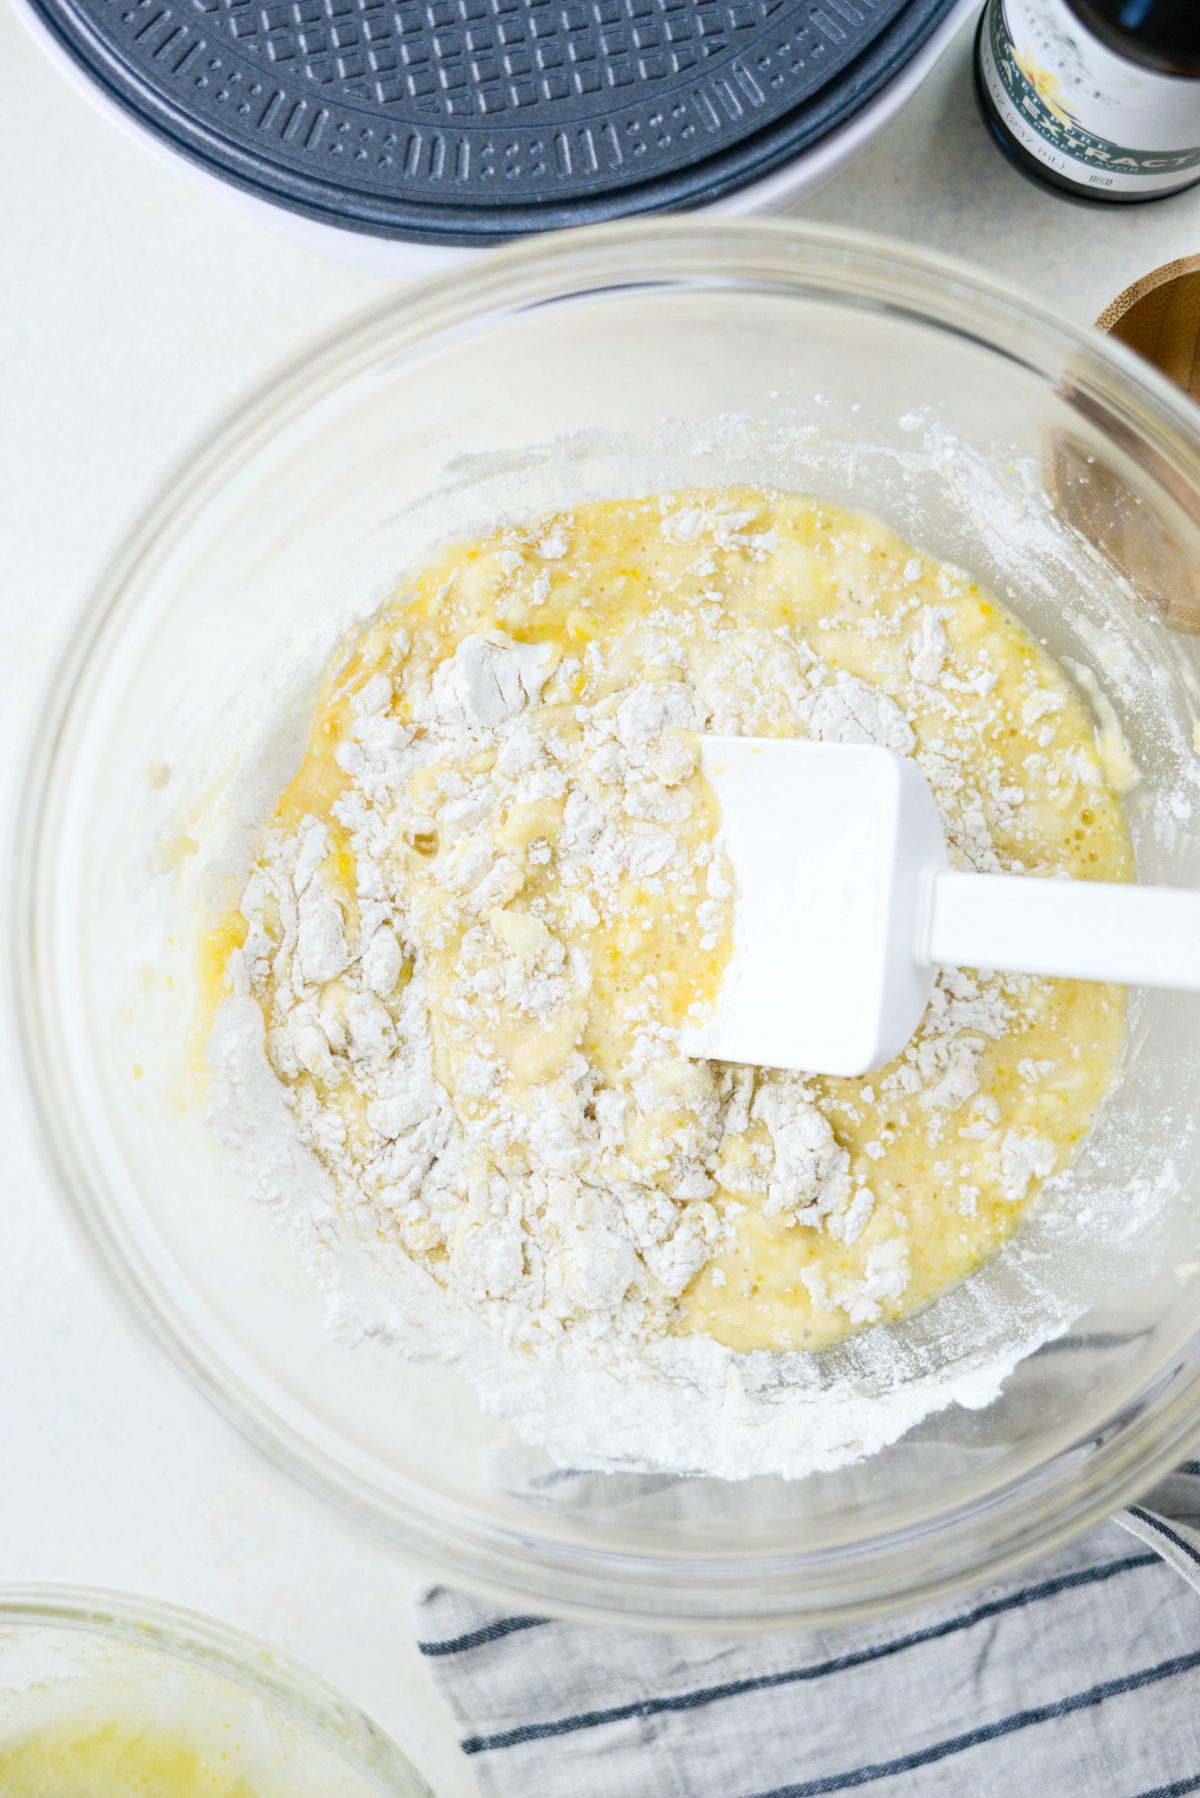
Add the flour mixture to the egg mixture and stir with a spatula until just combined.
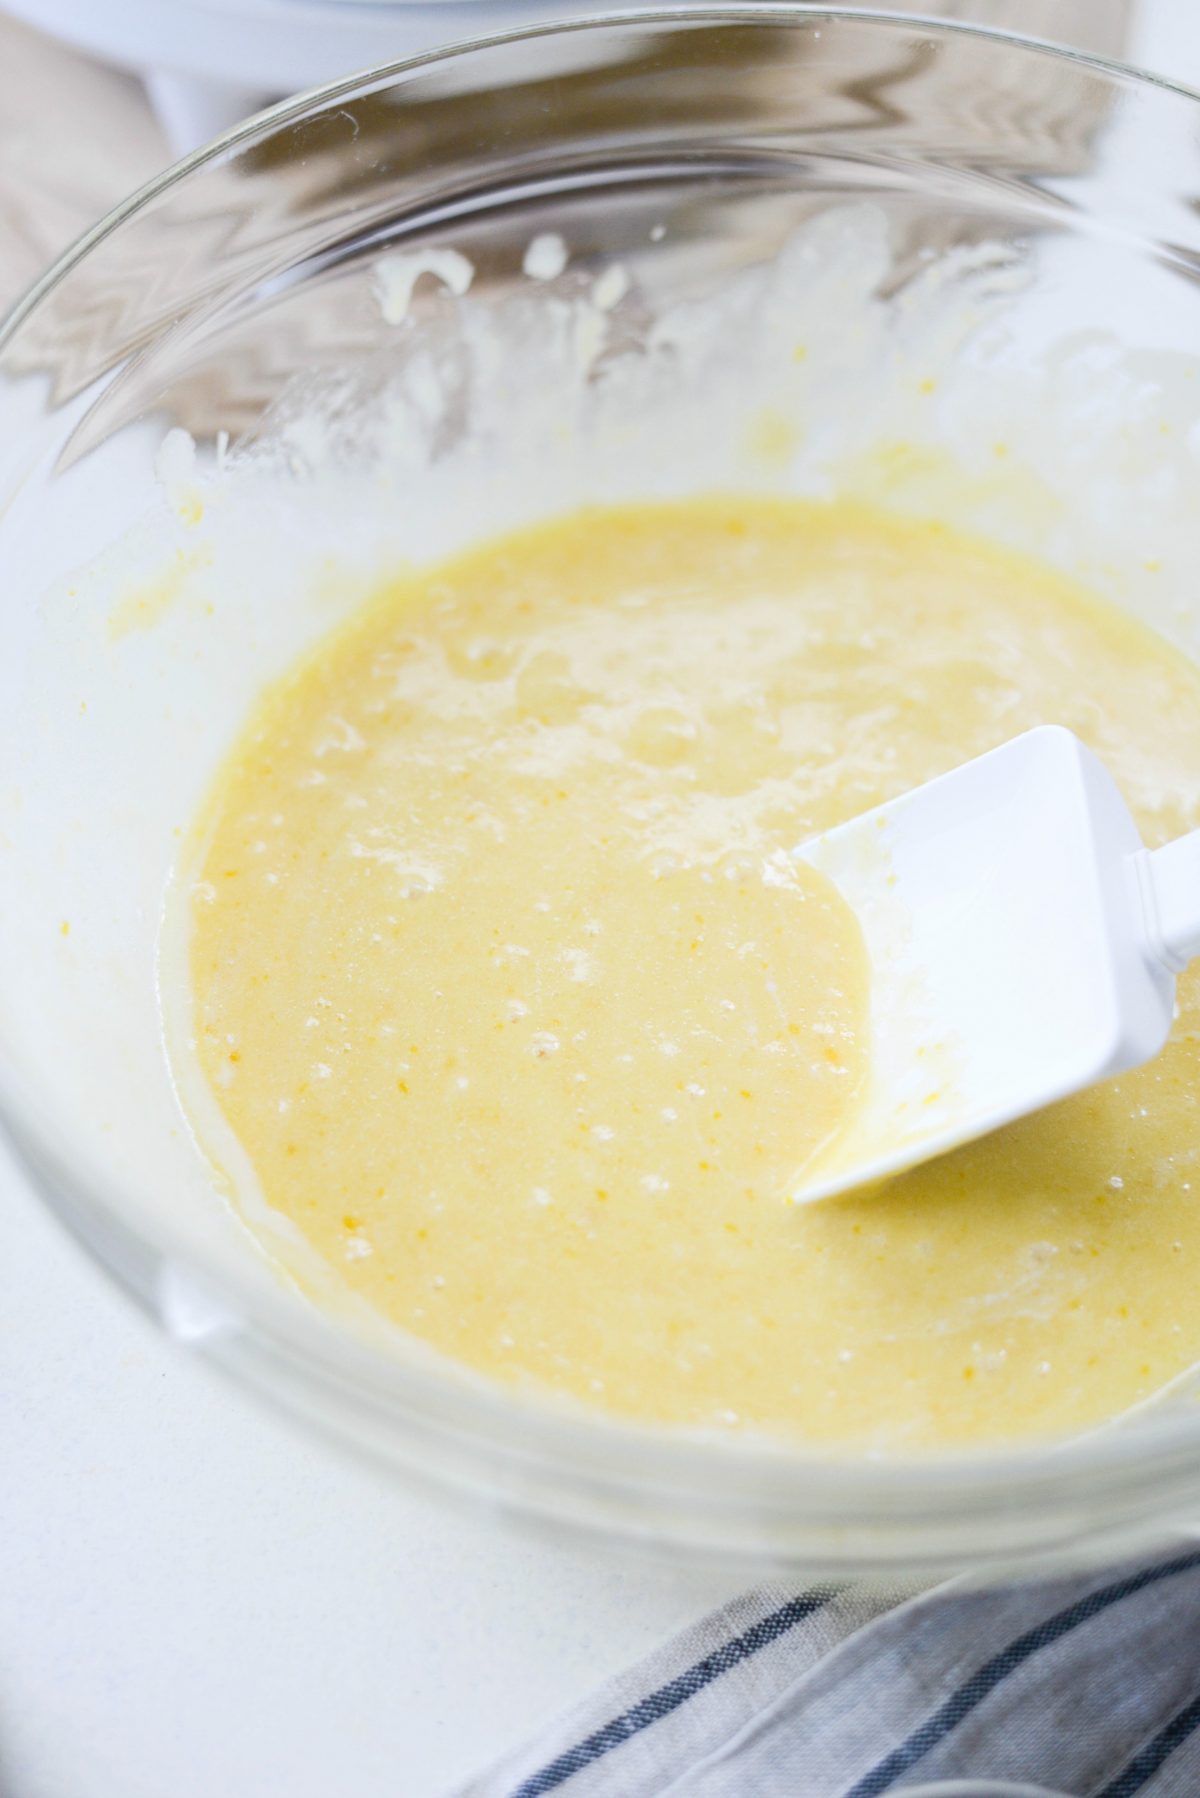
Lastly, pour in the 1/4 cup of melted butter and stir to combine.
To make waffle cones or bowls, you will need a waffle cone maker.
There’s all kinds of brands, types and waffly cone patterns. I linked this waffle cone maker in the recipe printable. It’s pretty affordable and gets the job done, I just found that the top isn’t heavy enough to make a super thin waffles. It’s important that the waffles be thin so they can get crisp.
With the said, I just pressed down on the top (using a kitchen towel because the steam gets pretty toasty) of the waffle cone maker for a few seconds to get the batter to spread out thin enough. Truthfully, it didn’t really annoy me, given that this recipe makes 8 waffles bowls/cones. If I was making 20+ it would probably get old real quick.
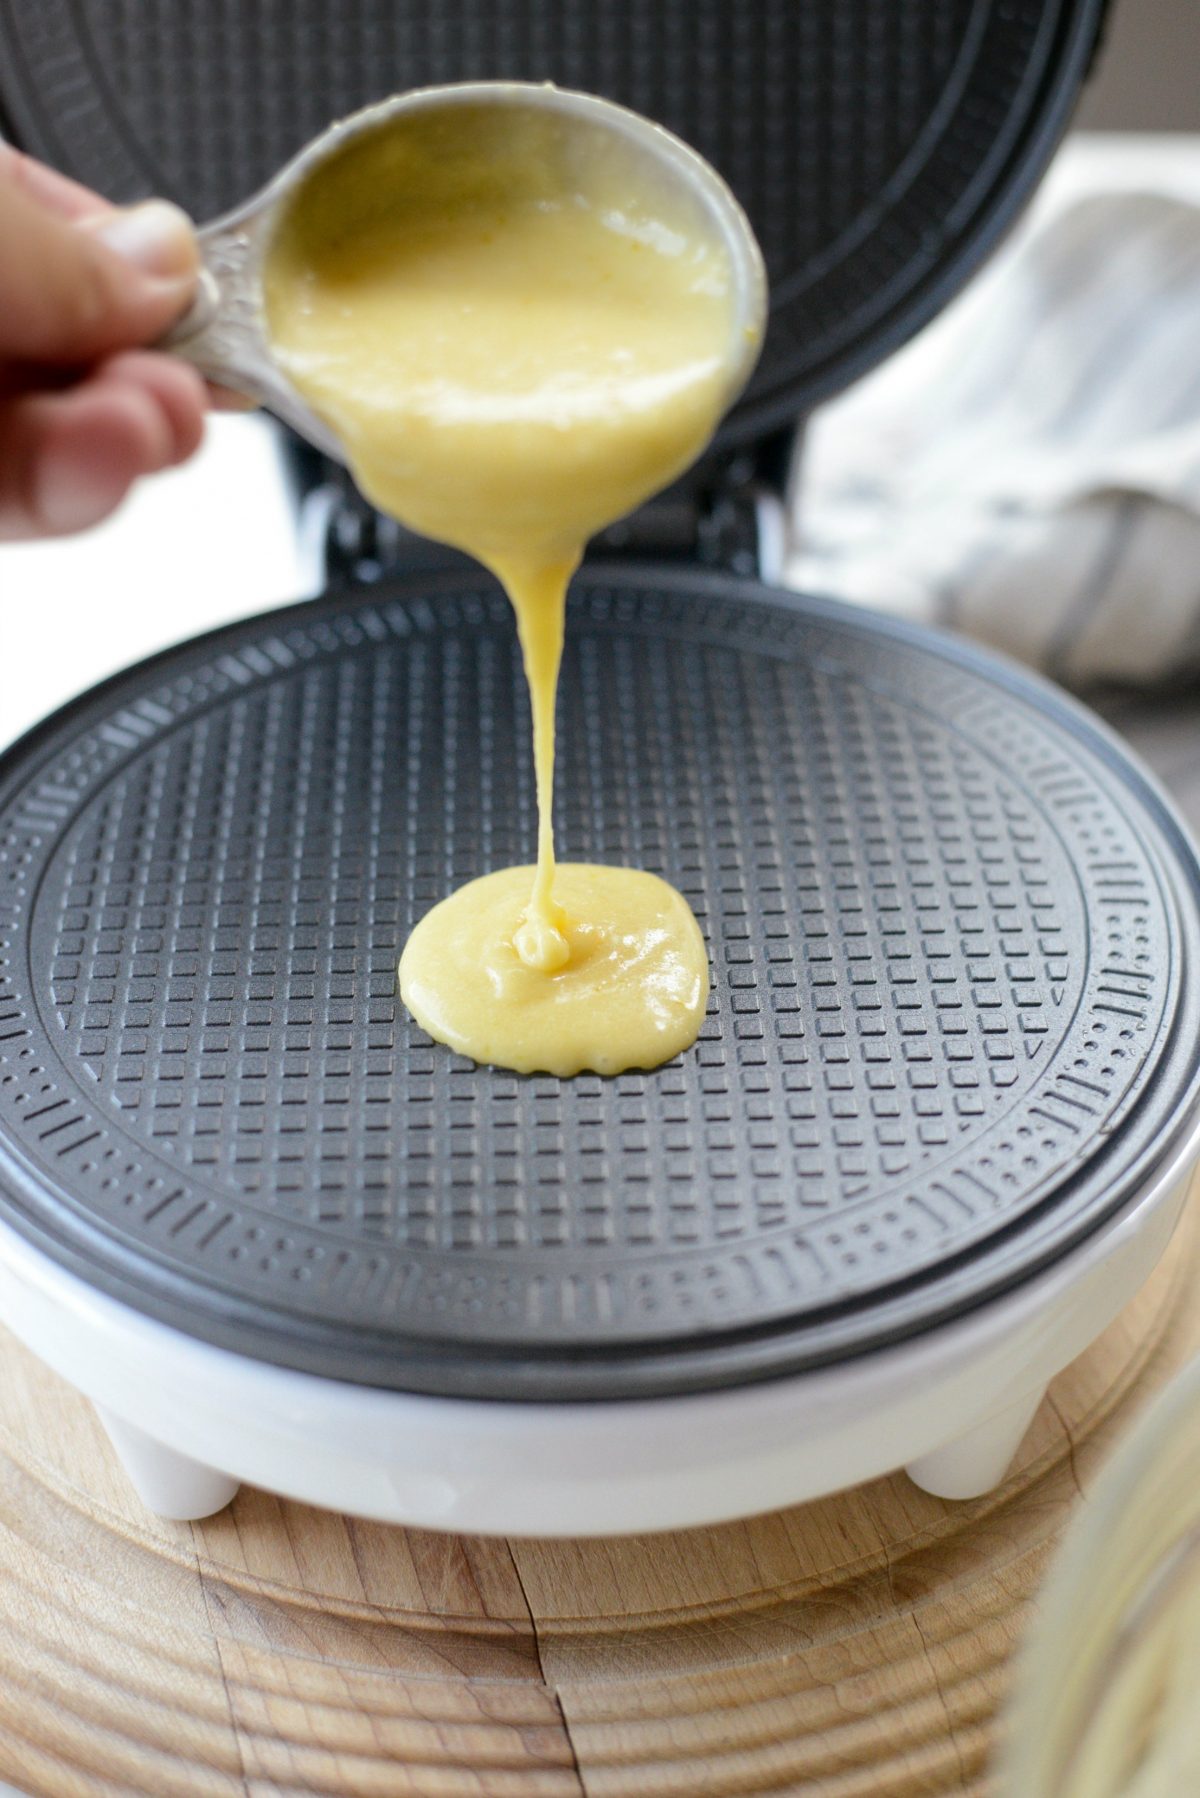
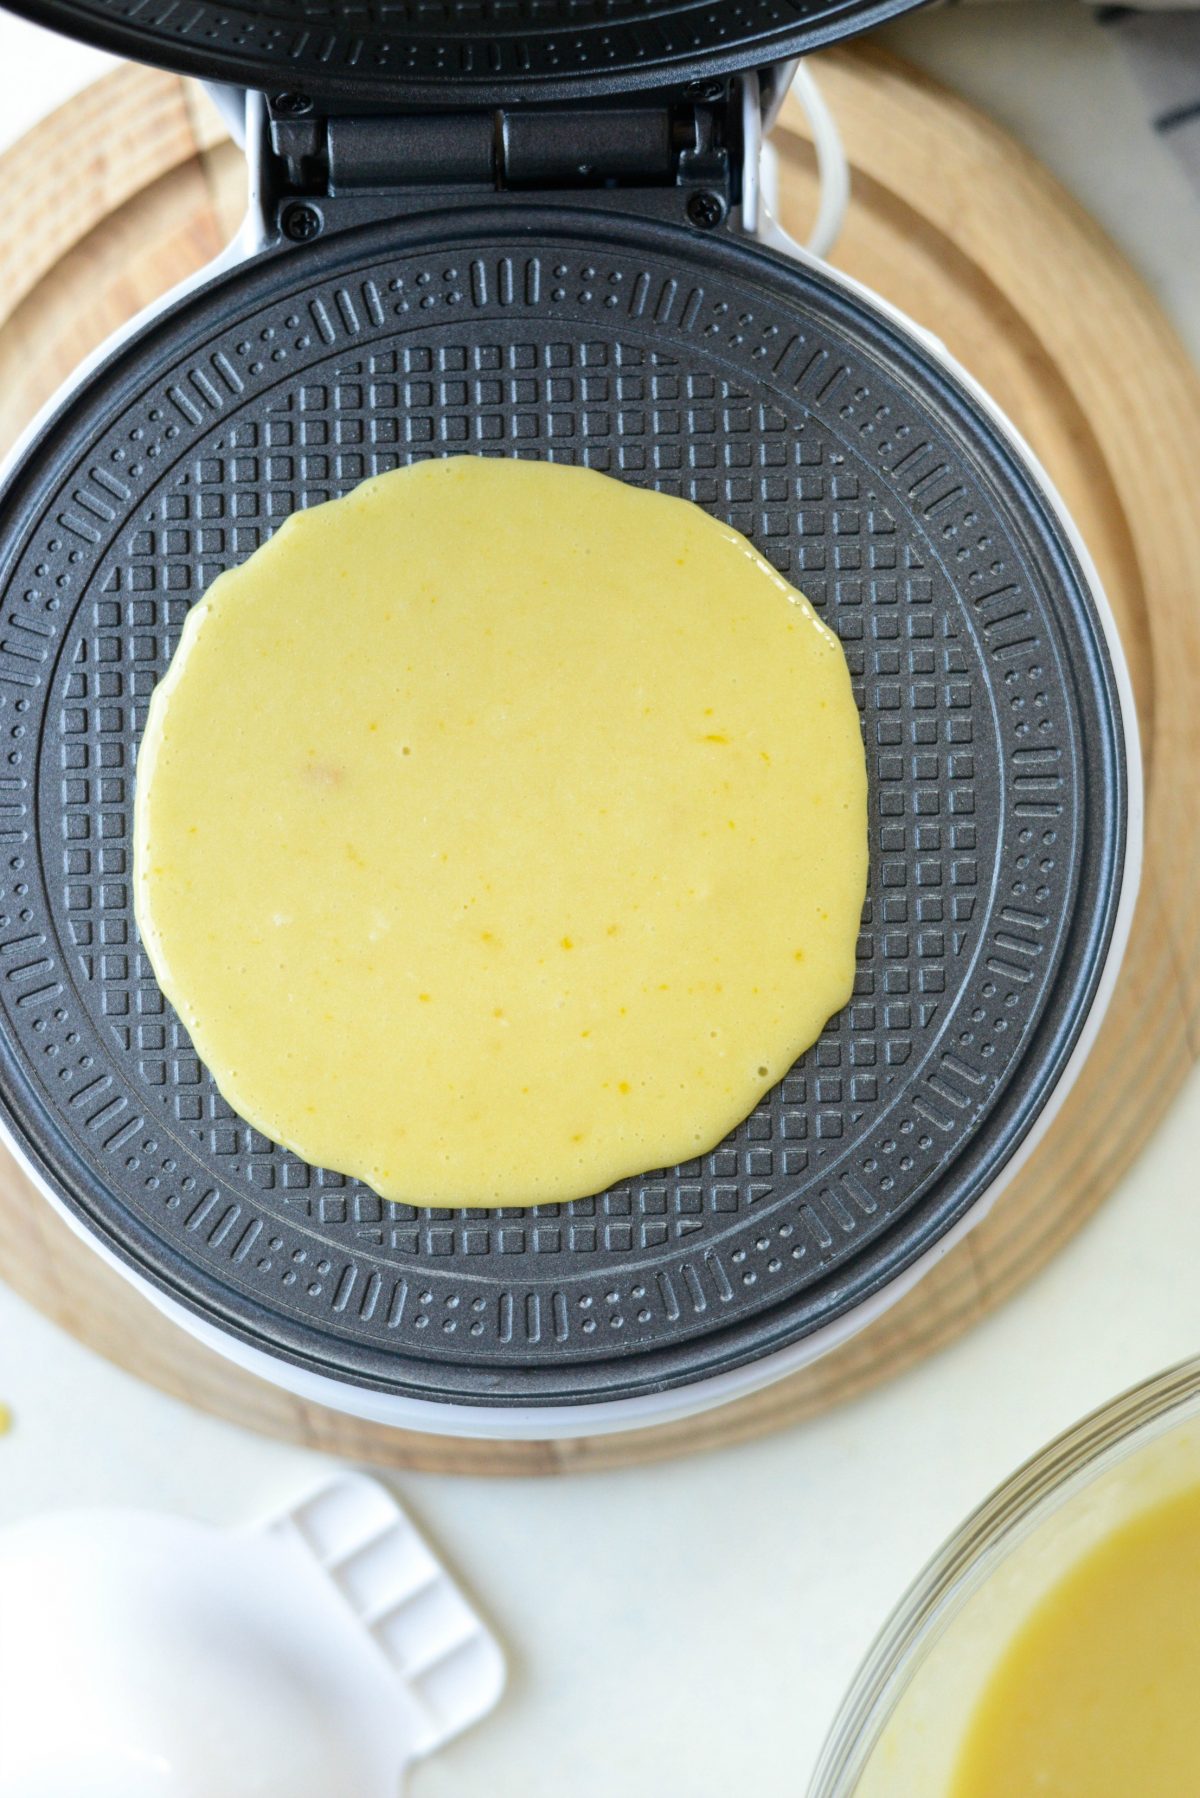
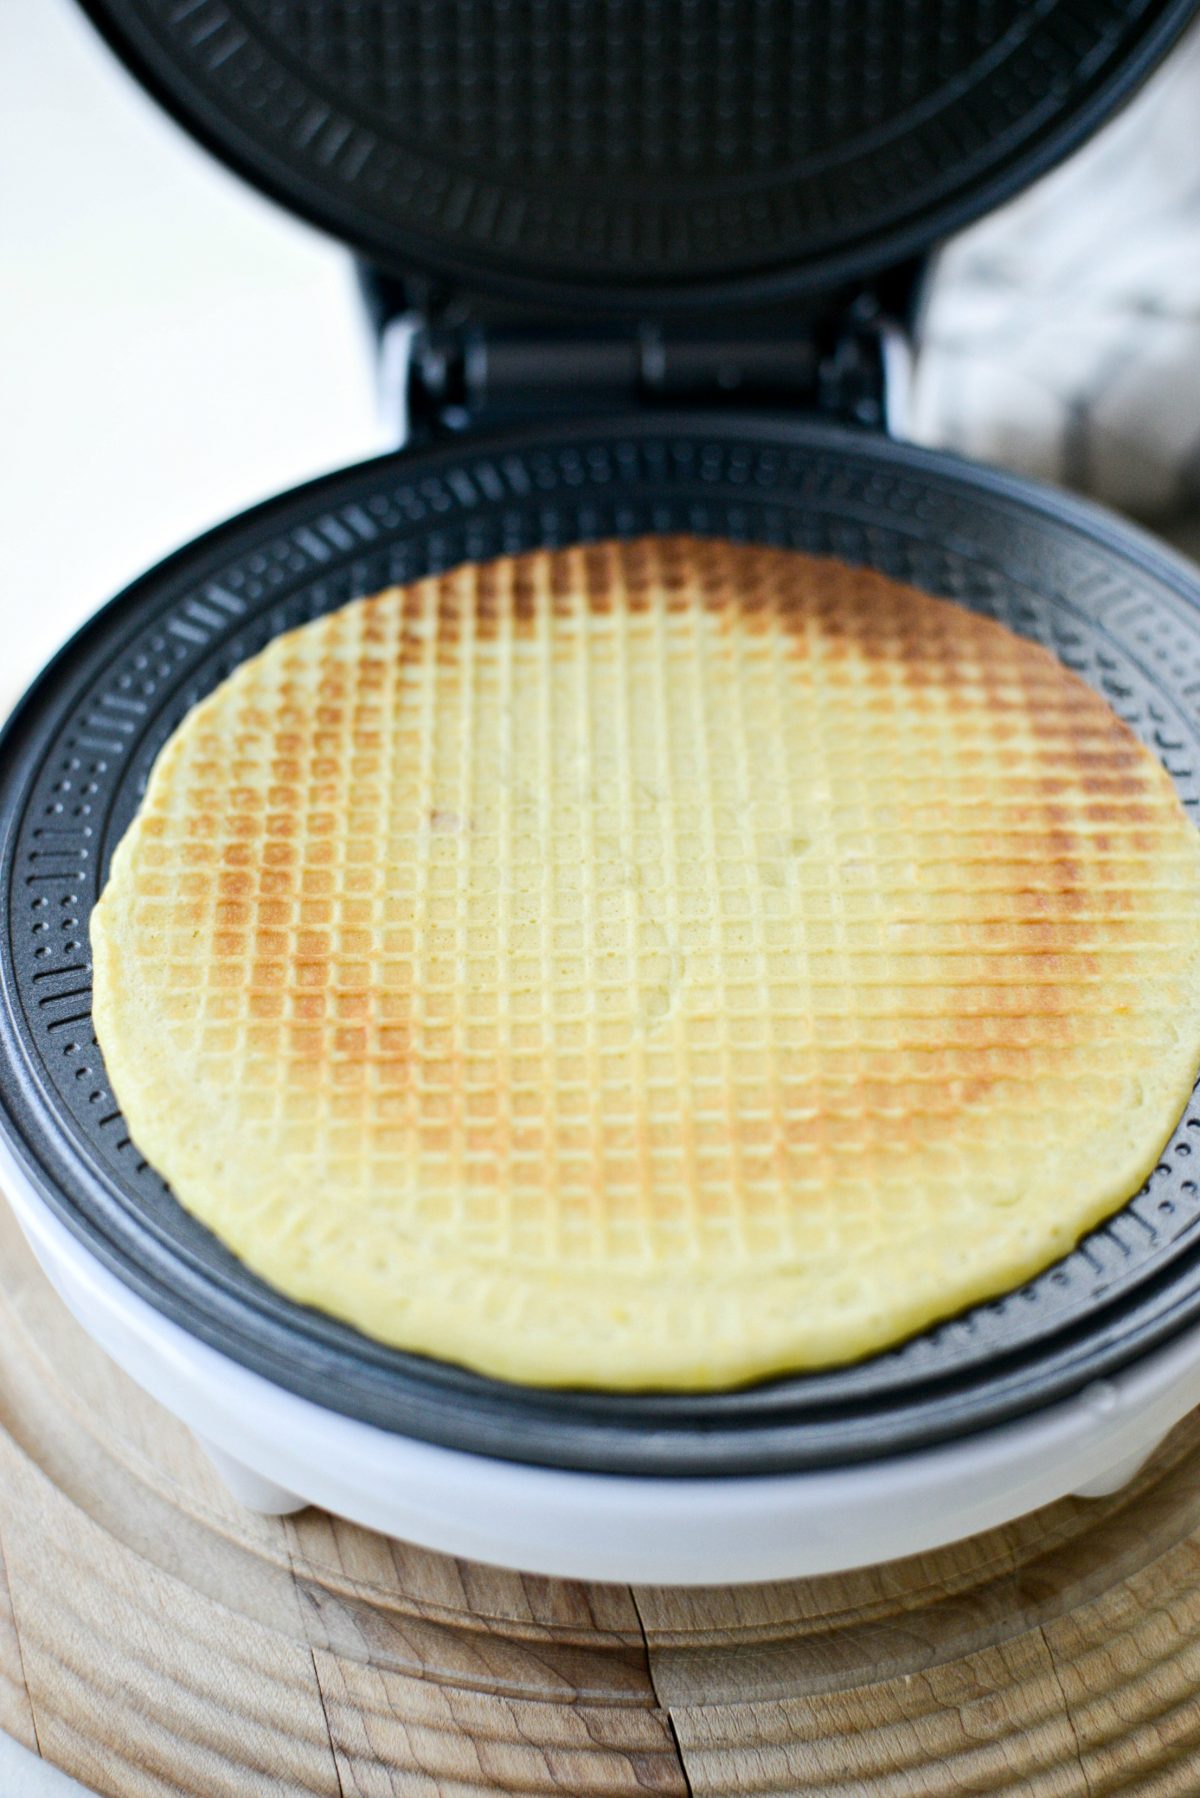
Once your waffle iron is preheated (following your manufacturers instructions) pour 1/4 cup of the waffle cone batter onto the waffle iron. It should spread easily on it’s own once it hits the hot iron.
Close the top and press (if needed, press down on the top using a kitchen towel for thinner waffles) and cook for a minute to 1 minute 25 seconds until just starting to golden.
If the waffle gets too brown it could break when trying to form the homemade ice cream waffle bowls or cones.
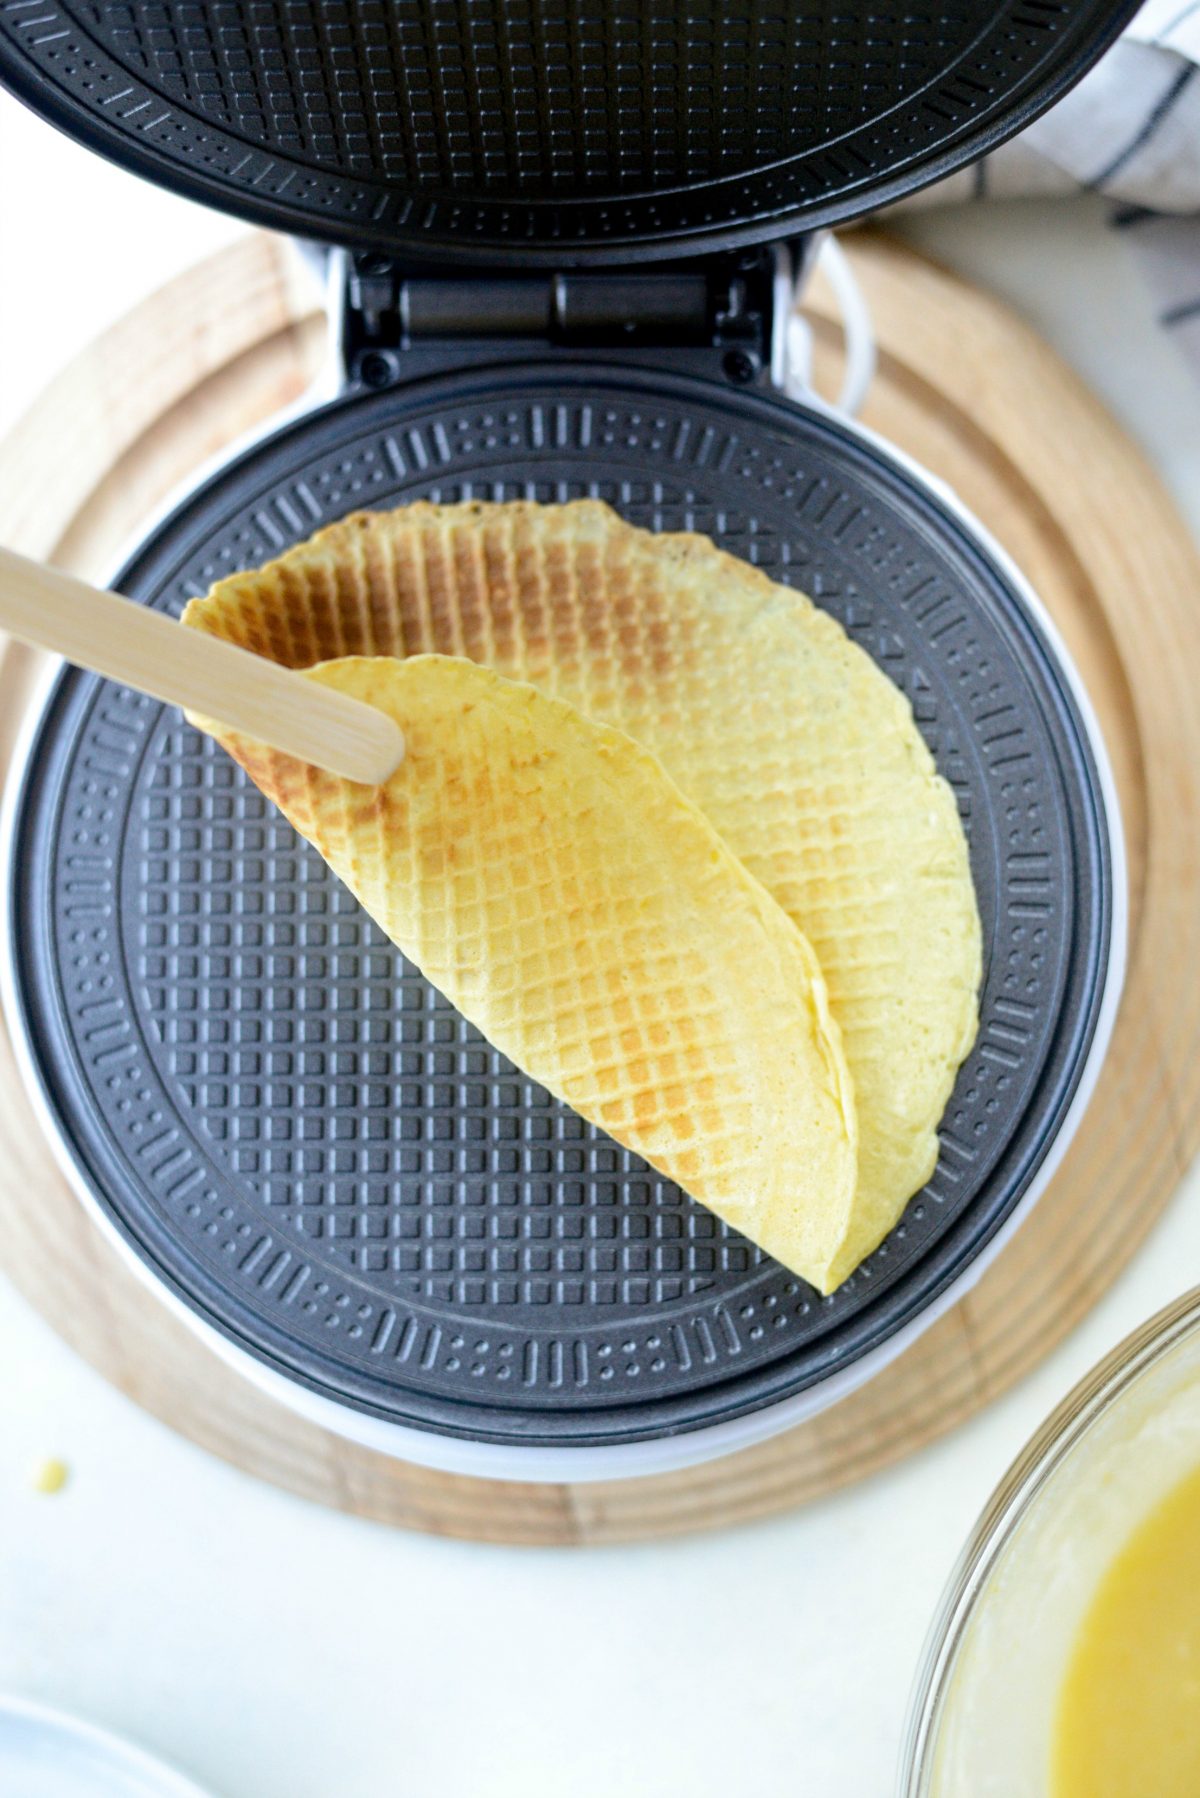
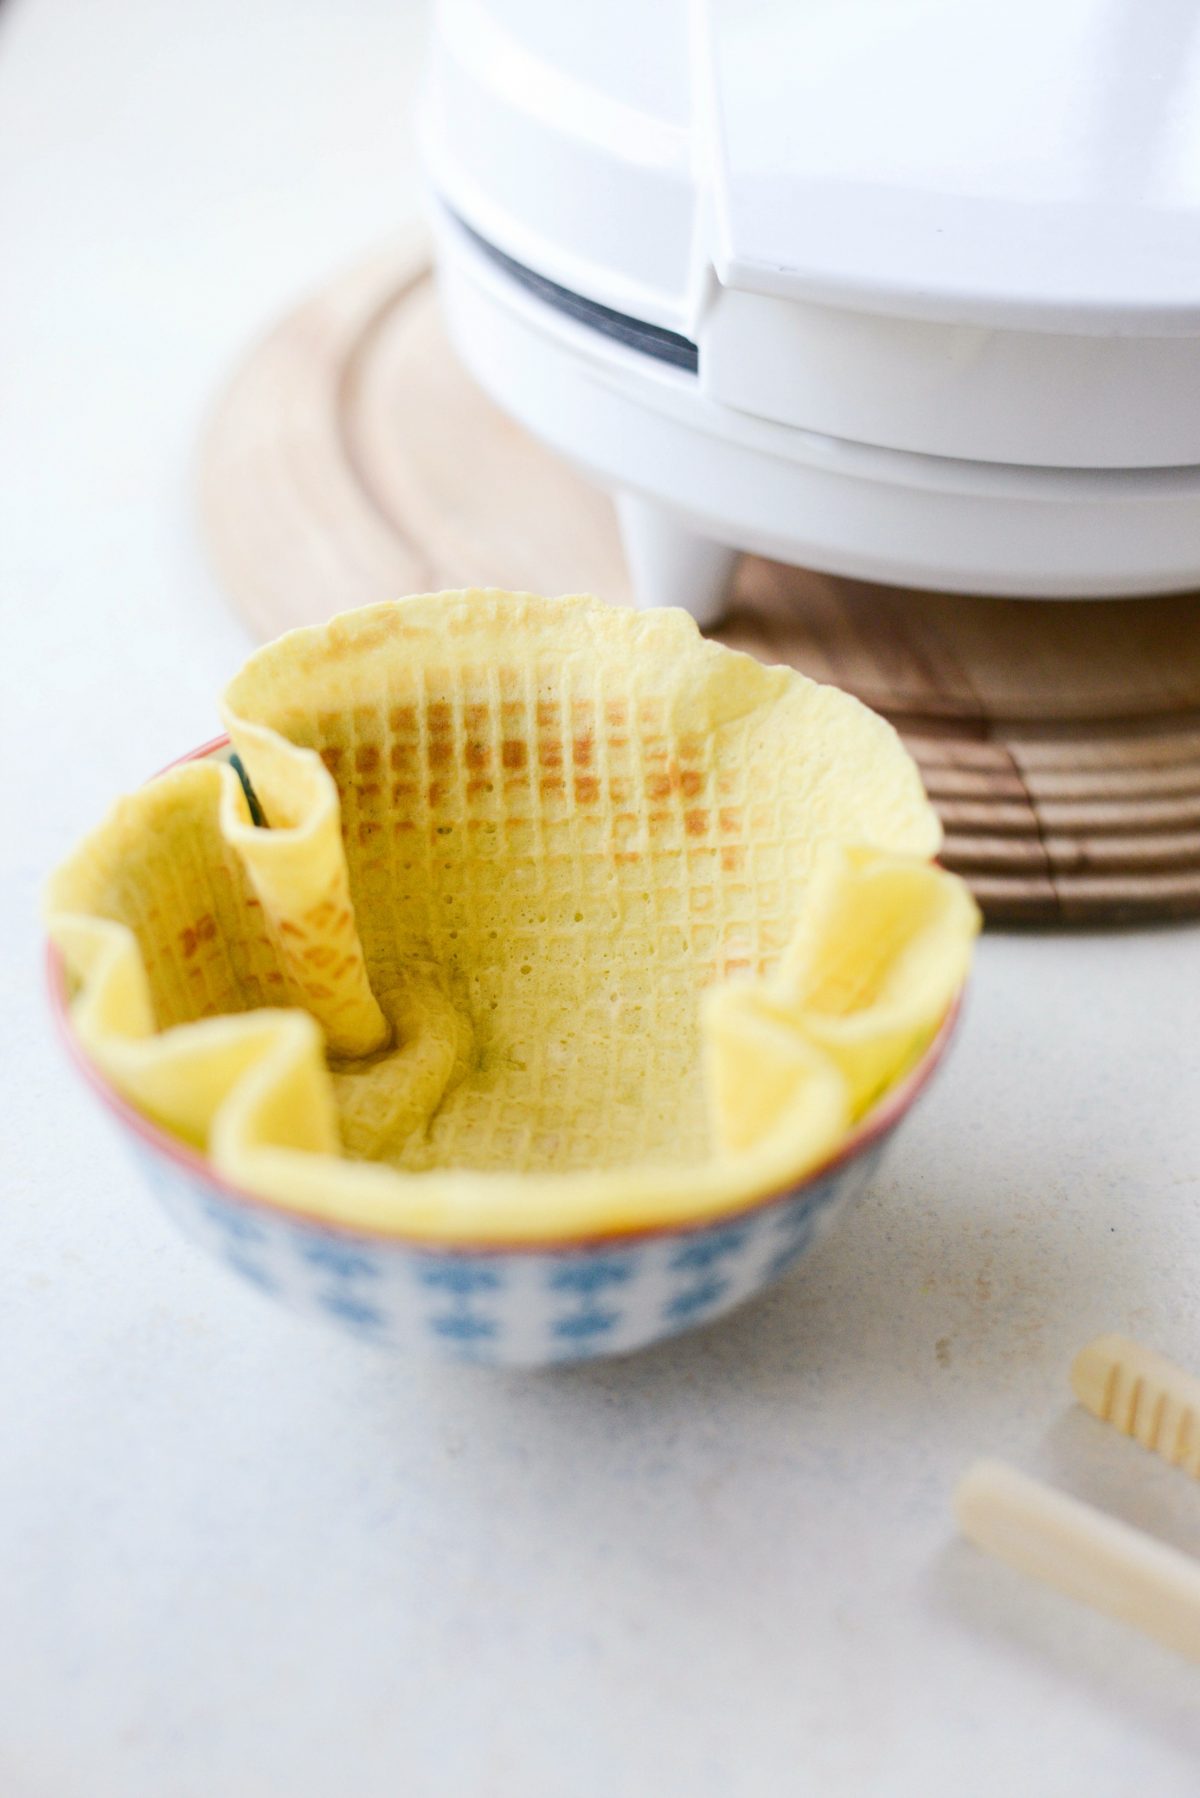
Drape the warm waffle into a small bowl until it has cooled and taken shape.
Invert it onto a parchment lined pan to finish cooling. The waffle bowls will crisp up even more as they cool.
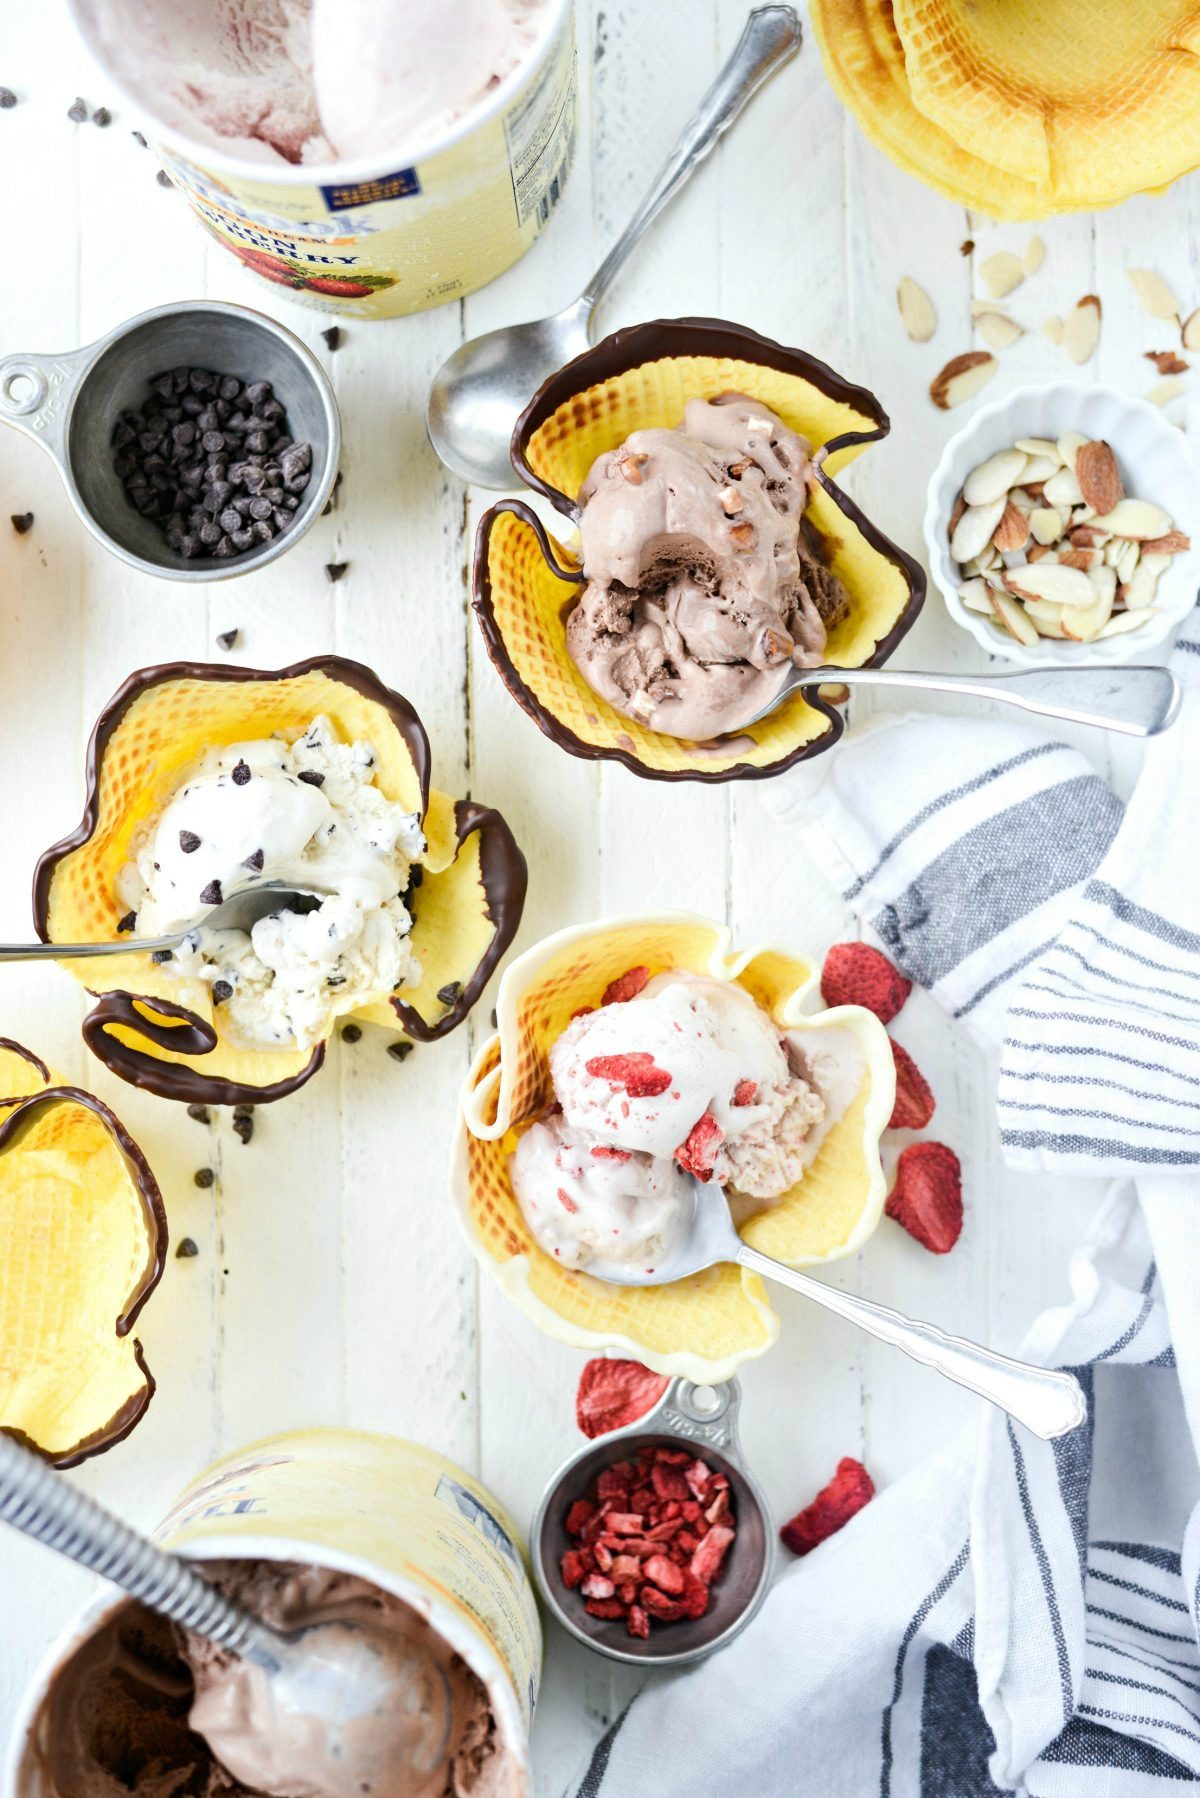
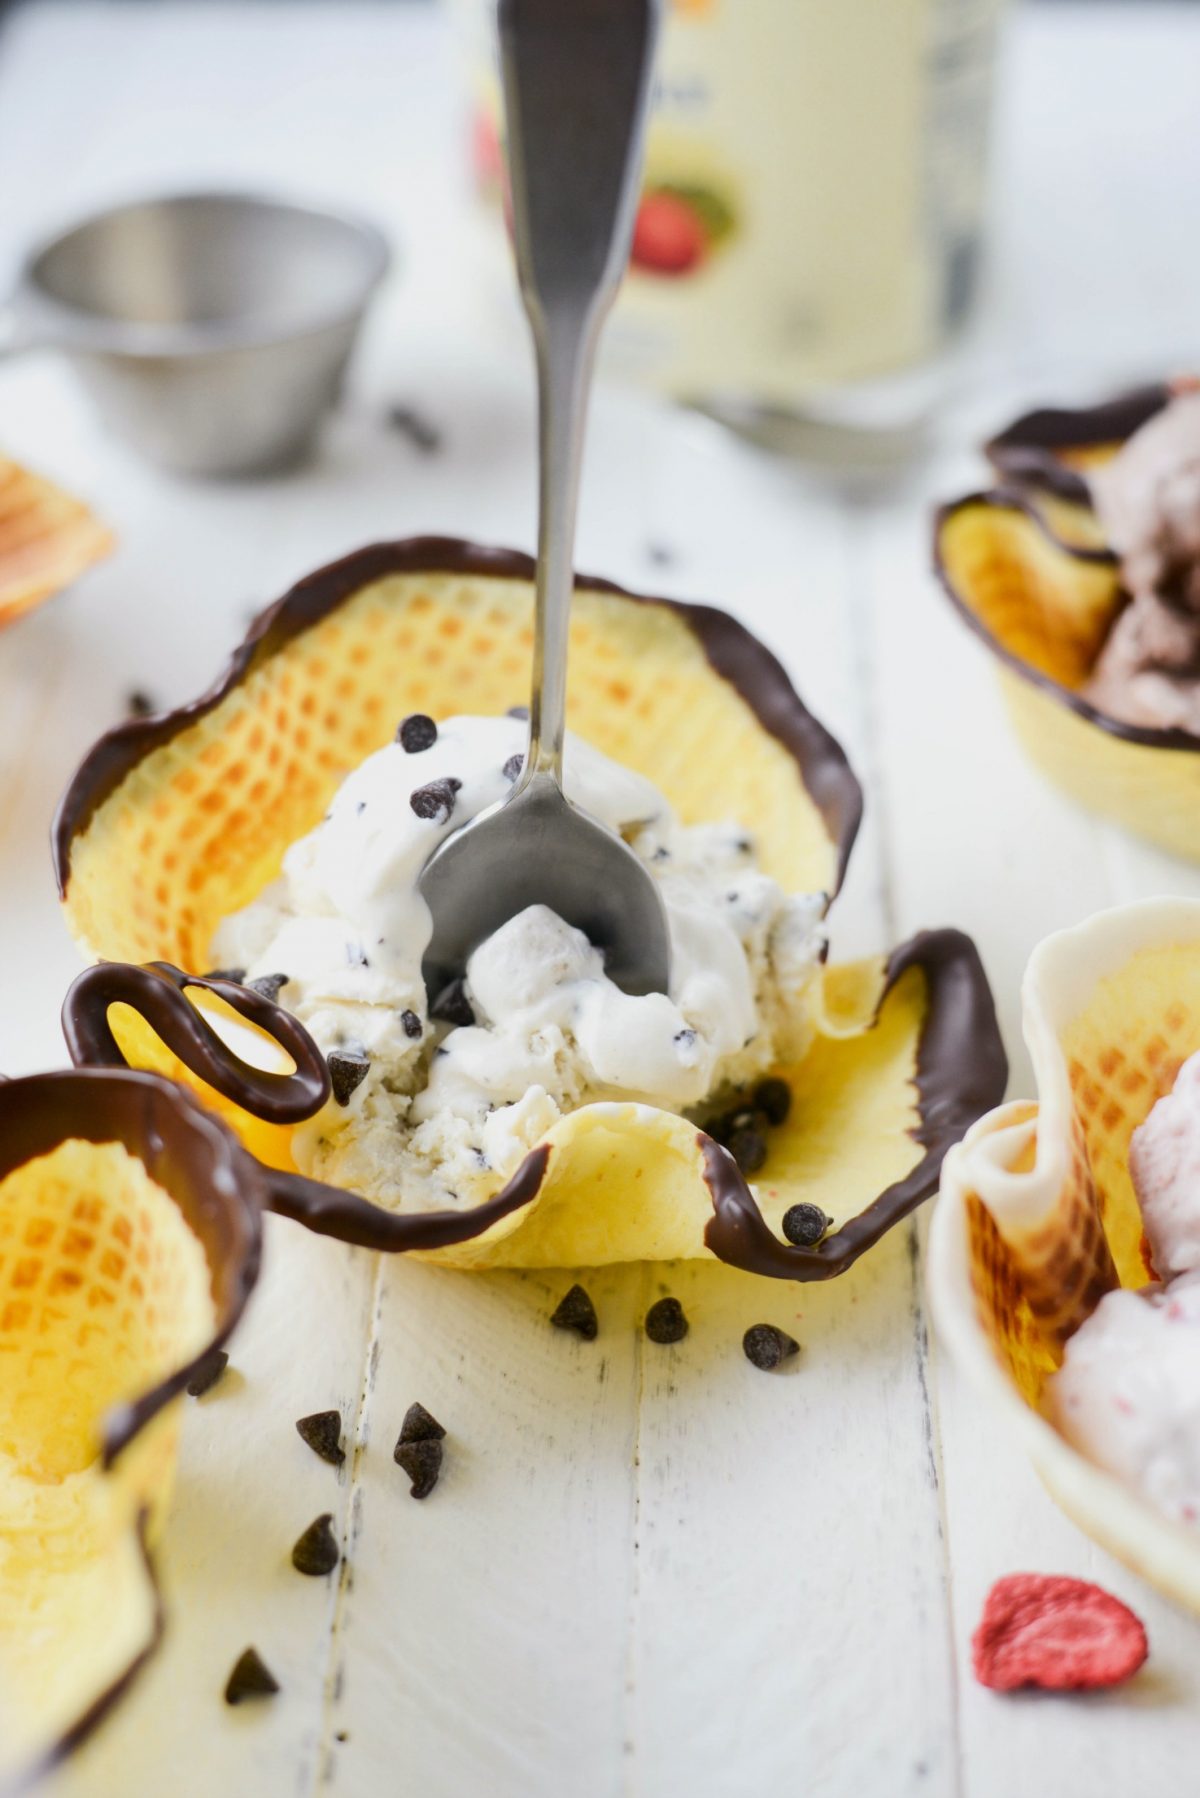
To make extra fancy homemade ice cream waffle bowls: melt milk, dark or white chocolate with a tablespoon of coconut oil in a double boiler or microwave at 10 second intervals until smooth. Then simply dip the edges of the bowl into it. Once the chocolate hardens they are ready to go!
Now here comes the fun part. Ice cream!
Go on, have fun and pick a variety of flavors. Because sometimes a bowl of different flavors is what we need.
As I mentioned before, I chose Tillamook’s Rocky Road and my family picked out Oregon Strawberry and the Chocolate Chip Cookie Dough. My husband is a huge fan of the strawberry and says, and I quote “it’s the best strawberry ice cream I’ve ever had.”
I’m not lying. The creaminess of Tillamook Ice Cream is unreal and that’s because they only use premium ingredients. Sold.
Besides all of their incredibly creative and delicious ice cream flavors and of course, the creamy texture, I love the fact that Tillamook is a farmer owned dairy operative and #1 natural cheese brand in the West. And is a proud producer of premium ice cream since 1947.
Being a food blogger, I’ve heard of Tillamook over the years through social media and from other food bloggers. I just couldn’t find it in any stores by me. But today I’m happy to announce that you can now find their dairy products in Michigan stores! You may have already seen their cheddar. They are actually the #1 natural cheese brand in the West.
Since you can now find Tillamook here in the mitten state, they’re being extremely generous and want to send 5 Michigan readers 6 (yes, SIX) cartons of Tillamook ice cream, shipped directly to your door, to try! Flavors like:nMudslide, Oregon Strawberry, Old Fashioned Vanilla, Chocolate Peanut Butter, Rocky Road, Coffee Almond Fudge, Cookies & Cream, Chocolate, Mint Chocolate Chip, Vanilla Bean, Chocolaty Chip Cookie Dough, Caramel Toffee Crunch!!
Rules For Giveaway: This giveaway is open only to Michigan residents! It begins today and ends at midnight on 7/25. Simply enter the giveaway and you’re good to go. Once the giveaway is over, I will contact you via email.
Creamy just got creamier.
And these homemade ice cream waffles bowls are the perfect vessel to enjoy it!
If plan to make these homemade ice cream waffle bowls fill it with Tillamook ice cream!!
Enjoy! And if you give this recipe a try, let me know! Snap a photo and tag me on twitter or instagram!

Homemade Waffle Cone Bowls
Ingredients
- 2/3 cup unbleached all-purpose flour
- 1/8 teaspoon sea salt
- 2 large eggs
- 1/2 cup granulated sugar
- 1 splash pure vanilla extract
- 6 tablespoons whole milk
- 1/4 cup salted butter, melted
Instructions
- In a medium bowl, whisk together the flour and salt and set aside.
- In a smaller bowl, whisk the eggs and sugar together until the sugar has dissolved and the eggs are well beaten and a pale yellow in color.
- Add the eggs along with the vanilla extract and milk to the flour/salt mixture. Use a rubber spatula to combine but not fully mixed. Pour in the melted (and cooled) butter and finishing mixing until combined.
- Preheat your waffle cone maker. Follow packaging instructions for cooking and wether to spray or not.
- Pour 1/4 cup of the waffle batter into the middle of waffle maker. Close the lid and cook for a minute or two (depending on the manufacturers instructions). NOTE: In order for my waffles to get thin enough. I have to press on the top using a kitchen towel so I don't burn myself.
- Gently press the warm waffles into a small bowl and let cool. Alternatively, use a cone mold to shape the warm waffles into ice cream cones IF MAKING CONES: You will need to hold the waffle cones in place until they've cooled for a bit, so they don't unravel.
- Remove waffle bowls (or cones) to a parchment paper lined, rimmed baking sheet. Cool completely before serving.
This post is indeed sponsored by Tillamook. As always, my thoughts are my own and I love their products – especially all of their cheeses and the Rocky Road Ice Cream. Naturally. 😉
Check out more of my work with Tillamook here!
Buy the Cookbook: Simply Scratch : 120 Wholesome Homemade Recipes Made Easy Now available on Amazon »
THANK YOU in advance for your support!




Love this! Thanks for sharing, I can’t wait to make these for my boyfriend.
What a fun post! My kids will love making their own waffle cones and bowls. My favorite ice cream is chocolate peanut butter.
These look so good! My hubby makes home made ice cream, these waffle bowls will be great with it. And let’s be honest that only happens about once a year. So we definitely need to try this ice cream!
My daughter would loooove to do this with me for sure 🙂
Looks so yummy! My family loves ice cream, especially cookie dough or cookies n’ cream! And MI made is the best!
Yum!
We use a Krumkae machine to make our waffle bowls. Tillamook ice cream is one of our favorites and have visited the factory in Tillamook, OR and did their taste tester – way more fun and tastey than a winery.
Amazing!! I need ice cream
pistachio!
Yum!! Can’t wait to make them! Our favorite ice cream flavor is black cherry, which would be great with the chocolate dipped waffle bowls!!
Pistachio is my favorite ice cream flavor.
! I’ve been excited to see Tilllamook in our local grocery stores here in Michigan. Hoping I win and get to try them!
chocolate
i will eat any ice cream with chocolate in it!..my all time fav is chocolate brownie or chocolate fudge.
Chocolate with crushed pretzels on top!
What fun! I cannot get Tillamook ice cream where I live, but we have some everytime we visit my daughter in WA! And I almost hate to say this but my favorite flavor is French Vanilla! Of course with add-ons!
Oh my goodness.. tough choice. Flavor would have to be cookies & cream. But I’ll always take a simple flavor with ALL THE TOPPINGS!
Coffee oreo!
I love Dulce de Leche and fresh peach ice cream. However, if I’m visiting the Tillamook Cheese factory, I usually get chocolate peanut butter (their black licorice ice cream is delicious, also!)
Oh my goodness – this is so exciting!! I have never heard of Tillamook, but now I am going to have to book it to a Kroger so I can see what all the hype is about. I must say I’m pretty impressed with the creativity with topping the waffle cone bowls with chocolate in this post Laurie – major kudos, looks delish!! I love the unique ingredients and favor combos that I’m seeing on Tillamook’s website. My all time favorite icecream is Peppermint Patty from Sherman’s Dairy Bar in South Haven, MI and my favorite shake is Oh Cappuccino (Oreo + Coffee, aaaahh) from Ivanhoe’s Drive In in Upland, Indiana. yay for summer and ice cream!!
If the ice cream is good quality, plain vanilla is my favorite. Thank you for doing the giveaway.
This looks too fun! I’m so excited it’s coming to Michigan!
I love chocolate-peanut butter!
My all time fave is mint chocolate chip! Also, Tillamook cheese is the BEST
favorite is chocolate chip cookie dough ice cream
My all-time favorite ice cream flavor is Pralines n Cream.
I love the kind that has the waffle cone in it. I can never remember the name
Love plain vanilla!
My favorite is vanilla
Nevermind the giveaway (because I live in Pennsylvania). I just made these, and they were perfect!!! I just have to argue with the directions that tell you to cool them completely before serving. Absolutely not! Ice cream in a fresh, warm waffle cone is delicious. =) (I baked them to golden, so they were warm AND crispy.) Seneca Farms (http://senecafarmsny.com/hard-flavors/ in New York on the Finger Lakes) makes the best waffle cones (and Rockin’ Resee’s Pieces ice cream!), but as I live five hours away from there, these work great! Thanks for the recipe, Laurie!
these are perfect for summer. and they look so so delicious!
I have made these so many times over the summer. They are so good. (I stole my moms waffle cone maker and haven’t given it back. I need to rectify that situation, but the cones are too good to not make them every time we are eating ice cream.) Thanks so much for this recipe.
I’m so glad, Danielle!
So gorgeously delicious looking!!! Now I’m on the lookout for a waffle iron!