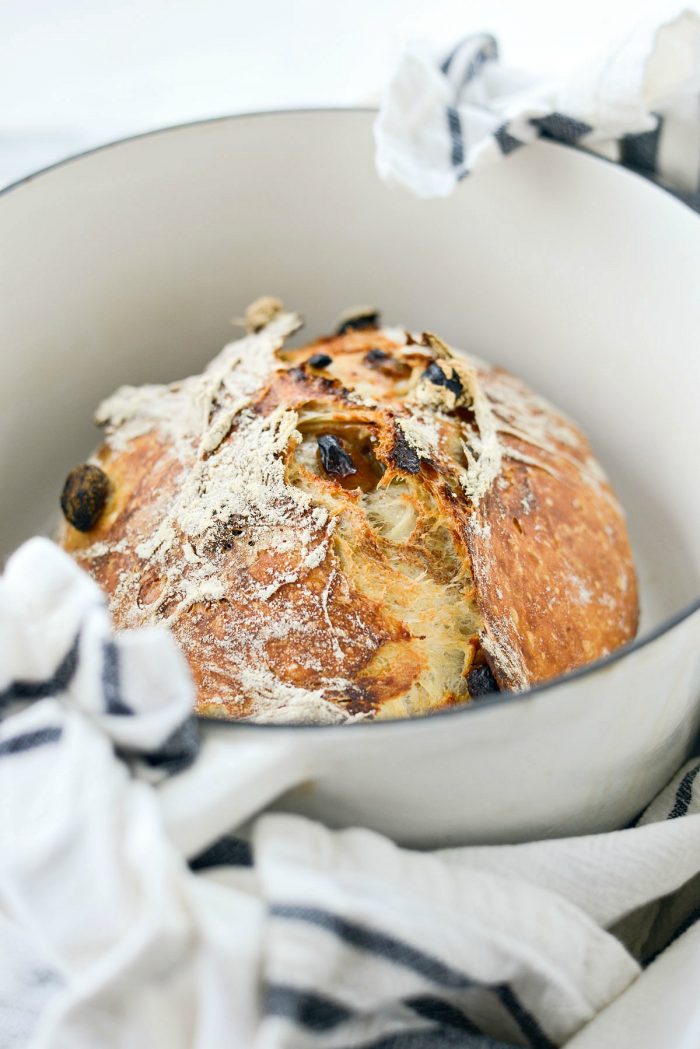
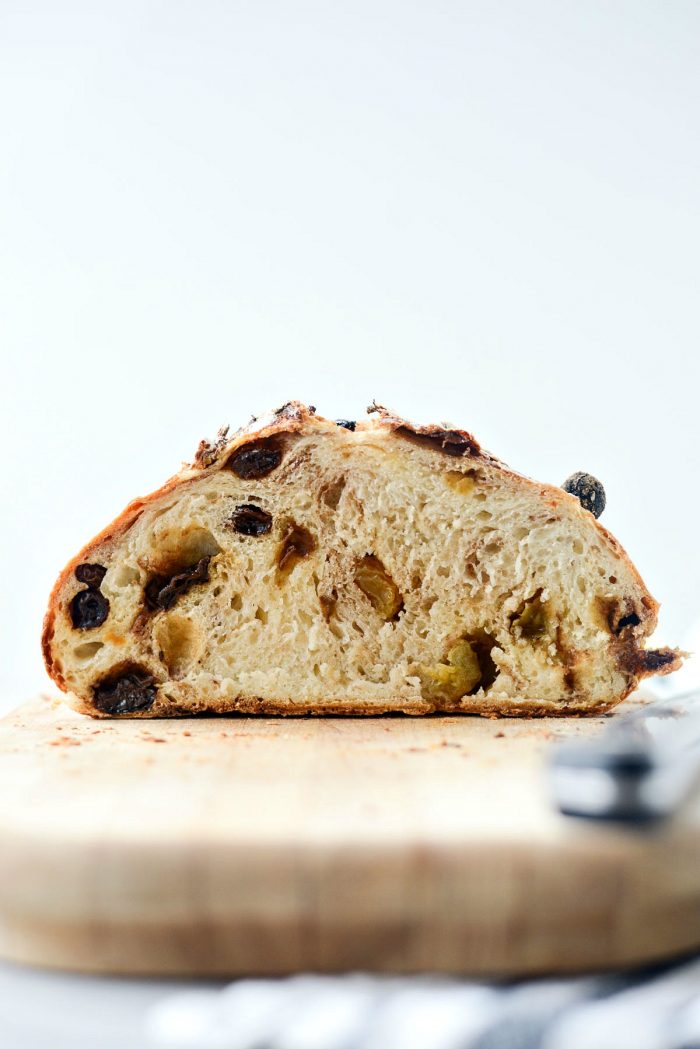
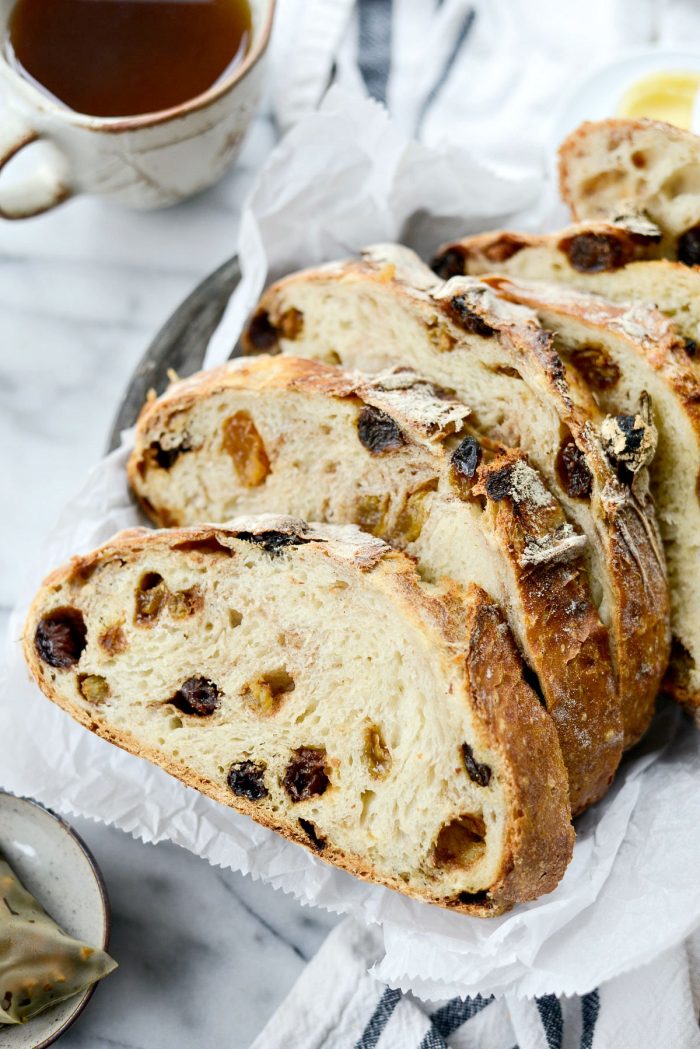
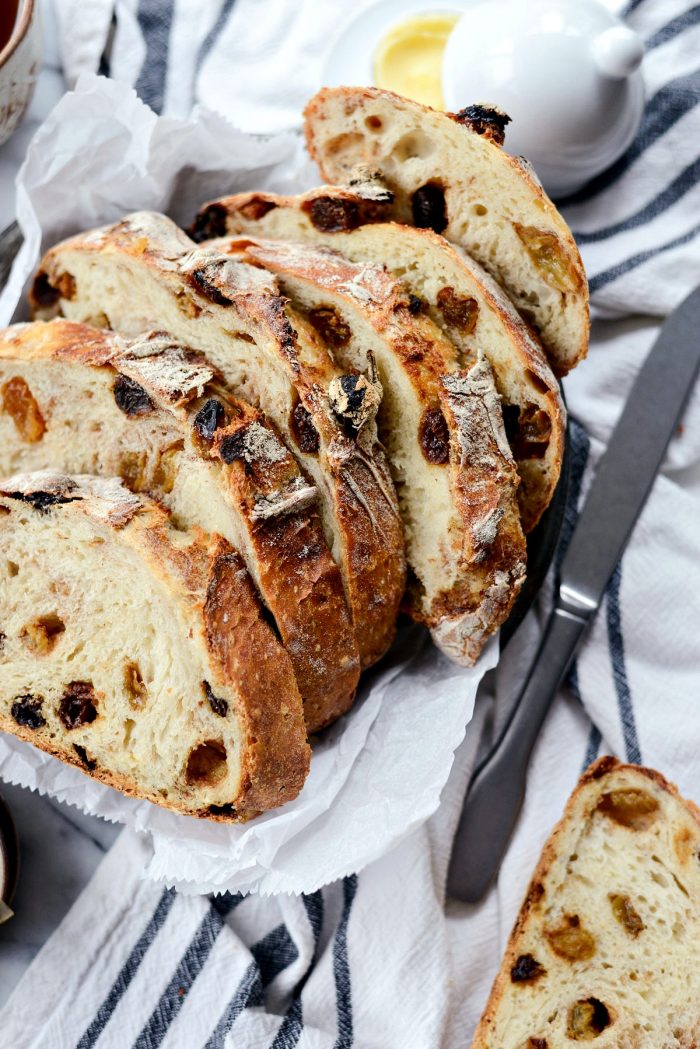
This No-Knead Cinnamon Raisin Bread is delicious! Baked in a dutch oven, this rustically simple loaf of bread has swirls of cinnamon and studded with raisins.
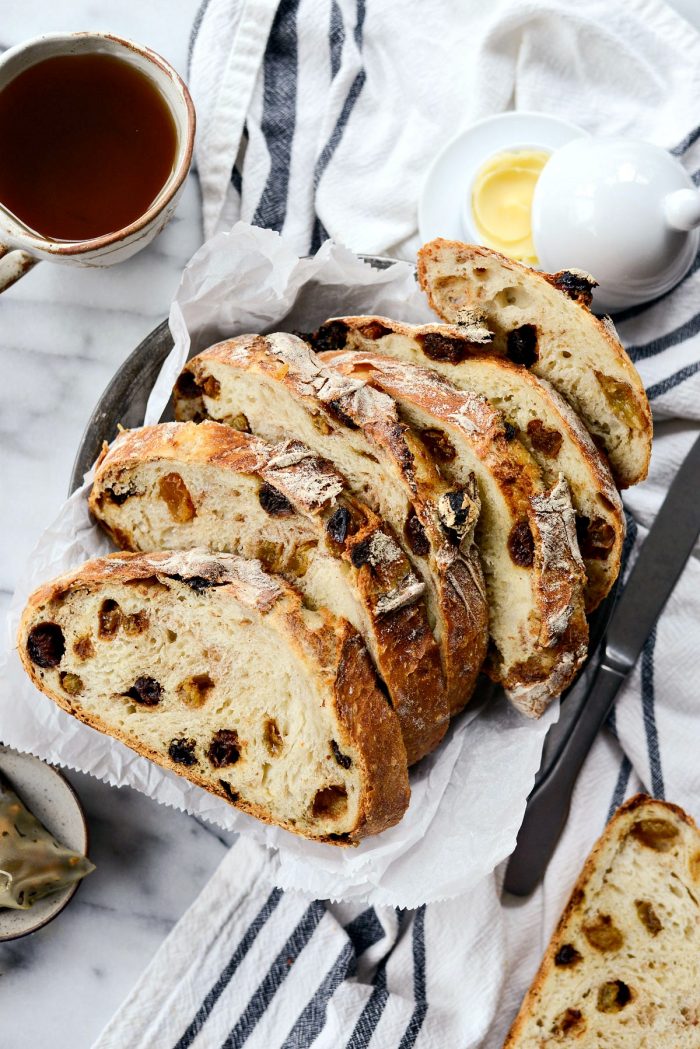
Favorite. Bread. Ever.
Whenever we go out to breakfast I order cinnamon raisin bread toasted with butter, along with with my two eggs over medium, hash browns and bacon. Swirls of cinnamon and plump raisins, it’s the perfect sweet with my savory. And I particularly like that I can make it in the comfort of my own kitchen.
It takes very little prep however, it does take planning. Basically I prep one morning and bake the next. It’s really just that simple.
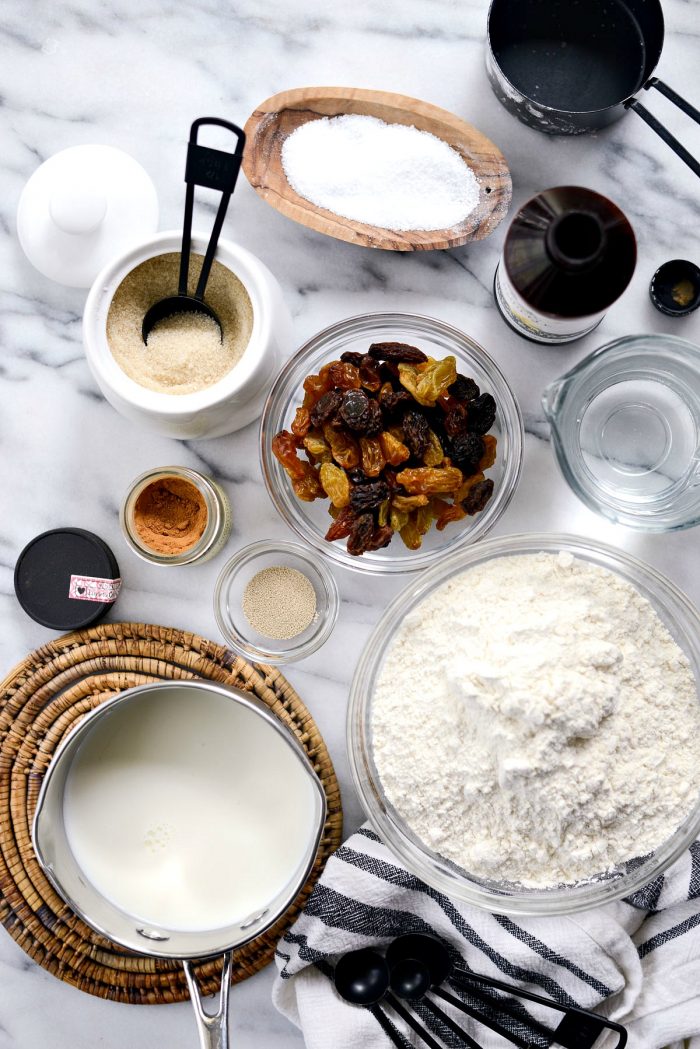
To Make This No-Knead Cinnamon Raisin Bread You Will Need:
- 3 cups bread flour
- 2 tablespoons granulated sugar
- 1-1/2 teaspoon kosher salt
- 1/2 teaspoon active dry yeast
- 2/3 cup raisins
- 1/2 teaspoon vanilla extract
- 1-1/2 teaspoon ground cinnamon
- 3/4 cup warm milk
- 3/4 cup warm water
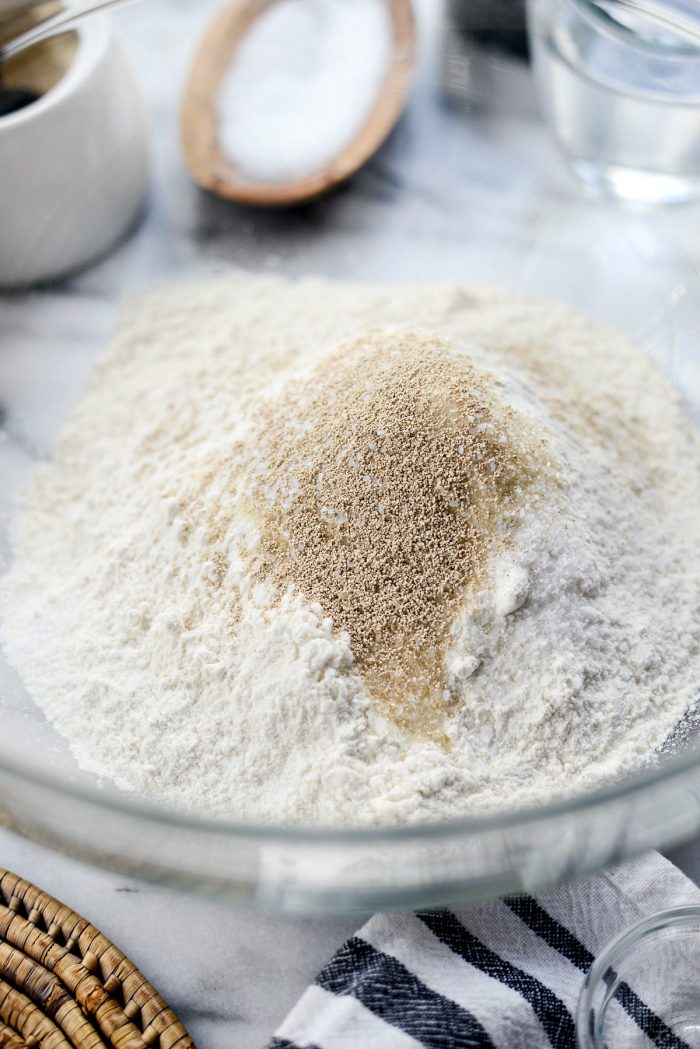
In a large mixing bowl, measure and add in 3 cups bread flour, 2 tablespoons sugar, 1-1/2 teaspoons kosher salt and 1/2 teaspoon active dry yeast.
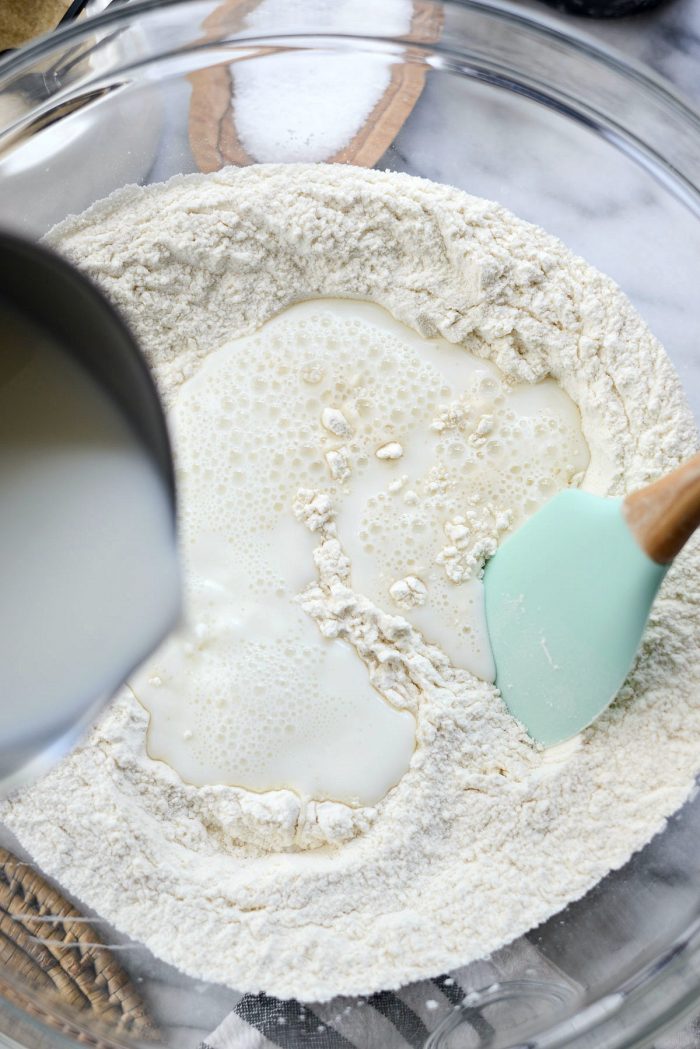
Whisk to combine, before pouring in 3/4 cup warm milk and 3/4 cup warm water. Earlier, I added both to a small saucepan and heated until warm to the touch, not boiling.
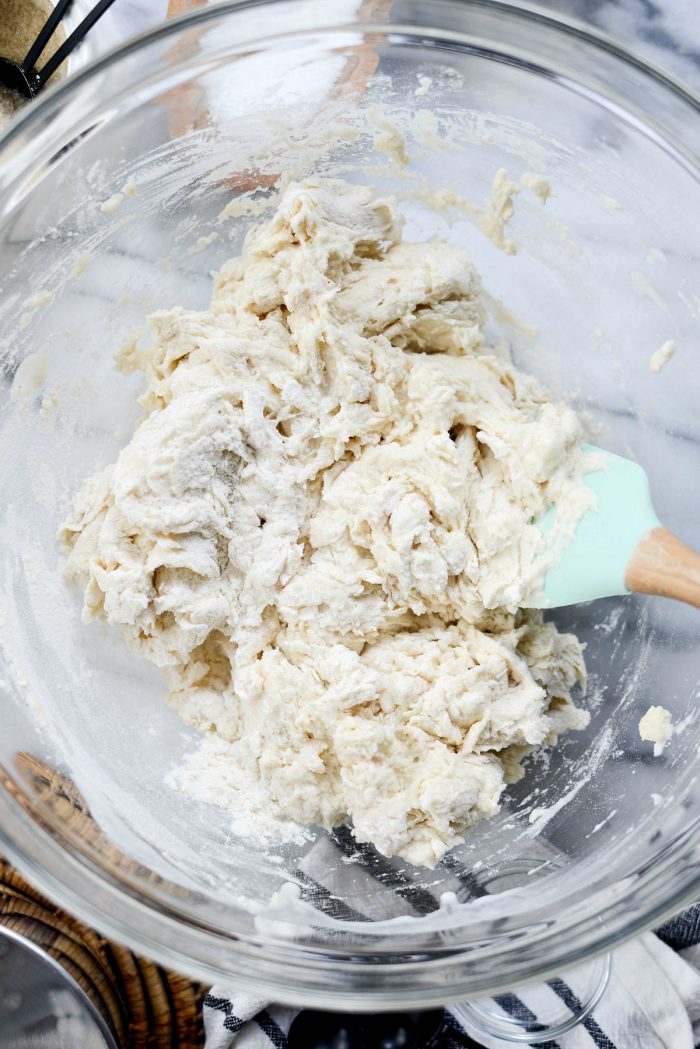
With a spatula, stir until a shaggy dough forms. Set aside for a moment.
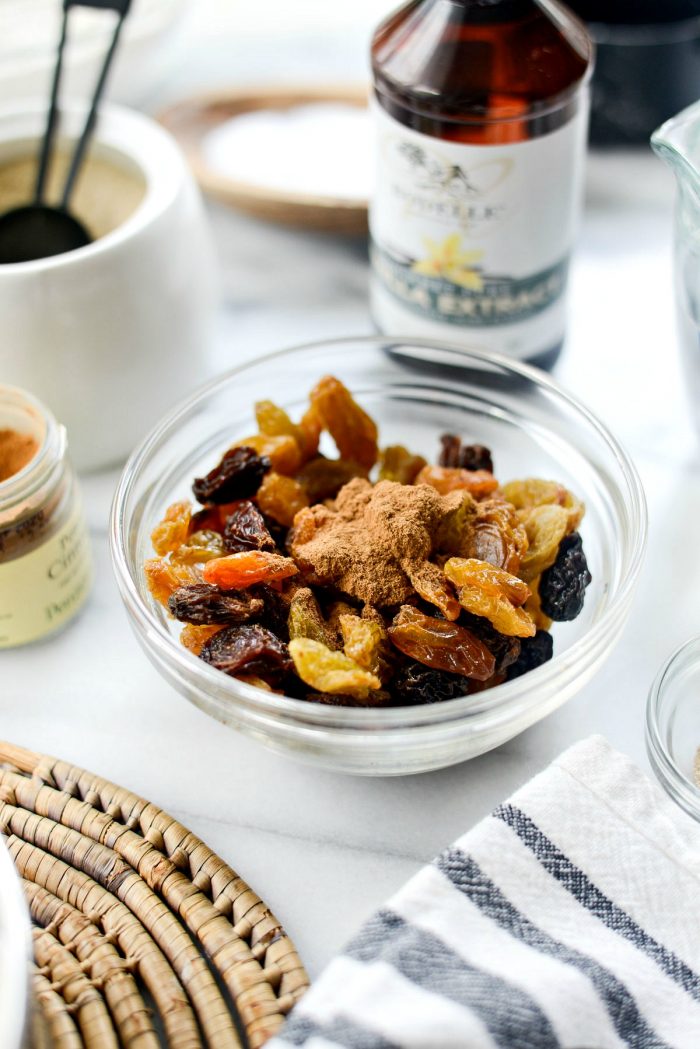
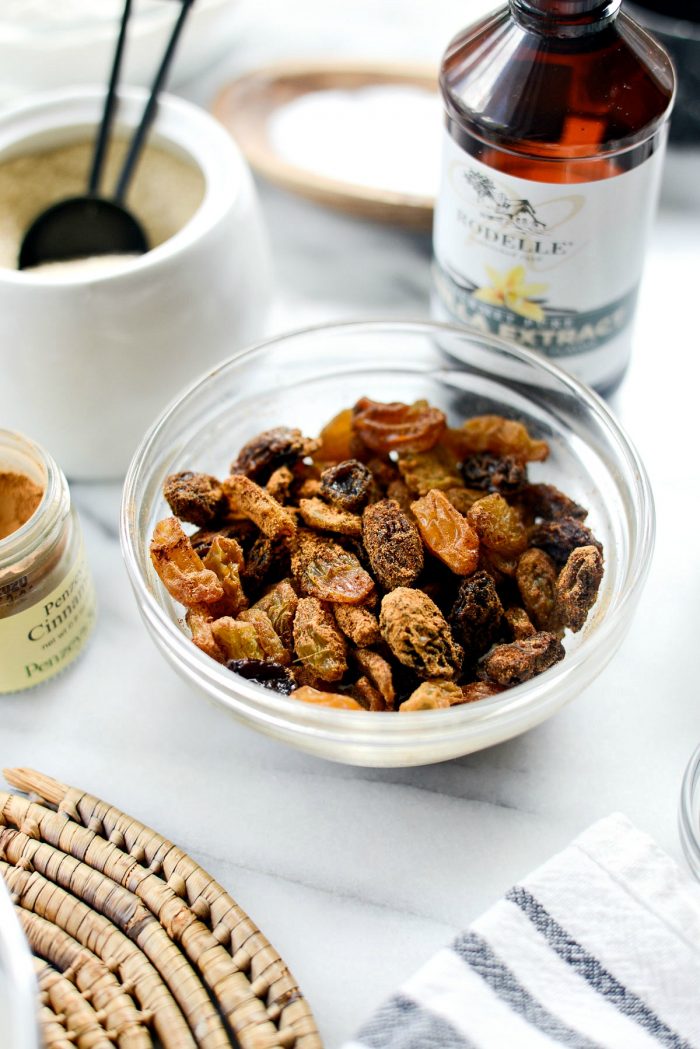
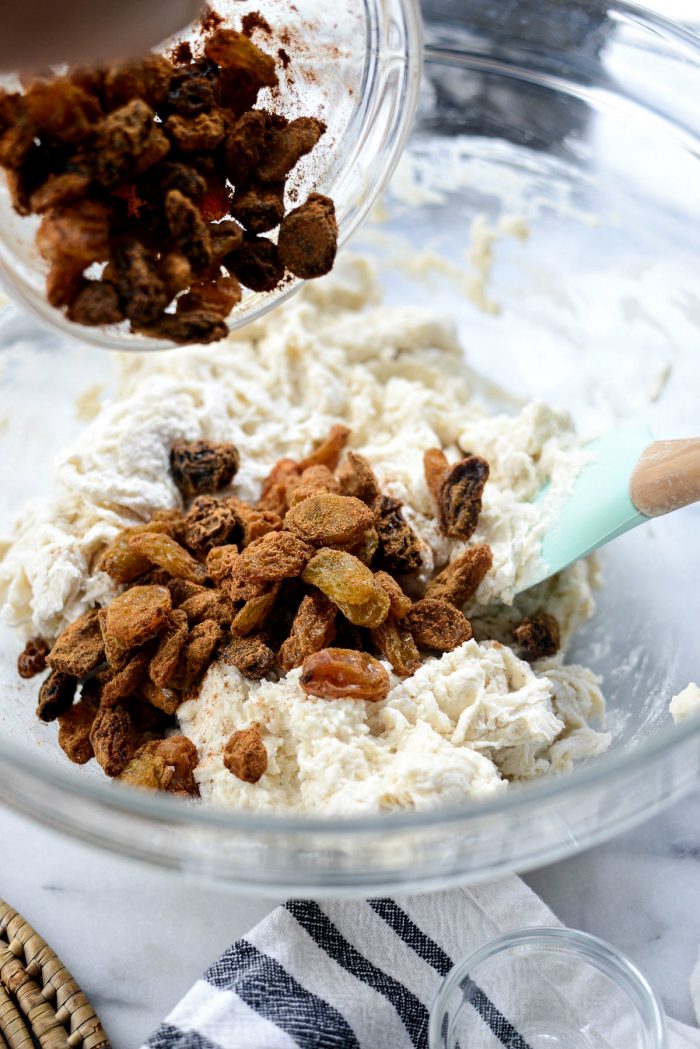
In a small bowl, quickly toss 2/3 cup raisins with 1/2 teaspoon vanilla and 1-1/2 teaspoons ground cinnamon.
Add the vanilla/cinnamon raisins to the dough.
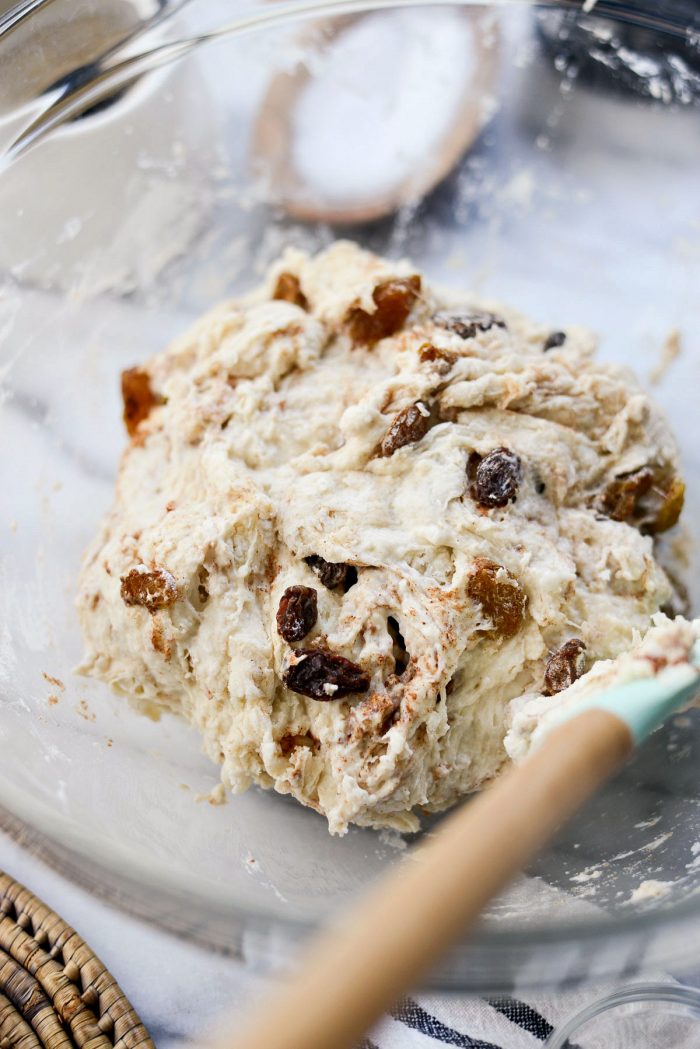
Fold together until combined and all the flour is incorporated.
Cover the bowl tightly with plastic wrap and let it sit on your counter for 18 to 24 hours. No more mixing, stirring and definitely no kneading until tomorrow.
The Next Day:
Place a round dutch oven on the bottom rack of your oven and preheat your oven to 425℉ (or 220℃). Set a timer for 20 minutes.
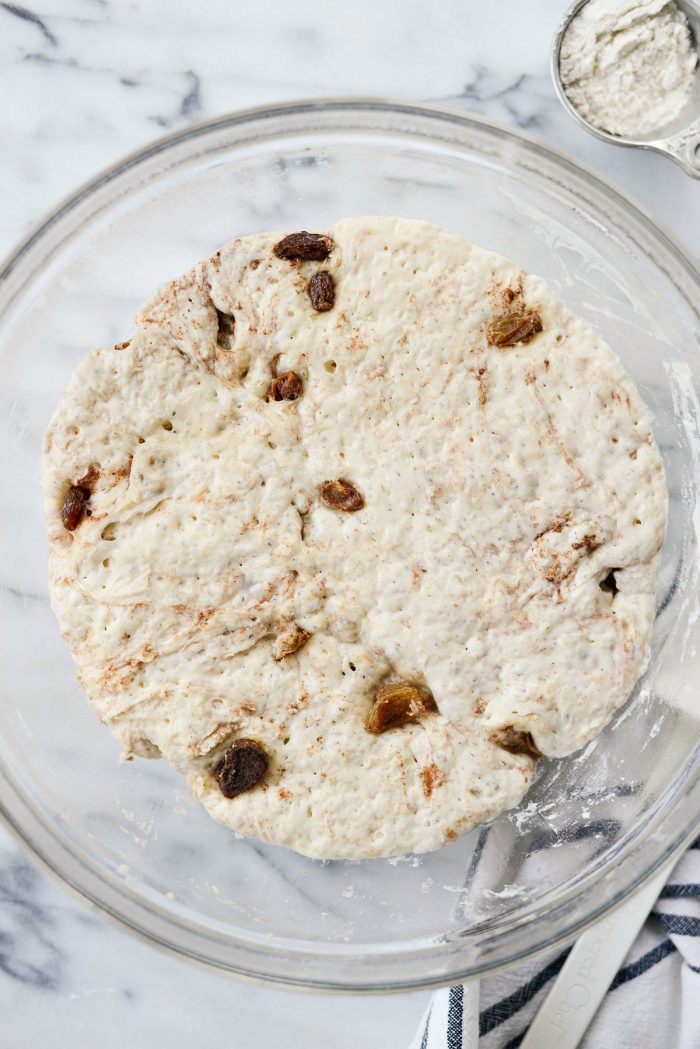
Remove the plastic wrap off of the bowl. The dough should have doubled in size.
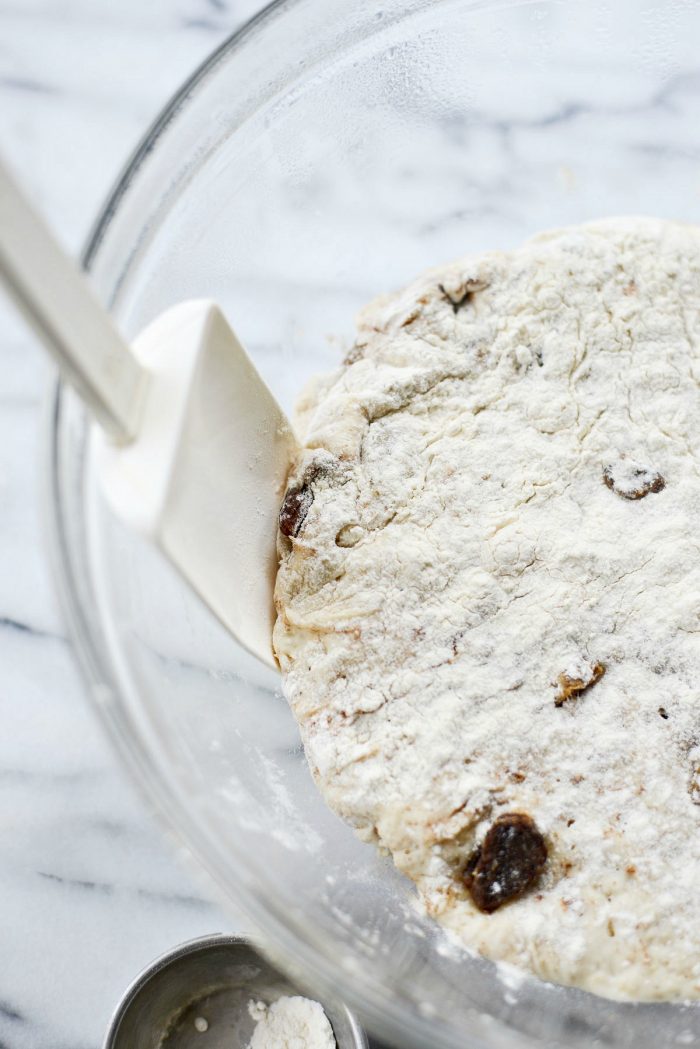
The cinnamon raisin bread dough will be super sticky. Sprinkle with 2 tablespoons of bread flour and using a spatula, work your way around the sides and underneath of the dough.
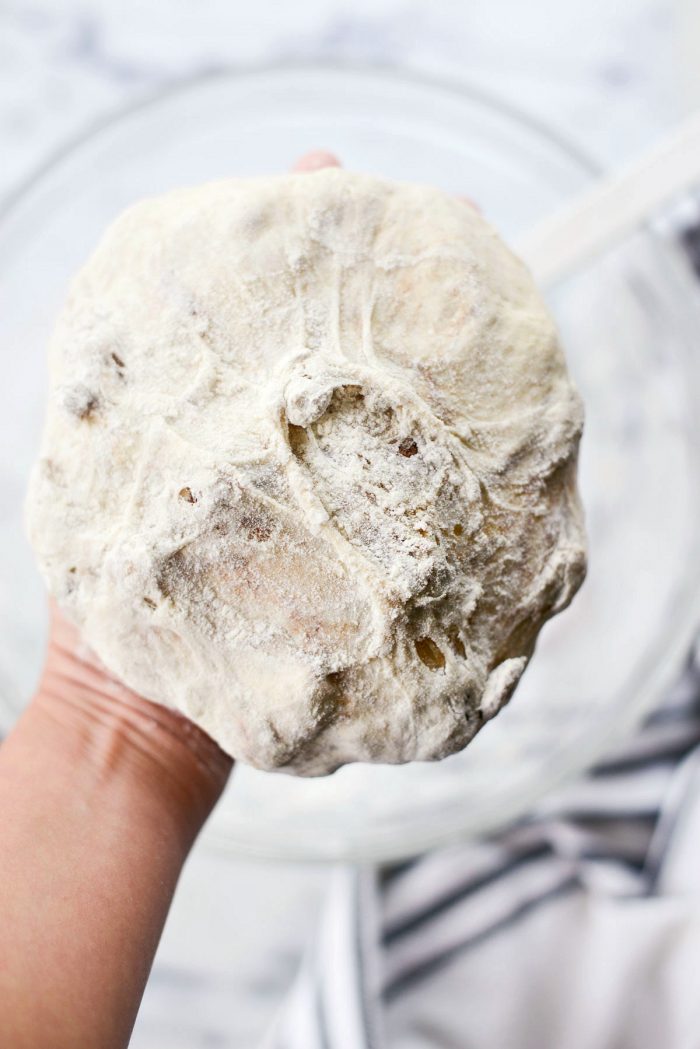
Next, with floured hands, shape it into a ball.
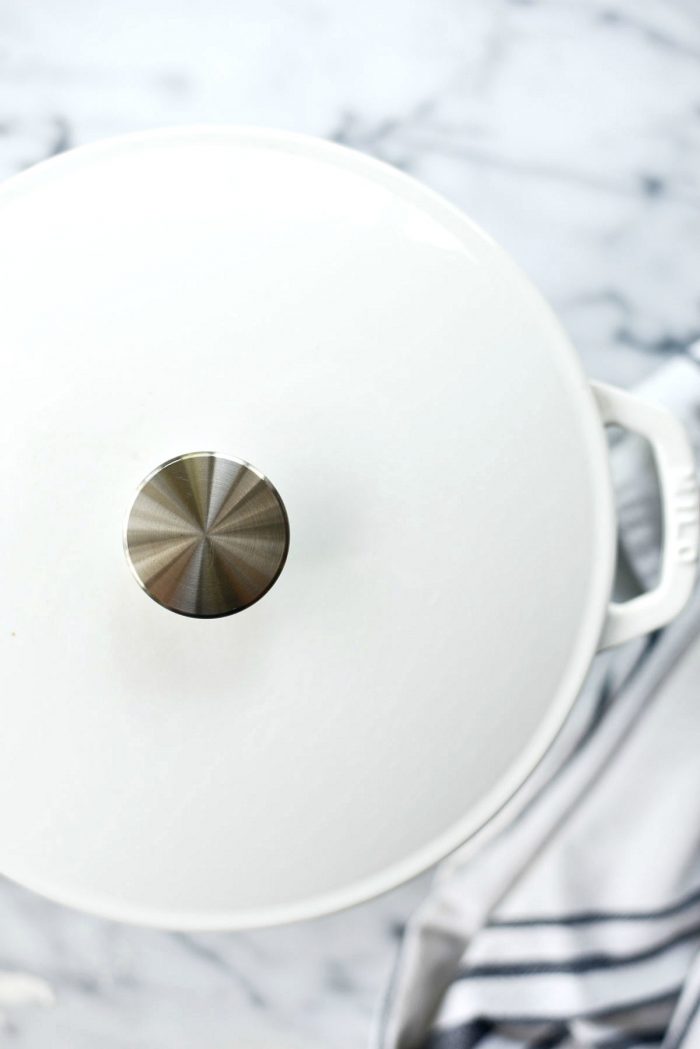
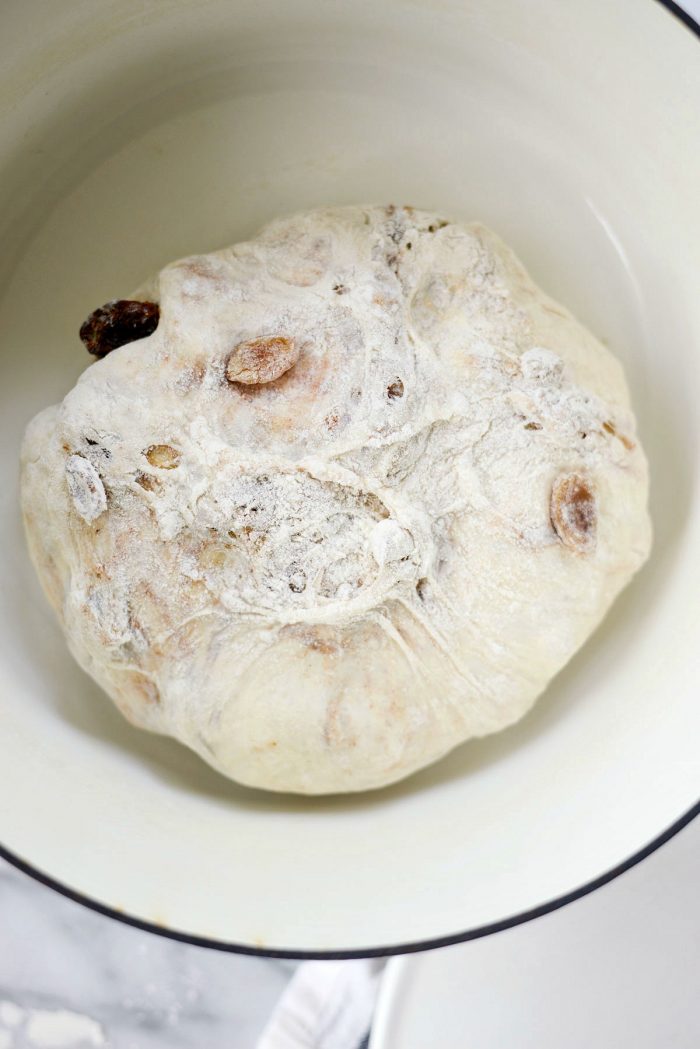
Using pot holders, take the pot from oven and remove the lid. Carefully place the shaped loaf into the pot and replace the lid, again using the pot holders.
Bake on the bottom rack, covered, for 30 minutes.
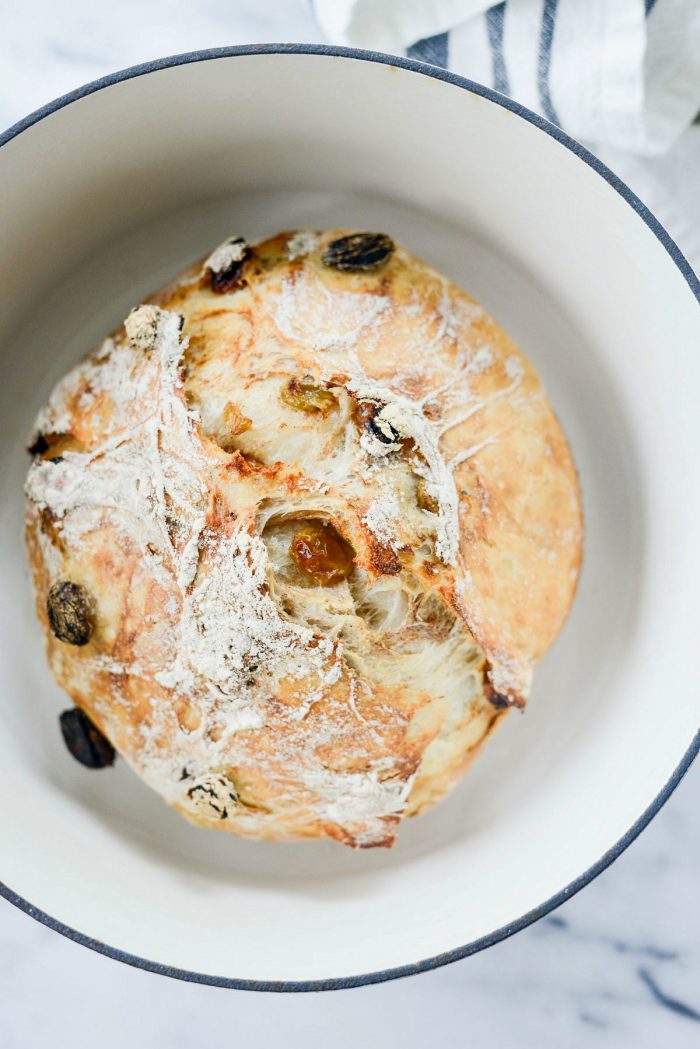
When the 30 minutes are up, remove the lid (using pot holders!) and continue baking for an additional 10 to 12 minutes or until golden brown.
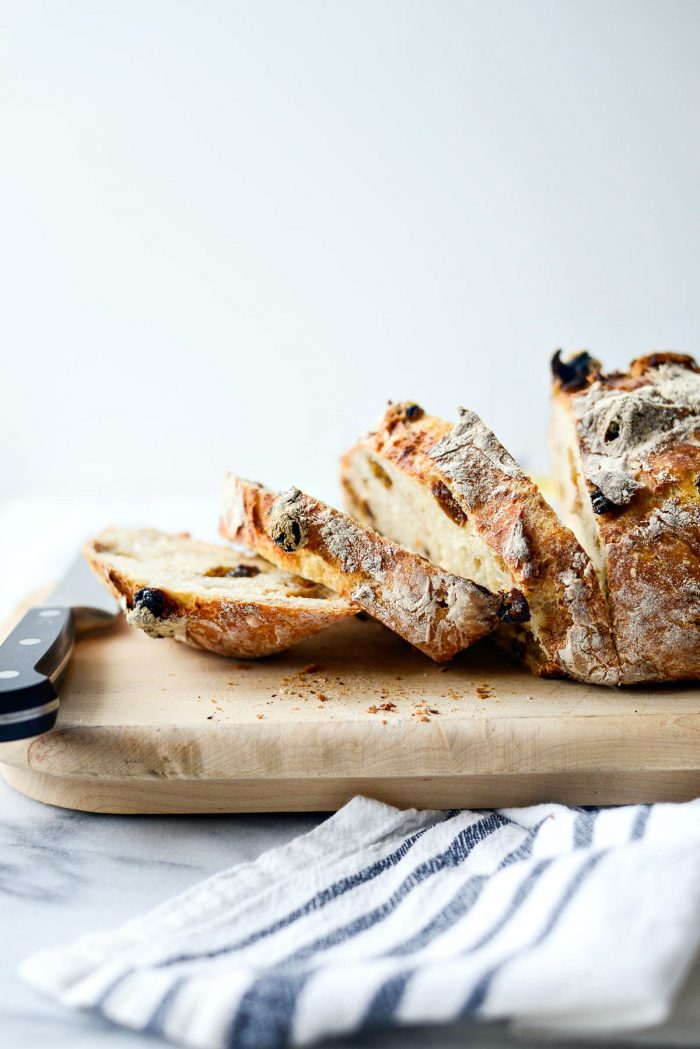
Slice.
Serve.
Devour.
Enjoy! And if you give this No-Knead Cinnamon Raisin Bread recipe a try, let me know! Snap a photo and tag me on twitter or instagram!

No-Knead Rustic Cinnamon Raisin Bread
Ingredients
- 3 cups bread flour, plus 2 tablespoons divided
- 2 tablespoons granulated sugar
- 1½ teaspoons kosher salt
- 1/2 teaspoon active dry yeast
- 2/3 cup raisins
- 1/2 teaspoon vanilla extract
- 1½ teaspoons ground cinnamon
- 3/4 cup whole milk
- 3/4 cup water
Instructions
THE DAY OF:
- In a large mixing bowl, measure the flour, sugar, salt and yeast and whisk to combine.
- Heat the milk and water until warm (not hot) and stir it into the flour mxiture. Using a rubber spatula, stir untilt it forms a shaggy dough. Stop here.
- In a separate bowl, combine raisins, vanilla and cinnamon. Tossing to combine.
- Add it to the bowl and fold it into the dough until all the flour is absorbed.
- Cover the bowl tightly with plastic wrap and let it rest on your counter for 18 to 24 hours.
THE NEXT DAY:
- Place a round dutch oven on the bottom rack of your oven and preheat to 425℉ (or 220℃). Set a timer for 20 minutes.
- When time is up, remove the plastic wrap and sprinkle with 2 tablespoons flour. Use a spatula and work around the edges and bottom of the dough.
- With floured hands, shape the dough into a ball.
- Using pot holders, take the pot from oven and remove the lid. Place the shaped loaf ino the pot and replace the lid using the pot holders.
- Bake on the bottom rack for 30 minutes. Use the pot holders to remove the lid and bake the bread, uncovered for 10 to 12 more minutes or until deeply golden brown.
- Then carefully remove the bread with tongs or a spatula, it should come out easily, to a wire rack to cool completely before slicing.
Buy the Cookbook: Simply Scratch : 120 Wholesome Homemade Recipes Made Easy Now available on Amazon »
THANK YOU in advance for your support!




What can be substituted for the dutch oven if you u don’t have one? Can you use 2% milk?
Hi Diane, you really do need a dutch oven to make this recipe. And yes, 2% would most likely be fine in this recipe.
I just used an 8x 8 Pyrex that seemed to work well. I used a tented foil instead of the lid. Don’t know how it compares with the Dutch oven, but I don’t have one either. It’s not terribly common, so I feel like this would be a good option for the rest of the folks who don’t have one.
YUM!! I made it a few weeks ago…we loved it! I try to make a new recipe exactly as the directions say and on the repeat, I make changes, if i believe it’s called for, according to our pallet. The only thing I changed was to add a tad more cinnamon to the raisins. The house smells soooo good…I’m salivating!
This recipe is soooo good. I made it for my family on a whim, and now we’re hooked. Lately, when guests come to town I serve them this with/for breakfast. I put it together the day before, then the next morning everyone wakes up to the smell of fresh-baked cinnamon raisin bread. I look like a bonafide baker, when really it’s quite easy. Thanks for the recipe!
Question: This recipe is gone so quickly that I’m wondering if I could double it in one loaf? I can easily just make 2 loaves, but since there’s enough room in the dutch oven, I’m interested if you’ve tried it and how that would affect timing.
That’s awesome! I’m so glad, Christie! About doubling, I would worry the outside of the loaf would get too brown before the middle was cooked. Just a guess though. I would make a double batch, divide it into two bowls to rest overnight, and then bake separately. I hope this helps! ❤️
I forgot to combine dry ingredients before adding liquid. I just stirred it together anyway. Will it turn out?
I don’t see why not. Keep me posted, Suzan 🙂
Is it 30 mins bake and then 10 mins after that without the lid? Or is it 20 mins and then 10 mins without the lid? Also why did you choose to use bread flour instead of all purpose?
Hi Mat! It’s 30 minutes then remove the lid and bake for 10 minutes. Bread flour has a higher protein content than all-purpose. It’s called “bread flour” because most bread requires higher amounts of protein to produce lots of gluten. I hope this helps 🙂
I worry about leaving this on the counter overnight without refrigeration since there’s milk in this recipe. Won’t the milk spoil by the time it’s ready to bake?
I made this recipe on Sunday and LOVED it!! I want to make more, but I only have Rapid Rise yeast left. Yeast is one of those completely sold-out items in my area 🙁 How can I substitute and use Rapid Rise yeast instead? I am NOT an experienced bread maker at all! Please help 😀
PS- please don’t use technical terms like proofing 😀 lol I get way too confused by it all 😉
Hi there,
I believe this description should read “when 30 minutes are up”. Not 20. I baked mine for 20 minutes as indicated, then another 10, but it was gooey in the middle. In the instructions at the bottom of your post, it does have the correct times because I went back and checked everything. You might want to change this so the time is accurate.
When the 20 minutes are up, remove the lid (using pot holders!) and continue baking for an additional 10 to 12 minutes or until golden brown.
Hi Melissa! Thanks for kindly pointing that out. I’ve made the changes in the body of the post. My sincere apologies for the confusion. 🙂
This dough doesn’t rise a second time? I am new to bread making.
What size Dutch Oven Pot did you use? Thank you
Hi! I use a 5.5 quart dutch oven.
Can I use almond milk
I haven’t tried it, but I think you would be okay to do so!
Hi! My dough didn’t rise overnight… some potential things that maybe went wrong that I’d love to know your opinion on- I used Cup4cup Gluten free flour which I’ve always used as a substitute in other things without fail. I used oat milk instead of regular milk. I added a few pecans (why not!) and I noted that when I was combining everything I had to fold things in more than I expected. I didn’t knead it per se, but I made sure it was evenly distributed. I covered it with plastic wrap (not super tight, but enough to keep air and moisture out). I’m sure one of those adjustments contributed to the lack of rise of the dough overnight and was hoping you might be able to help me identify where I went wrong so I can learn from my first bread experiment! I’m sure it comes down to the science of something. Thanks!
Thank you for the recipe! Overall it was an easy make with a yummy result.
My only real complaint is that the raisins tasted like alcohol because of mixing them with the vanilla. Next time I’ll add it to the milk instead.
And too many raisins for me, so next time I’ll a try 1/3 cup. But that’s more personal taste than a recipe issue.
Hi there
Made this loaf and it turned out so well. Soft , delicious and comforting 🙂
Thanks
I’m so happy to hear it, Nathalie!
This bread recipe is SOOO good! And so easy to make, too–I’ve been making a fresh loaf once or twice a week. It always comes out beautiful.
The only change I made was to use water and a tsp of melted butter instead of milk–that’s just my own preference. I’ve also used all purpose flour at times when I was out of bread flour, and it came out just as good. For anyone who is worried about damaging their dutch oven by heating it empty, I put mine in the fridge overnight to get nice and cold, then in the morning I line it with parchment paper and add the bread. I set it inside the oven before I turn on the heat so that the dutch oven gets to temp gradually. I don’t start the 30 minute timer for the bread until my oven beeps to tell me it is fully preheated to 425. After that, I still add another 10 minutes with the lid off to brown the top. This seems to work quite well. My bread is always soft and fluffy on the inside, with a good crust on the outside.
I’m so happy to hear it, Allison! Thank you for sharing your tips!!
Uh oh… This rose a lot, VERY quickly. Like, cresting the bowl within five hours, to the extent that I had to remove the plastic wrap and re-cover it. I lightly tapped the bowl on the counter to lower the volume a bit, but I’m not sure how to proceed.
Other no-knead breads I’ve made with comparable ingredients and long (18-24hr) rise times never did this, though this is the first one I have made with warm water/liquid, so maybe that’s part of it. I don’t know what to do or whether I should even let it go for the rest of the time before baking. What could make it rise so much so rapidly, and do I have any recourse for this? Can I put it in the fridge and, if so, how would that affect the timing and the bake?
I make this raisins bread and it’s the best and delicious recipe!one of my favorite!
Hi
I tried the recipe and it was delicious but when I bite on the crusty edge with a raisin in it, it taste burnt. How do I prevent that?
The raisin doesn’t look burnt. It looks moist.
Can’t figure it out.
Thx
Three questions :
1. can I use water instead of milk i.e. 1 1/2 cups water
2. Can I use parchment paper to form and lower the loaf into the pot ?
3. I have read that you should not heat an enamel coated cast iron pot empty?
Is it safe to leave the dough overnight? I live in a warm area like 78F overnight. Doesn’t milk get spoiled? What room temperature you are in when you made this bread?
I followed your recipe making no changes to it and it has turned out perfect. Just a note regarding heating the dutch oven and baking part. Since they are so heavy I always put my pot in to heat without the lid on, I put it beside it in the oven so that they both heat up together. I also put the dough on parchment paper. That way when you are ready to bake, pull the rack out, drop the dough using the edges of the parchment paper as handles and then put the lid on. When it’s baked just lift it using the parchment paper, I’ve saved myself a bunch of burns again, awesome loaf of raisin bread!
Great tips, Agnes! Thanks for sharing!
Such a delicious bread, the aroma that filled the kitchen was amazing. I added 2 Tbsp orange zest and 2 Tbsp fresh orange juice. A young repairman had come to the house, he liked it so much , had 3 slices with melted butter. Thanks for the recipe.
I’ve been making bread for around 20 years (by hand) and for the past year or so started doing no-knead breads in the Dutch oven. Sadly I don’t measure, so find it difficult to follow recipes. I tried your recipe for the cinnamon raisin bread, and I followed your instructions.
I didn’t really measure (sorry eyeballed instead), but followed your instructions and method and it was AMAZING! I now make this every 3 weeks or so, also added dried apricots. It also keeps very well, and is delicious toated with butter.
Thank you
I found your recipe not long ago and have been making this bread every week. I’ve tried other recipes but do not turn out as yummy as yours. The bread still continues to burn on the bottom. Maybe I should move the bread up from the bottom of the oven .Even though being a little burned still excellent !!! Will try to experiment with other dried fruits. Thank You.
Hi Tim! Thank you for your review! And I’m thrilled to hear you enjoy this recipe! As for the bottom burning, I would try moving it up a little in the oven. Maybe even halfway through baking? Hope this helps!
this bread is basically fool proof and super easy! i think from now on i’ll weigh my flour just so i can get similar results. super soft inside, flavorful, and amazing crust.
So happy to hear you enjoy this recipe, Charlotte! Thank you for your review!