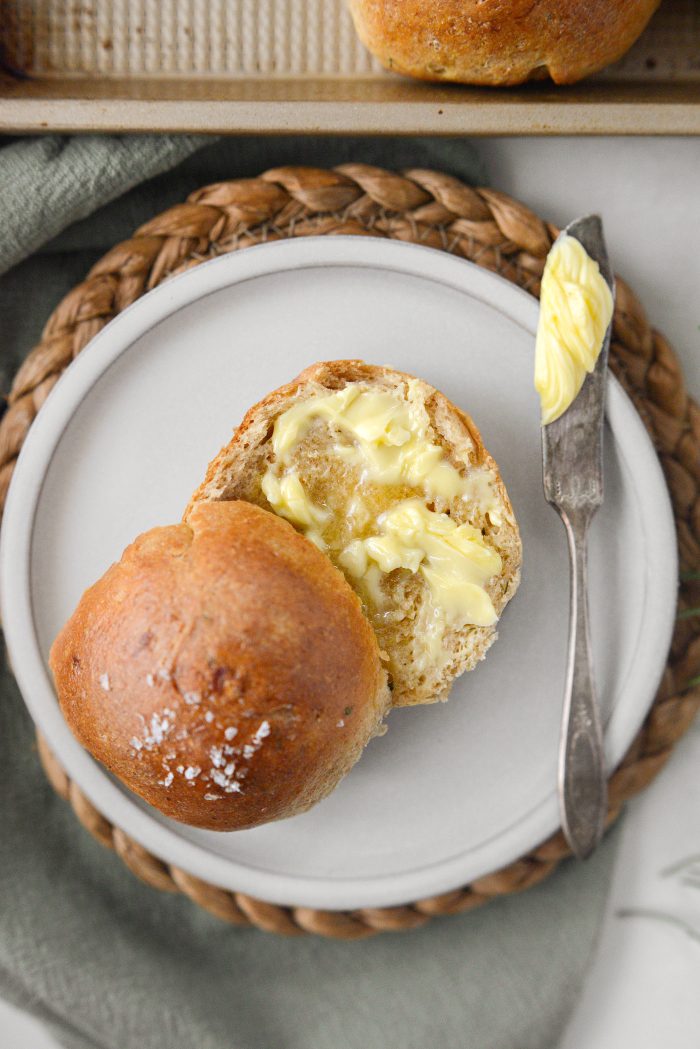
These Whole Wheat Rosemary Caramelized Onion Rolls are soft and delicious. A super simple whole wheat dough studded with caramelized onion and fresh rosemary. They’re perfect whether served with a cozy weeknight dinner or holiday meal. Yields 12 servings.

I’m a sucker for rolls.
Back when my metabolism was working for me, I used to eat my weight in dinner rolls. Ah, the good old days. Now I have two, maybe three and leave it at that. But all bets are off when it comes to these. caramelized onion rolls. I first made this recipe years ago, like 14 years ago! I was apart of this Project Food Blog challenge and the theme was “Dinner Party” and made these rolls to go with a braised venison stew. To save time, you can prepare them the day/night before, reheated them in the oven the next day and they were still perfectly soft and flavorful
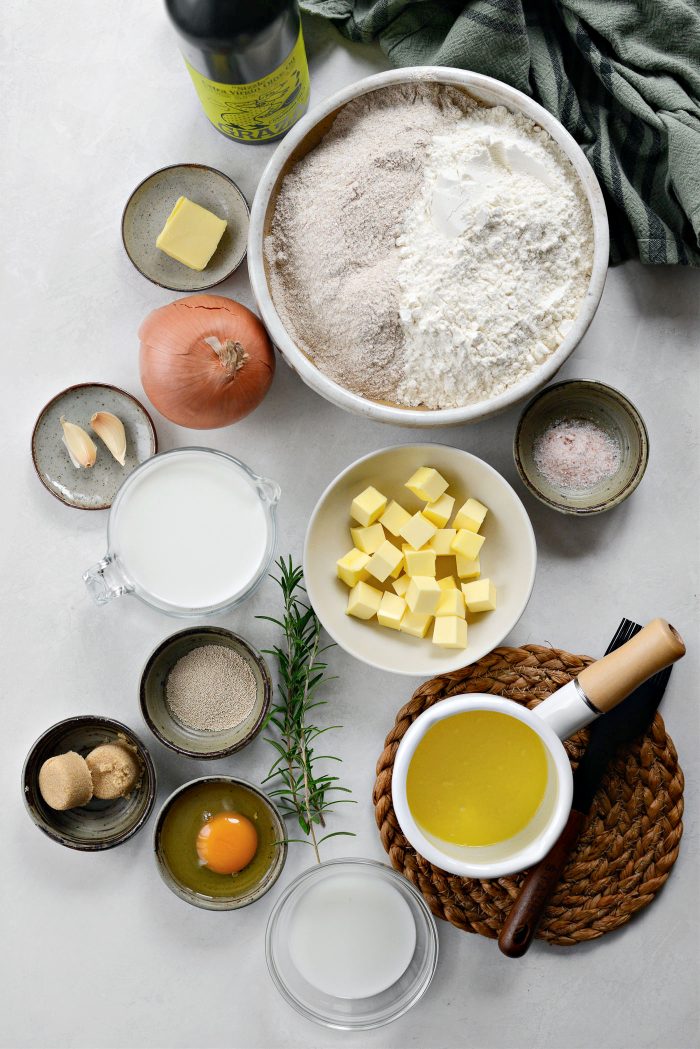
TO Make This Whole Wheat Rosemary and Caramelized Onion Bread You Will Need:
- unsalted butter (softened) – Lends fat and flavor while softening the onions and tenderizes the dinner rolls.
- olive oil – Also lends fat and flavor while softening the onions.
- yellow onion – Chose a large onion so you have plenty once caramelized. If using smaller onions use 2 to 3.
- garlic – Adds distinct punchy flavor.
- rosemary (fresh) – Adds a fresh pine-like or woodsy flavor with notes of lemon, pepper and sage.
- brown sugar – Helps feed the yeast and lends flavor to the dough.
- whole milk – Helps to yield a tender crumb.
- active dry yeast – Lends flavor and helps baked goods rise.
- whole wheat flour – Lends structure and adds subtle earthy flavor and mouthfeel.
- unbleached bread flour – Has higher protein that all-purpose flour which lends better texture and chew.
- kosher salt – Enhances the flavors in the recipe.
- egg – Adds richness and moisture and enhances the overall flavor and texture of the rolls.
- milk – Use for brushing before baking.
- butter (melted) – For brushing after baking.
- flaky sea salt – For sprinkling after baking. (optional)
Make The Caramelized Onions:
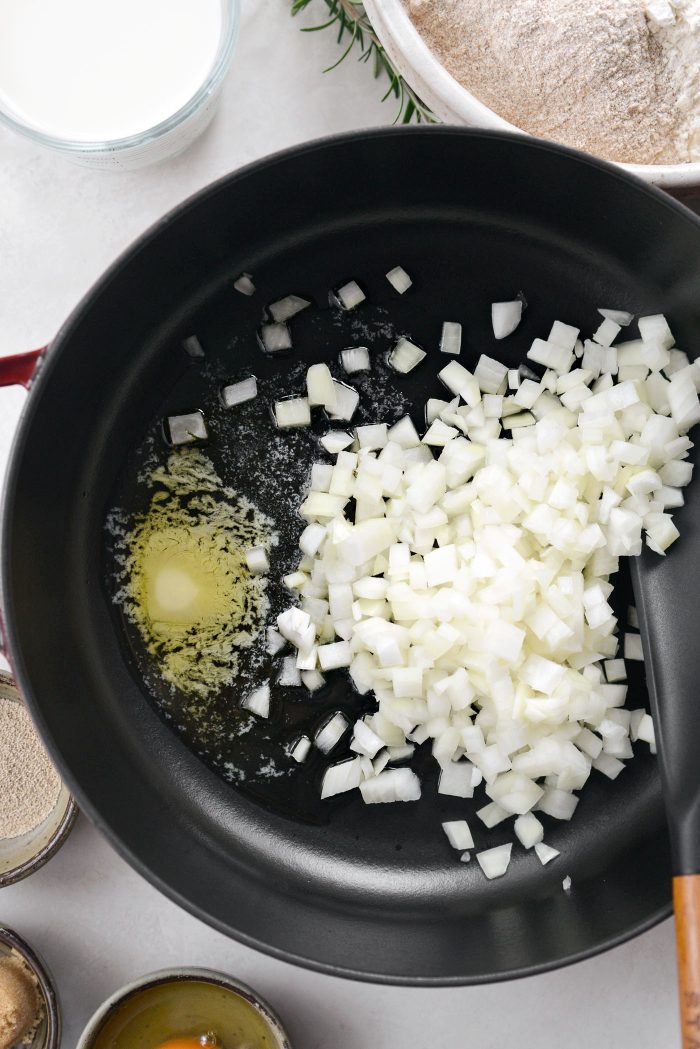
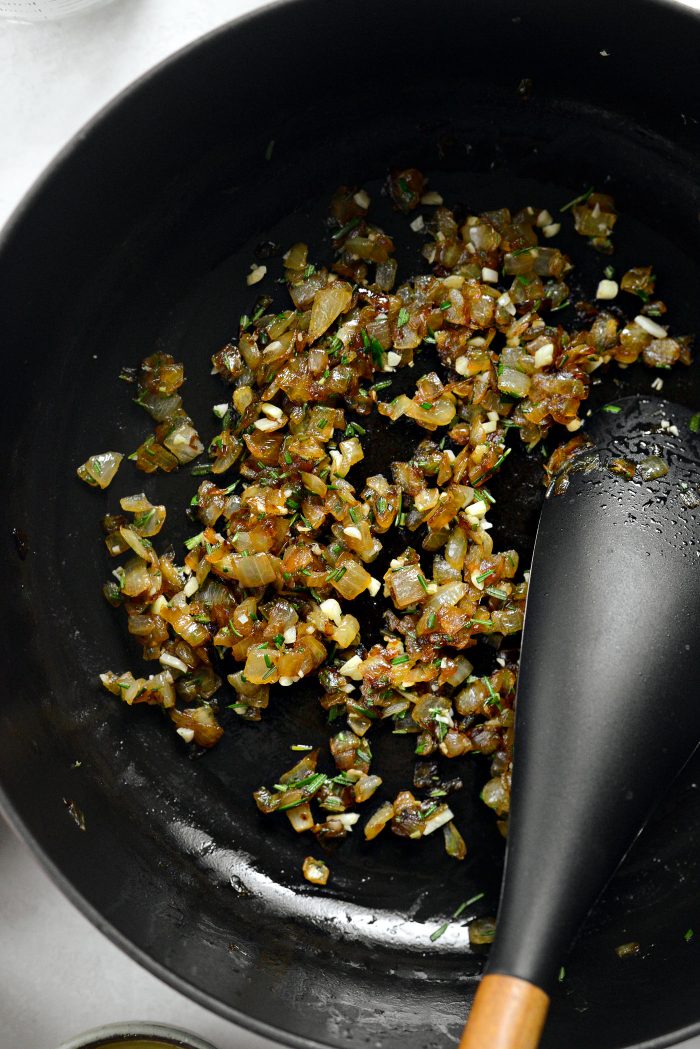
In a skillet, add 1 tablespoon butter and 1 tablespoon olive oil with 1 diced large yellow onion.
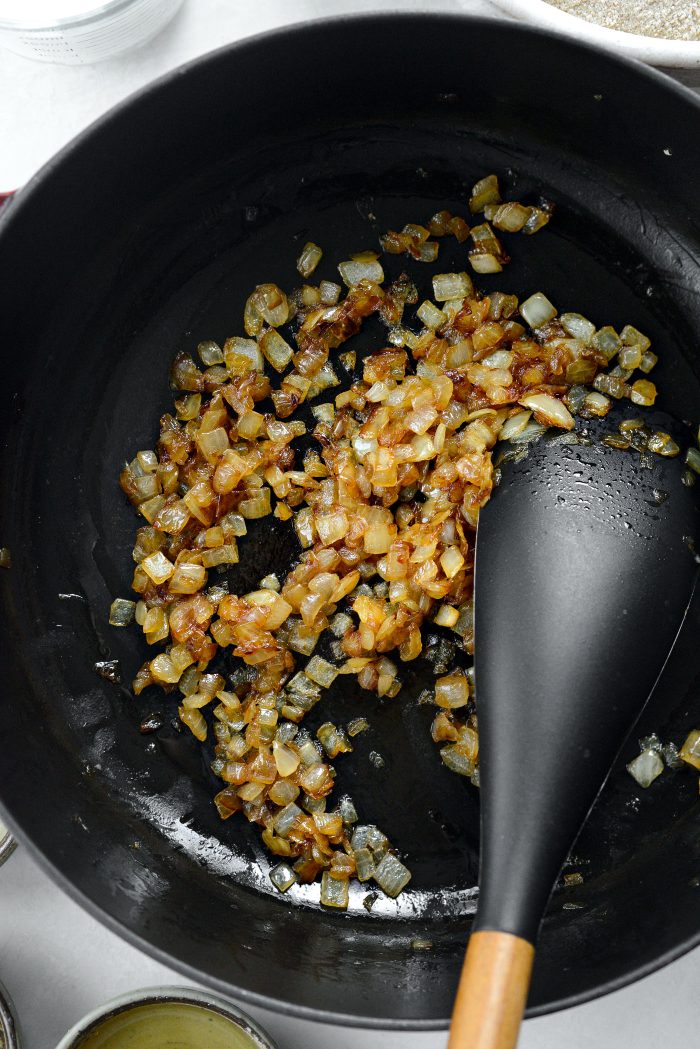
Stir and cook over medium to medium-low heat until deeply golden and caramelized. About 35 minutes.
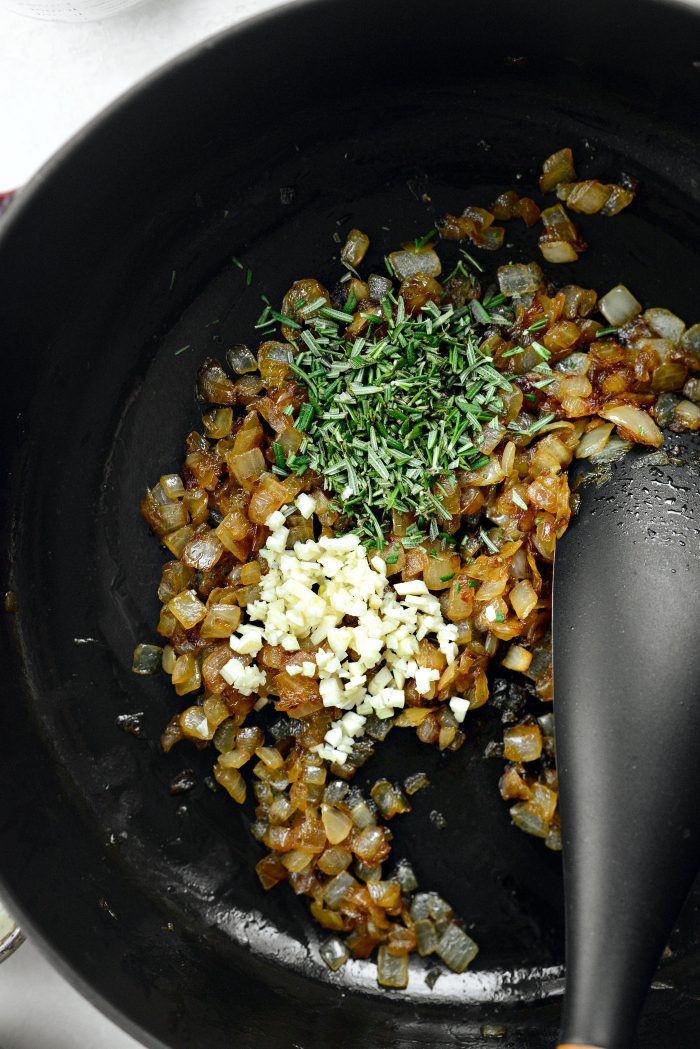
Add in 2 tablespoons minced fresh rosemary and 2 small minced cloves of garlic.
Stir and cook for 2 minutes, then set off to the side to cool a bit.
Make The Dough:
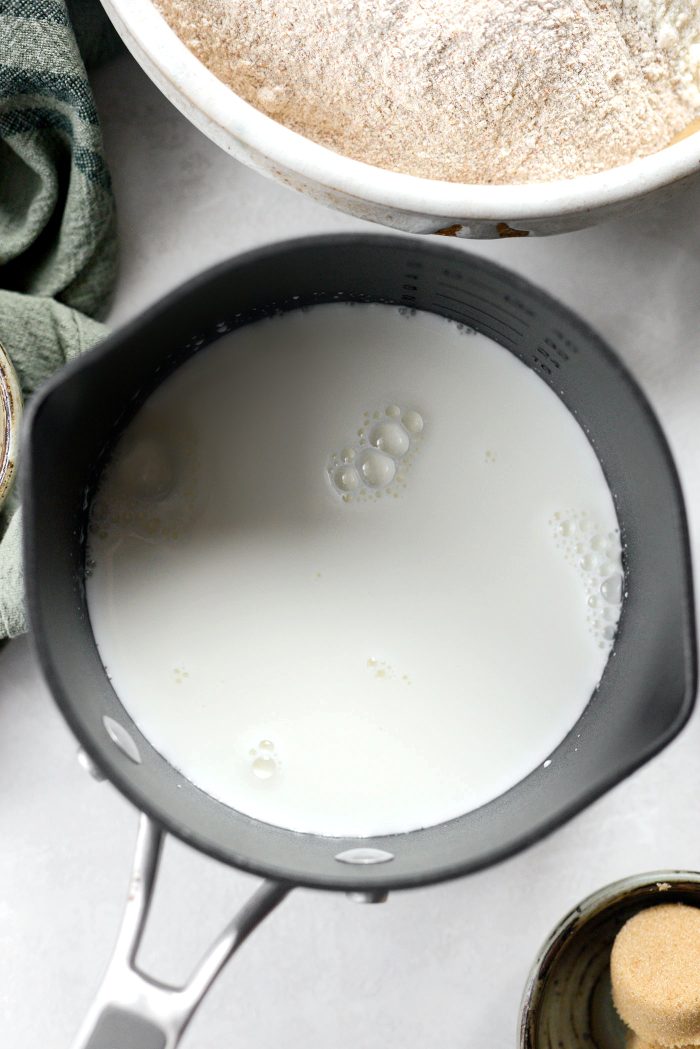
Heat 1 cup of whole milk over medium-low heat until very warm (100-110°F).
In the bowl of your stand mixer, fitted with the dough hook, add 2 tablespoons light brown sugar and pour in the warm milk.
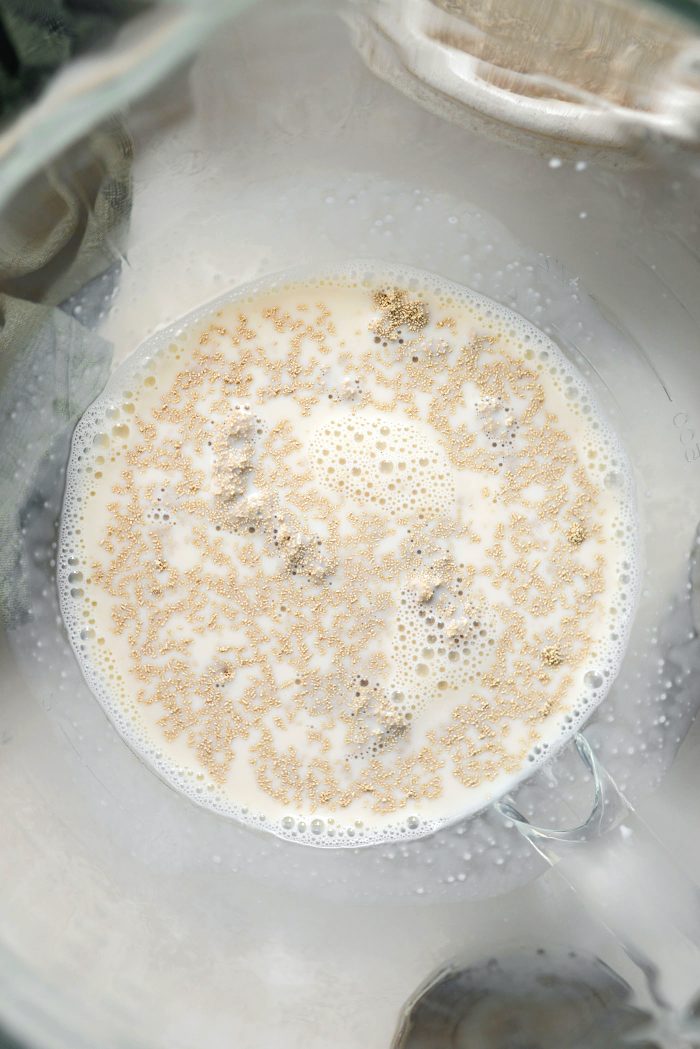
Sprinkle in 2 teaspoons active dry yeast.
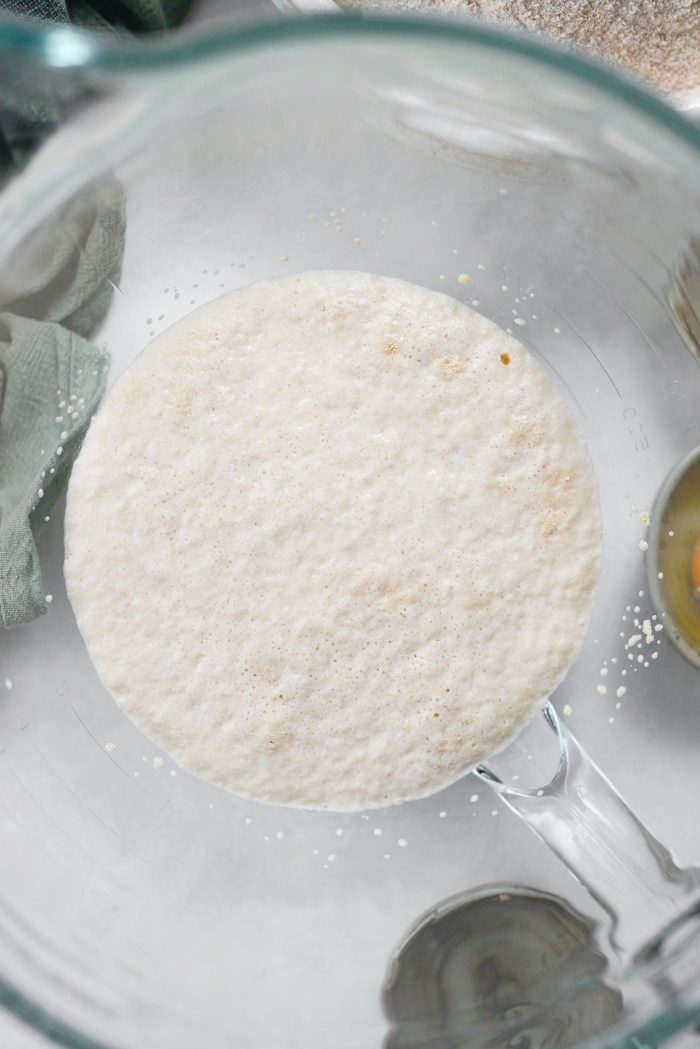
Stir and let sit for 5 to 10 minutes or until the mixture is frothy.
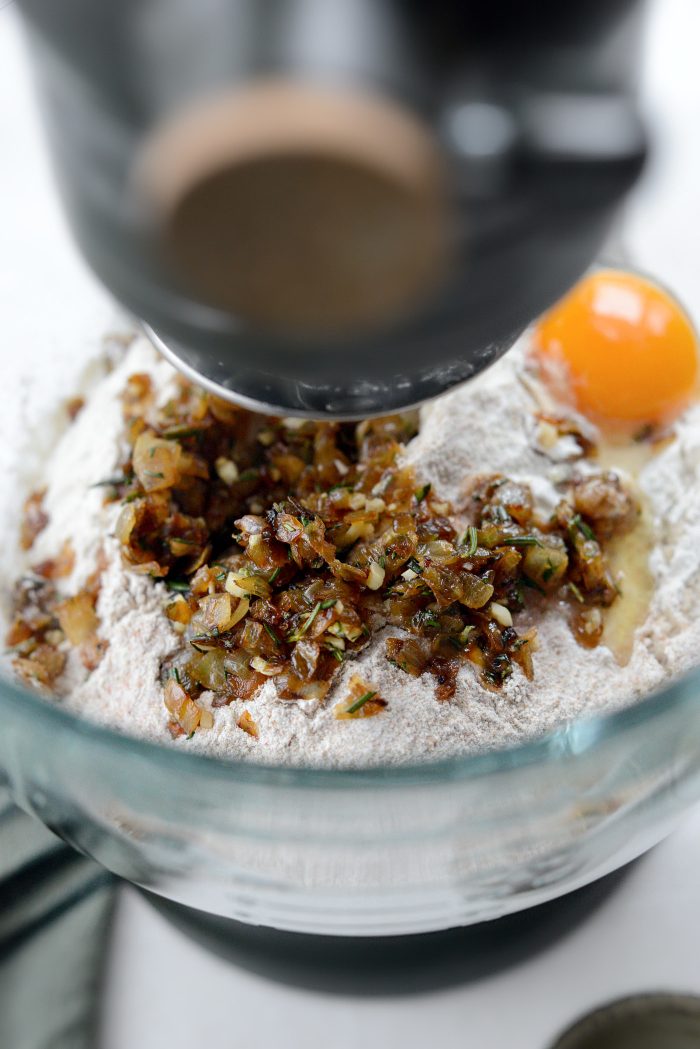
To the yeast mixture add 1-3/4 cups of both whole wheat flour and unbleached bread flour, 1 teaspoon fine salt, 1 large egg and the caramelized onion and rosemary mixture.
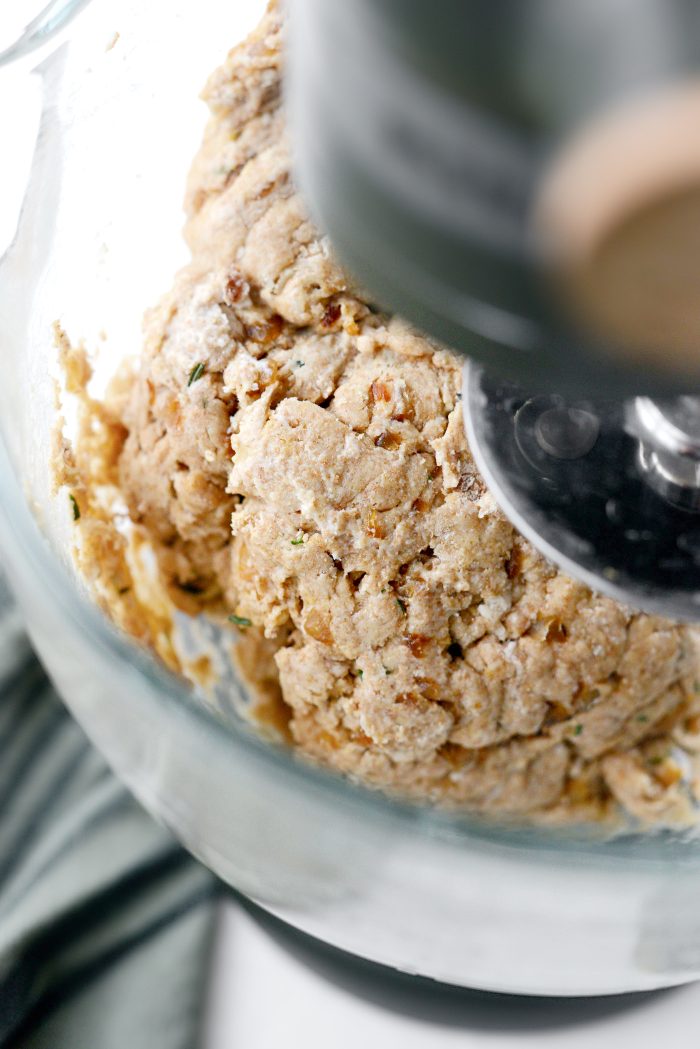
Stir on medium-low speed until it resembles a shaggy dough. It should be pretty sticky at this point.
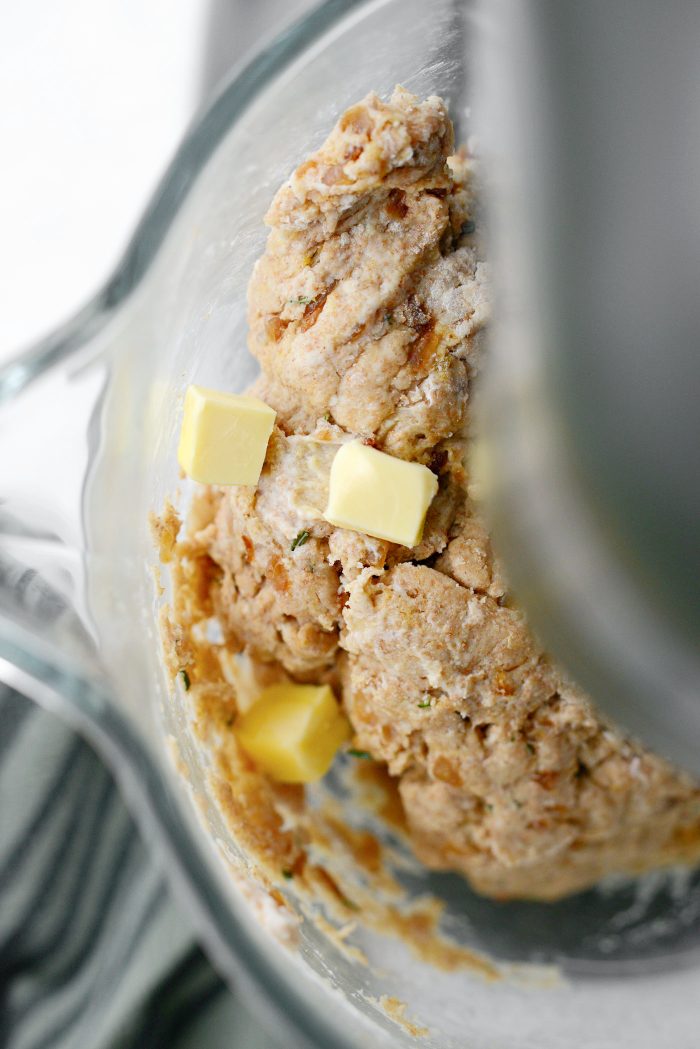
With your mixer on low speed, drop in the little cubes of butter until mixed in. Then repeat this step adding a few more cubes of butter at a time until incorporated.
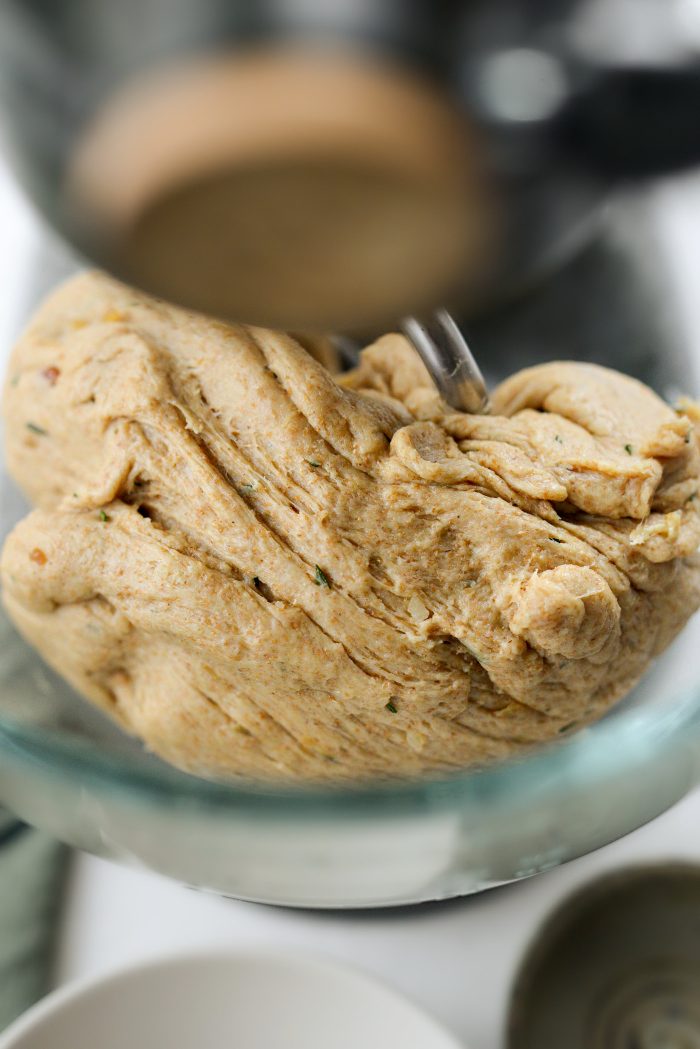
Increase the speed of your mixer to medium and mix for 6 minutes. The dough should easily pull away from the sides of the bowl.
Rising The Dough:
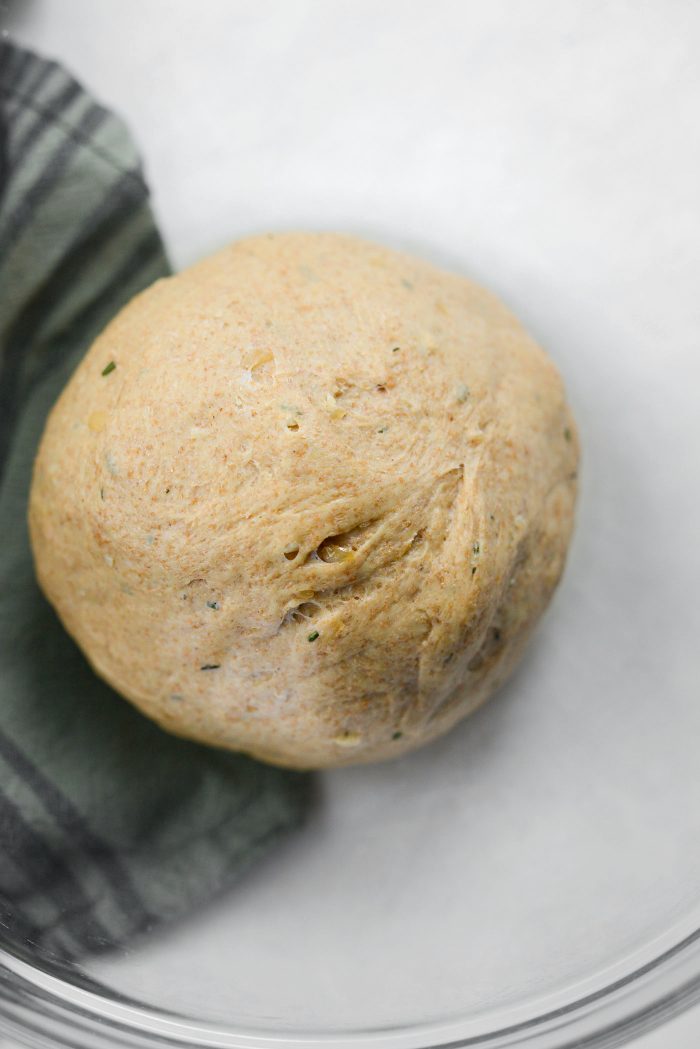
Shape the dough into a ball and place in a large, greased (I use olive oil) bowl.
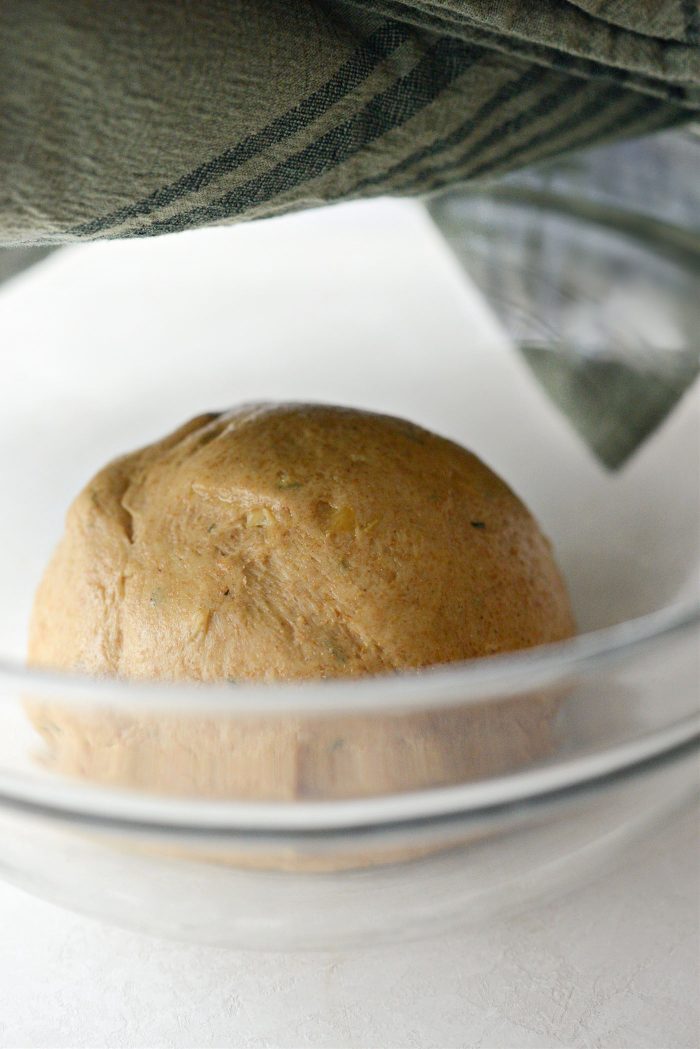
Cover with a clean towel and let rise for 1 hour.
After 1 hour it should have doubled in size.
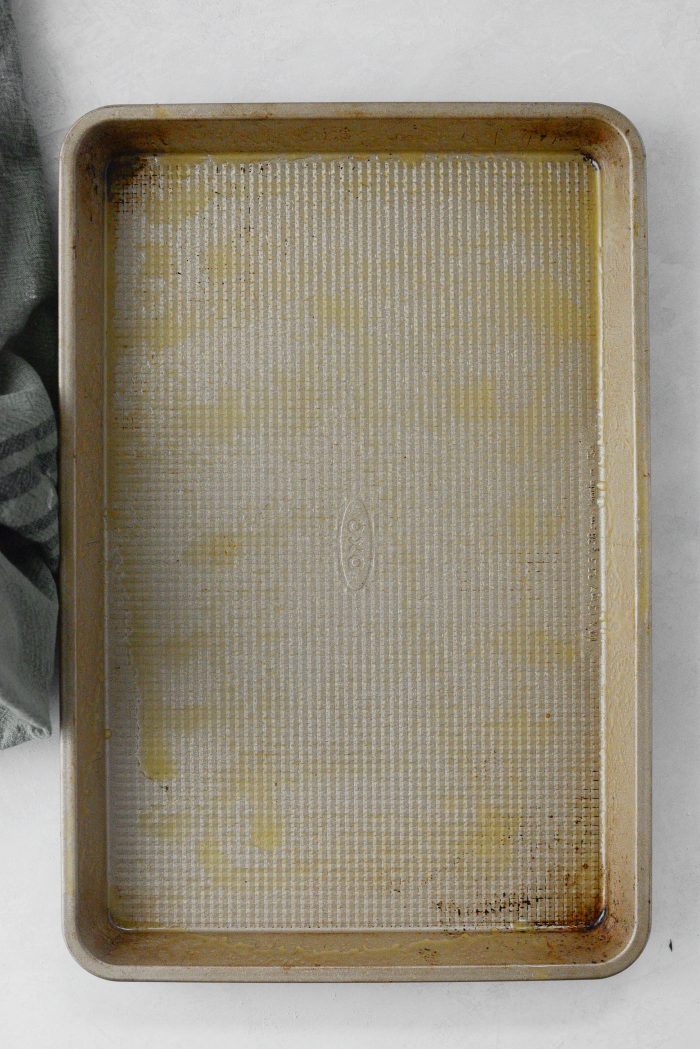
Grease a 10 x 15 or 8 x 12 jelly roll pan.
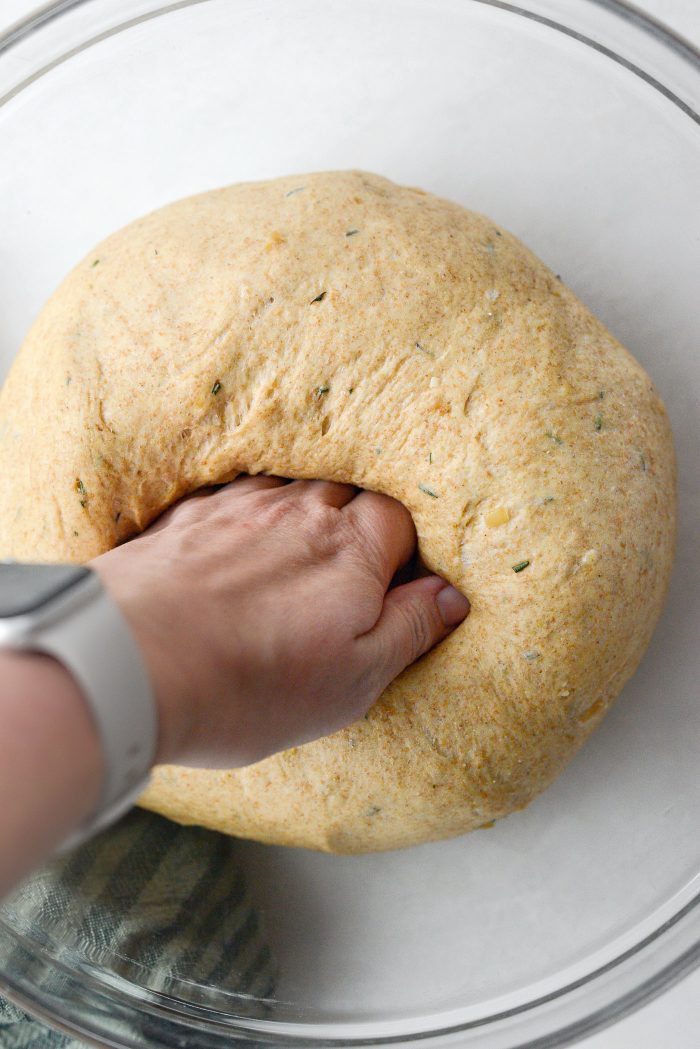
Press out the air in the dough by punching it down.
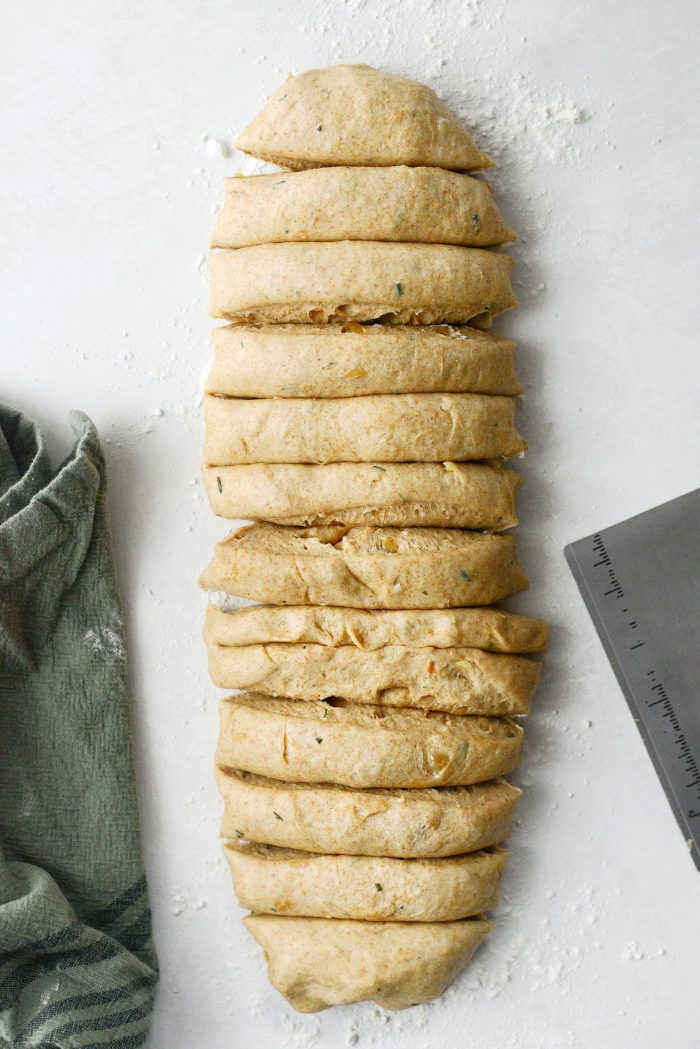
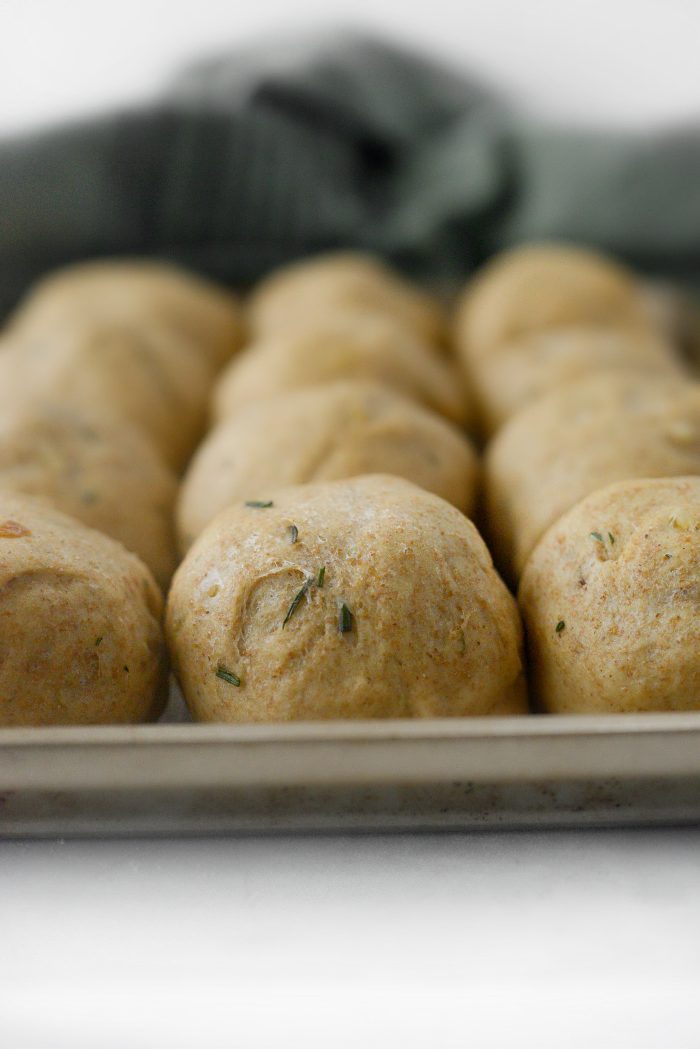
Shape the dough into a 12-inch log and cut into twelve 1-inch pieces.
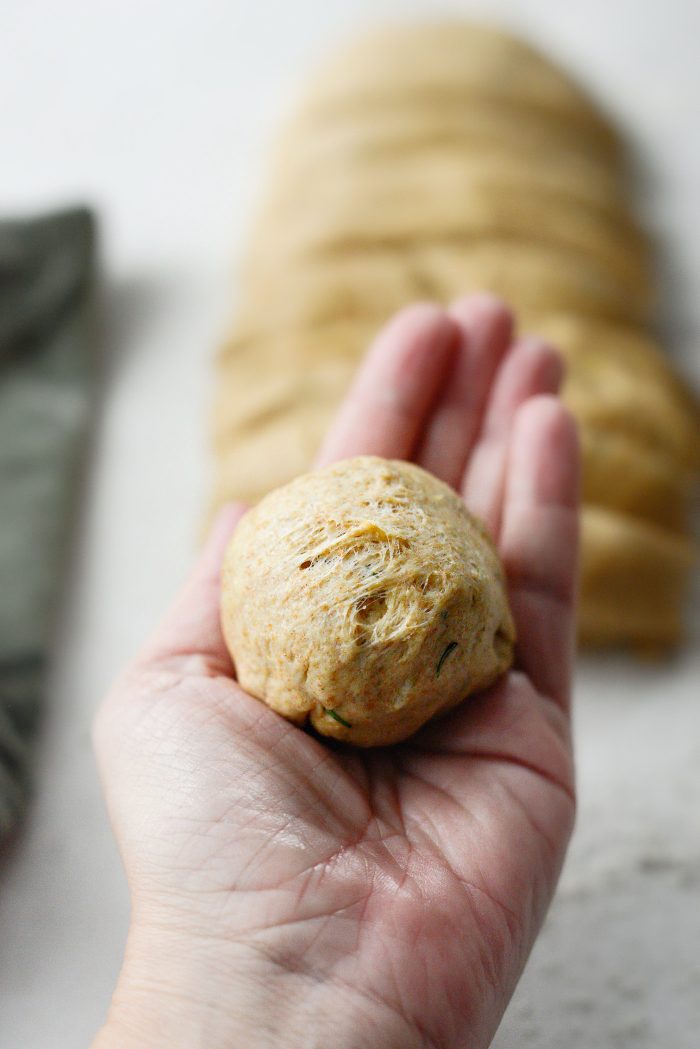
Shape each piece into a tight ball.
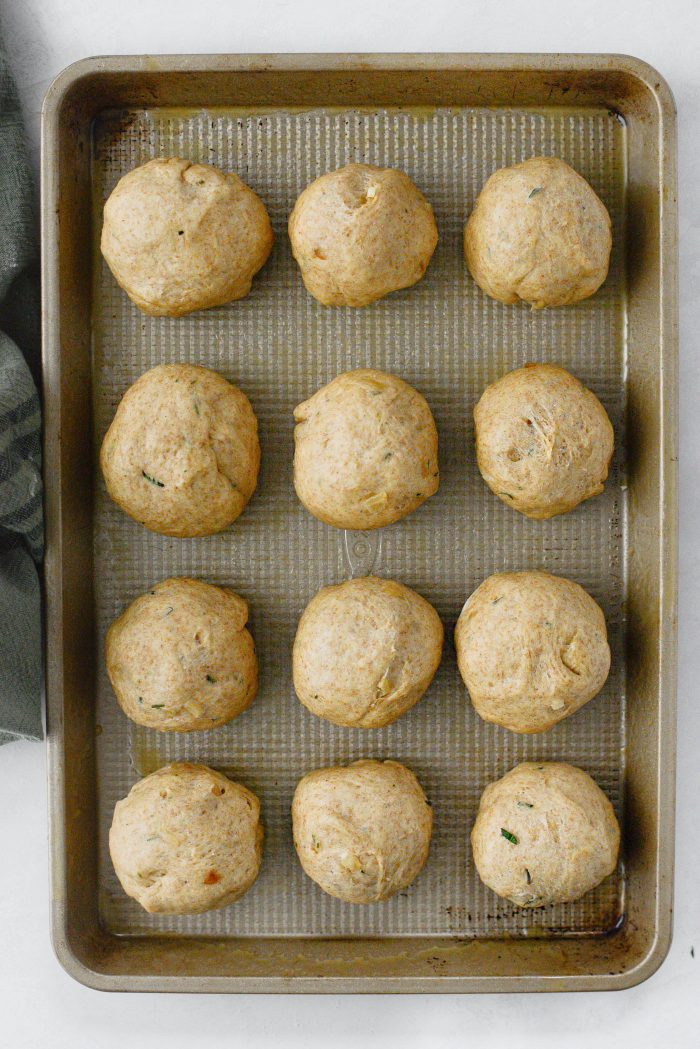
Place on the prepared pan and repeat with the remaining pieces of dough.
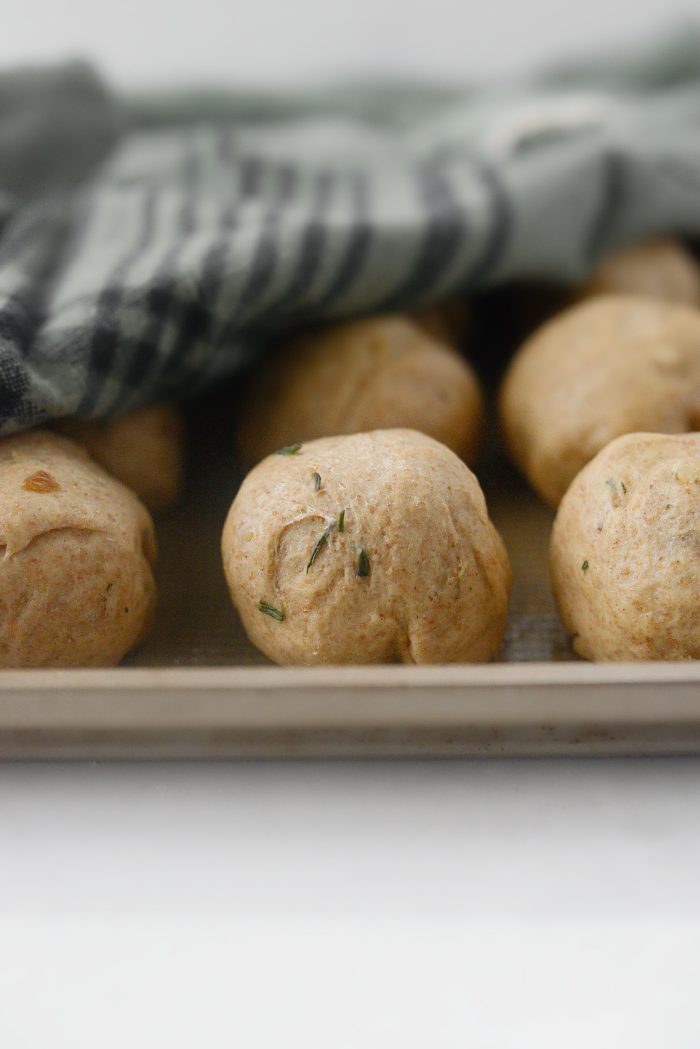
Cover with a towel and let rise for 45 minutes.
Meanwhile preheat your oven to 375°F (or 190°C).
Bake The Rolls:
After 45 minutes they should double in size.
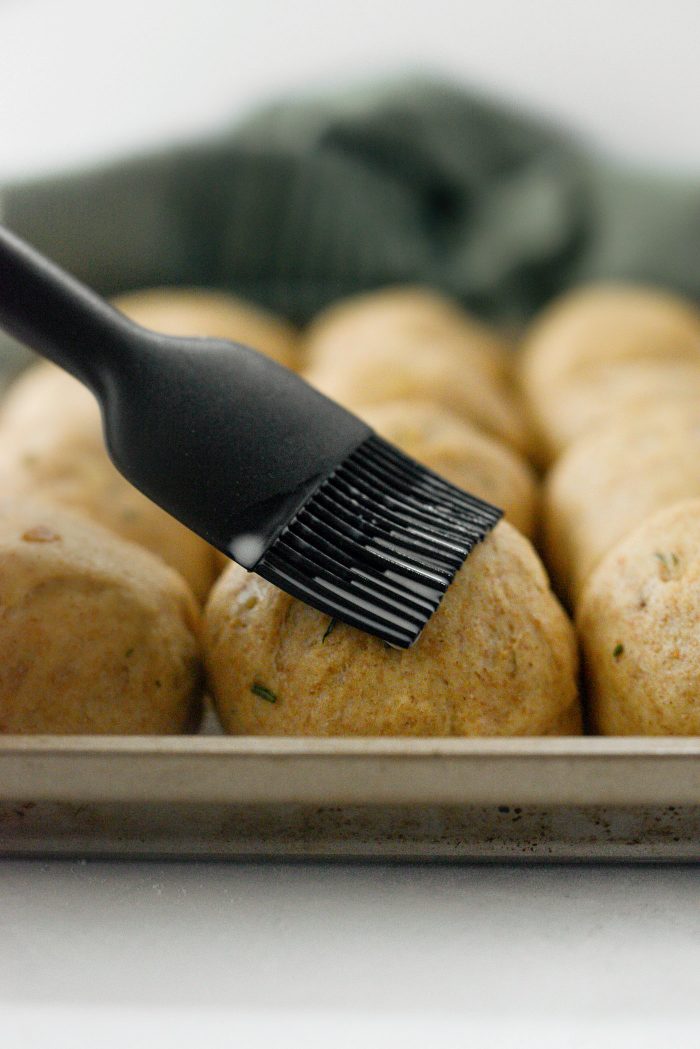
Brush the tops of the rolls with 1 to 2 tablespoons milk and bake on the middle rack of your preheated oven for 18 to 20 minutes.

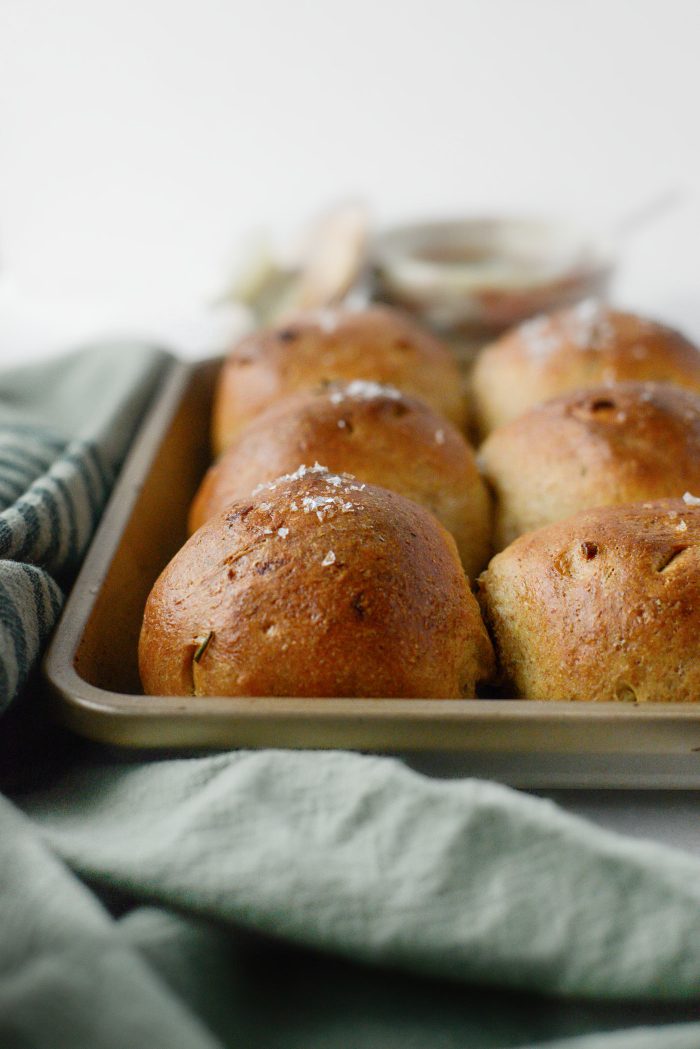
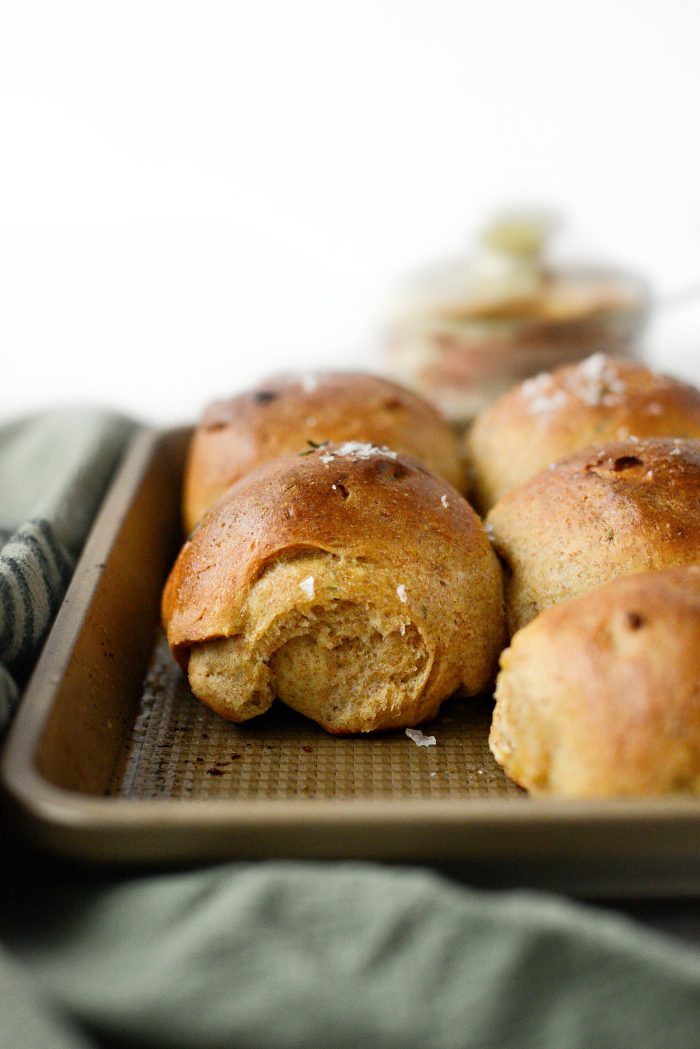
Or until the tops are golden brown. Brush with 1 tablespoon melted butter and sprinkle with flaky salt if desired.
How To Store Whole Wheat Rolls:
Remove rolls from pan and transfer to a wire rack once out of the oven to avoid moisture build up. Allow the rolls to cool completely and store in either an air-tight container or ziplock bag.
How long will Whole Wheat Rolls Last?
If stored properly, homemade dinner rolls will last 2 to 4 days.
Click Here For More Dinner Roll Recipes!
Enjoy! And if you give this Whole Wheat Caramelized Onion and Rosemary Rolls recipe a try, let me know! Snap a photo and tag me on twitter or instagram!
Whole Wheat Caramelized Onion Rosemary Rolls
Ingredients
FOR THE CARAMELIZED ONIONS:
- 1 tablespoon unsalted butter
- 1 tablespoon olive oil
- 1 large yellow onion, diced small
- 2 tablespoons finely chopped rosemary
- 2 cloves garlic, minced
FOR THE ROLLS:
- 1 cup whole milk
- 2 tablespoons light brown sugar
- 2 teaspoons active dry yeast
- 1¾ cups unbleached bread flour
- 1¾ cups whole wheat flour
- 1 teaspoon fine salt
- 1 large egg, room temperature
- 6 tablespoons softened unsalted butter, cut into small cubes
- 1 tablespoon whole milk, for brushing before baking
- 1 tablespoon melted butter, for brushing after baking
- flaky salt, for sprinkling after baking
Equipment
Instructions
- In a skillet, add butter and olive oil with the yellow onion. Stir and cook over medium to medium-low heat until deeply golden and caramelized. About 35 minutes. Add in rosemary and garlic. Stir and cook for 2 minutes, then set off to the side to cool a bit.
- Heat milk over medium-low heat until very warm (100-110°F). In the bowl of your stand mixer, fitted with the dough hook, add the brown sugar and pour in the warm milk. Sprinkle in the active dry yeast, stir and let sit for 10 minutes or until the mixture is frothy.
- To the yeast mixture add both flours, salt, egg and the caramelized onion and rosemary mixture. Stir on medium-low speed until it resembles a shaggy dough. It should be pretty sticky at this point.
- With your mixer on low speed, drop in the little cubes of butter until mixed in. Then repeat this step adding a few more cubes of butter at a time until incorporated. Increase the speed of your mixer to medium and mix for 6 minutes. The dough should easily pull away from the sides of the bowl.
- Shape the dough into a ball and place in a large, greased (I use olive oil) bowl. Cover with a clean towel and let rise for 1 hour. After 1 hour it should have doubled in size.
- Grease or spray a 8 x 12 or 9x13 jelly roll pan or rimmed baking sheet.
- Press out the air in the dough by punching it down. Shape the dough into a 12-inch log and cut into twelve 1-inch pieces (each piece should weigh a little over 3 ounces).Shape each piece into a tight ball. Place on the prepared pan and repeat with the remaining pieces of dough. Cover with a towel and let rise for 45 minutes.
- Meanwhile preheat your oven to 375°F (or 190°C).
- After 45 minutes they should double in size. Brush the tops of the rolls with 1 to 2 tablespoons milk and bake on the middle rack of your preheated oven for 18 to 20 minutes or until the tops are golden brown. Remove and immediately brush with 1 tablespoon melted butter and sprinkle with flaky salt if desired.
Notes
This recipe was originally posted on October 26, 2010 and has been updated with clear and concise instructions, new photography and helpful information.
Buy the Cookbook: Simply Scratch : 120 Wholesome Homemade Recipes Made Easy Now available on Amazon »
THANK YOU in advance for your support!




it looks quick and yummy! 😀
it looks so good..
it looks so good..
Wow! These look too good to eat just one. I'm sure I would devour the whole basket:)
Oh wow this looks delicious! I just found your website through foodbuzz and am in love with your concept! That's exactly what I love to cook… good home cooked from scratch recipes. I'm on a fresh bread kick lately since learning how to make it and am definitely going to try this one! Thanks for the recipe!
Those rolls are gorgeous! You can't go wrong with onions, rosemary and lots of butter!
If you ship those to Canada, I'd be happy to ship some doughnuts your way!
:p
Those look so amazing!! Bookmarking!
These look amazing! I love baking with whole wheat flour, so I'll definitely have to try. The caramelized onions and rosemary combo is to die for. Thanks for sharing!
wow, again, these pics are beautiful! Are you taking them in all natural light?
this bread looks soo yummy.. i would totally eat it with a cherry tomato bruschetta, and don't take offense to this but your bread reminds me of that really crusty, warm rosemary bread that they serve at Macaroni Grill! Its really good! Thanks for the recipe 🙂
My word this look delish!
oh my…I saw these on foodgawker and just had to click over! These look so good! I wish I had time to make them tonight. I can't wait to try them!
meltingbutter.com… yes I use natural light! Living in Michigan especially during fall and winter gives only a narrow slot of the day to use it! 🙂
Megan… I can't wait to hear how it works out!! 🙂
My mouth is watering!!!!
I've been eyeing these since you originally posted them. I'm thinking about doing them for thanksgiving… i have lots of rosemary items and thought it would be a nice tie in. what do you think of using a different kind of flour? thoughts?
Go for it!! What were you thinking of??
Oh my. These look divine! Too bad my husband hates anything onion. He will be missing out when I make these! 🙂
Made this today, they tasted soo good. They came out a little too dense though, but they softened up real good with come green curry.
Pingback: blog from OUR kitchen » Russian Roses for World Bread Day (BBB October 2012)
Pingback: Rosemary Rolls and Granola | Bee Griffith
Pingback: rosemary & cracked pepper onion rolls | jen goes vegan
Pingback: Week 11: Whole wheat, rosemary and caramelised onion bread | The Baking Hermit
I think I’ll try making a loaf of bread instead of rolls. Hope it turns out.
Good luck! 🙂
I’ve been looking for ways to use the Rosemary’s in the garden. These were easy to make and completely delicious! Thanks for the recipe!
I’m so glad, Hannah! Thank you for taking the time to make this recipe!
Delicious! This is definitely a favorite from now on with any Italian meal. If you are used to making bread, the softness and stickiness of this dough does cause some concern, but trust the instructions and you will really enjoy these rolls! The texture and flavor are fantastic and the recipe if quick and easy to make.
I’m so glad you enjoyed this recipe, Julie! Thank you for taking the time to not only make the recipe, but for leaving such a great, detailed review. It’s appreciated!
After seeing the reviews on the bread I was excited to try it. The hydration level of this dough is one big gooey mass od unworkable dough. I have worked with many high hydration doughs in the past but this one is absolutely awful. I do not recommend this recipe. It is a complete disaster.